• Steel Soldiers now has a few new forums, read more about it at: New Munitions Forums!

  • Microsoft MSN, Live, Hotmail, Outlook email users may not be receiving emails. We are working to resolve this issue. Please add support@steelsoldiers.com to your trusted contacts.

Air Dryer for an M35A2

JasonS

Well-known member
1,650
144
63
Location
Eastern SD
If any of your wives push back because of the cost tell them that a vacuum oven will speed up drying the kids' mittens and boots.
 

rustystud

Well-known member
9,280
2,987
113
Location
Woodinville, Washington
So the worst thing for them is what? Sitting for extended periods? I'm already nipple deep in it with the Haldex, so I'll be running it and see how it goes.
Basically it is a time factor. whether you drive the truck or not, the desiccant absorbs moisture from the air. Usually a unit like the Haldex or Bendix will last 3 years before needing replacing. That is why our busses are on a yearly schedule and not a mileage schedule for change-out.
 

Valence

Well-known member
Steel Soldiers Supporter
2,112
555
113
Location
Davis County, UT
Do they offer a 24v version? Their site didn't really say one way or another.
Is that with mounting brackets and wiring harness? The site I posted has the bare unit for 200. I ask because they don't specify much detail on the site you posted. I suppose I could call but at the moment I'm dealing with more pressing issues than an air dryer. (Dead alternater for one)
Today I called the place rustystud linked. I asked if their AD9 air dryer was available in 24V or was only 12V. The fellow offered to check and call me back. About 30 minutes later he did and a 24v version was available from his supplier in Chicago for ~$235, new, plus UPS S&H which he estimated at about $20. I asked and he did say that he believes it does come with the wire harness and mounting bracket.

I'll report back after I receive it and how installation goes.
 
Last edited:

Valence

Well-known member
Steel Soldiers Supporter
2,112
555
113
Location
Davis County, UT
It took longer than I expected to receive the Air Dryer and then I ran into work trips and home projects (sprinklers!).

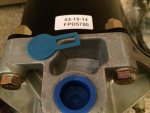
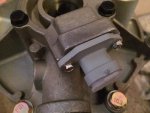
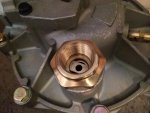
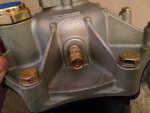
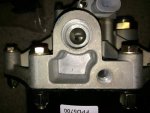
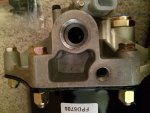
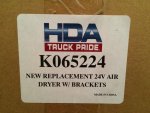
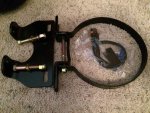
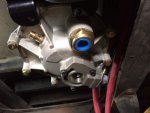
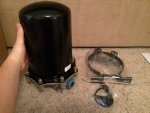
Anyway, it's not installed on my truck yet, this is just the long over-due pictures (sorry, they're a bit low quality from the low-light right after unpacking it by my front door):
I'm going to say that this thing is at least TWICE the size I was picturing! Makes one feel like they really got their money's worth. I will have to find fittings/reducers and such as the inlet/outlet seems quite large.


  • No instructions inside the box, actually, zero paperwork of any kind.
  • It was double boxed for shipping and the inner box has a "24V" sticker
  • No markings or identification of any kind on the dryer itself that it really is 24V
  • Wiring harness was included, and already packed with dielectric grease in the unit's plug.
  • Mounting bracket was included

2015-06-15 17.19.25.jpg 2015-06-15 17.22.11.jpg 2015-06-15 17.22.47.jpg 2015-06-15 17.23.07.jpg 2015-06-15 17.23.22.jpg 2015-06-15 17.32.24.jpg 2015-06-15 17.32.33.jpg 2015-06-15 17.33.55.jpg 2015-06-15 17.25.42.jpg
 
Last edited:

Valence

Well-known member
Steel Soldiers Supporter
2,112
555
113
Location
Davis County, UT
And here's my installation of the AD9 Style air dryer as seen in previous posts.

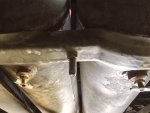
But first I'm going to get on the "safety" high horse. Watch out for this frigg'n bolt at the drain end of the air tanks. It'll constantly remind your head that it's there, lower than everything else!
2015-08-01 19.16.31 HDR.jpg

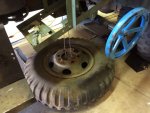
I dismounted my spare tire from my truck and it's really worth the time to get it out of the way. MUCH more room to work and sit. Besides, it made it a lot easier crawling in/out under the truck for tools! For the record, the "water wheel" setup for raising/lower the spare tire really DOES WORK. It was great!
Referenced here:
http://www.steelsoldiers.com/showthread.php?55919-Spare-Tire&p=1718461&viewfull=1#post1718461
[thumbzup]
2015-07-31 11.58.16.jpg

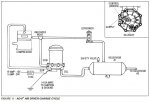
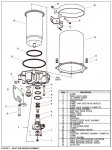
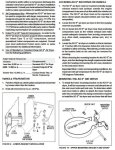
First, a little understanding of the air dryer ports. I found absolutely NOTHING on the internet for diagrams, manuals, or etc based off the sticker on my air dryer ("FPD5700"). Fortunately, it's an Bendix AD9 style air dryer - in other-words, a clone, and there's PLENTY of documentation for the AD9's. Here's what I found the most useful:
2015-08-01 11.14.24.jpg

So, as you can see in the above diagram, just like an ammeter, the air dyer needs to be inserted in the air flow, and this needs to take place before it reaches the air tanks. With a Supply (in), and Delivery (out). Another line, Control, is needed from the air Governor (mounted on the engine firewall) to the dryer's control port.

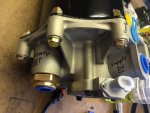
Note: I wrote on the end of my new hoses "Supply - From Air Compressor" and "Delivery - To Air Tanks" so I wouldn't have to keep checking which one was hooked where, and did the same on the Air Dryer too:
2015-08-01 13.14.08.jpg

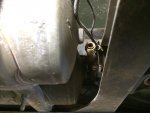
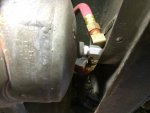
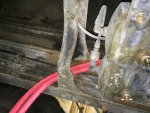
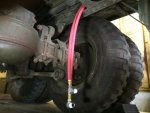
The supply line from the M35A2 air compressor runs directly to the inboard (innermost) air tank (the end closest to the cab). I took off that compression fitting and the 90 degree elbow into the air tank and had Evco, House of Hose (in Ogden, UT) craft me some hoses. My goal was to be as unobtrusive as possible - meaning I can return the truck back to stock air configuration with only changing the 90 degree elbow on the input (supply) to the inner most air tank and removing a tee on the governor.
2015-08-01 13.31.23.jpg 2015-08-01 14.00.17.jpg

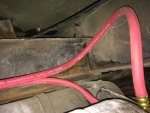
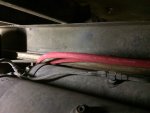
The hoses are run above the air tanks, next to the frame rail to the cross member behind (rear of) the air tanks. This cross member is where the I placed the air dryer. If I could rewind the day, I'd have these new hoses be 5' instead of 6' in length.
2015-08-01 19.23.23.jpg 2015-08-01 19.23.12.jpg 2015-08-01 14.01.29.jpg 2015-08-01 14.01.53.jpg


...continued in next post...
 

Valence

Well-known member
Steel Soldiers Supporter
2,112
555
113
Location
Davis County, UT
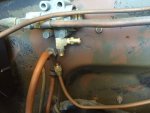
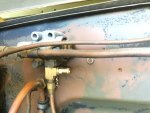
The handled the control for the dryer by adding a tee off the bottom of the Governor. The stock fittings for the hard line to the compressor just threaded into the bottom. I used the same 1/4" DOT rated air-brake line and push-to-connect fittings, routed down the same path as my axle breather lines.
2015-08-01 12.55.26.jpg 2015-08-01 13.01.18.jpg 2015-08-01 19.46.31.jpg 2015-08-01 19.46.36.jpg


I was flummoxed at how the mounting brackets were intended to be used. They almost seemed like and "either-or" situation. This was completely wrong. The brackets intended configuration can be seen in these two figures:
2015-08-01 13.15.58.jpg 2015-08-01 13.20.14.jpg

I never would have figured out that I needed to remove 2 of the bolts on the dryer canister and base housing.

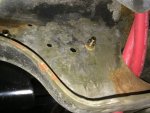
Now, back to actually where does this air dryer mount on that cross member? I reused one of the innermost existing holes and only had to drill 1 new hole.
2015-08-01 18.10.56 HDR.jpg 2015-08-01 18.10.42 HDR.jpg 2015-08-01 18.10.37 HDR.jpg 2015-08-01 18.10.03.jpg

...continued...
 
Last edited:

Valence

Well-known member
Steel Soldiers Supporter
2,112
555
113
Location
Davis County, UT
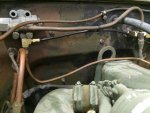
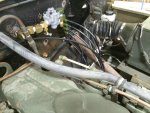
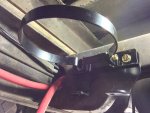
View attachment 573411Valence, there is one thing I would change. That is to replace that red hose with DOT nylon air-hose. Here's a picture of how mine is installed.
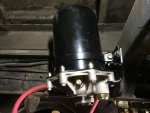
Thank you. I'm not sure why Evco made me the red hose as I had said it was a vehicle application. I'll need to talk to a more experience employee next time. On the bright side, hey, least I'll get it made shorter ;)

I see you have a long plate behind your dryer so you can mount the hoop all the way at the top. I like that.
 
Last edited:

Valence

Well-known member
Steel Soldiers Supporter
2,112
555
113
Location
Davis County, UT
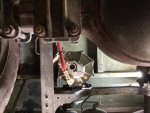
The dryer feels very heavy and awkward when sitting under the truck while trying to lift the air dryer onto the bracket and through the supporting hoop!

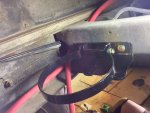
Here is a test mount with all bracket bolts still a little loose so I could move the dryer this way and that way. I ended up buying 2 bolts to go through the frame rail, and then I used the 2 long bolts that came with the dryer in place of the 2 I removed from the dryer housing - I don't think the existing ones would have been long enough otherwise.
2015-08-01 18.22.04.jpg 2015-08-01 18.28.51.jpg

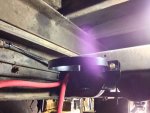
After all bolted down with lines in place, here's a view straight up from the floor (camera was flat on its back) to show the axle clearance:
2015-08-01 19.21.05 HDR.jpg

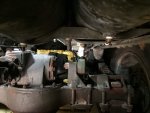
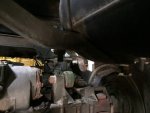
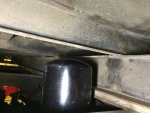
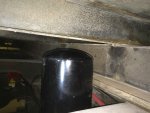
And here's a number of other shots showing under bed height, droop compared to the frame and air tanks, and other clearances:
2015-08-01 19.21.29.jpg 2015-08-01 19.21.41.jpg 2015-08-01 21.04.22.jpg 2015-08-01 21.05.02.jpg
 

Valence

Well-known member
Steel Soldiers Supporter
2,112
555
113
Location
Davis County, UT
So is the general consensus that the cross-member behind the air tanks is the best location?
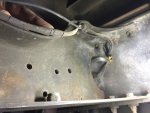
I'm going to say "Yes". (Did someone like me just answer a question from Gimpy? Whoa.) :D


I couldn't imagine putting it anywhere else, let alone it actually fitting. There's just enough room for both clearing the differential chunk and to actually install the air dryer. You are also pretty close to the exact spot in the air system that you need to interrupt - without needing to modify the hard line.
 
Last edited:

Valence

Well-known member
Steel Soldiers Supporter
2,112
555
113
Location
Davis County, UT
Question about the electrical component. I was going to do as was suggested earlier in the thread, piggy-back off the fuel pump power supply. However, it appears that both the power lines for the fuel pump and fuel gauge sending unit are taped together: (the tape bundle my finger is pointing against)
2015-08-01 20.36.15.jpg

Can I piggy back off either line or should I cut and remove the electrical tape all the way back until I can determine which one, exactly, is the fuel pump power?


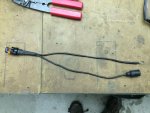
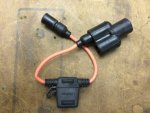
I have the power cord and in-line fuse all ready to go for a nice "Y" split.
2015-08-01 20.13.54.jpg 2015-08-01 20.56.11.jpg
 

rustystud

Well-known member
9,280
2,987
113
Location
Woodinville, Washington
I used a 10 gauge plate and mounted my air-dryer to that. Then mounted the whole thing to the cross member. I thought I had some pictures, but I cant' seem to find them. If you want I can take some better pictures of my mounting system.
 

Valence

Well-known member
Steel Soldiers Supporter
2,112
555
113
Location
Davis County, UT
I used a 10 gauge plate and mounted my air-dryer to that. Then mounted the whole thing to the cross member. I thought I had some pictures, but I cant' seem to find them. If you want I can take some better pictures of my mounting system.
You can take additional pictures the next time you're under there, but I believe I understand you just fine otherwise. Thank you.
 

rustystud

Well-known member
9,280
2,987
113
Location
Woodinville, Washington
Remember the electrical power needs to go to some kind of thermal switch/relay. You don't want power to the heater in warm weather, only when it gets down to freezing.
 

Valence

Well-known member
Steel Soldiers Supporter
2,112
555
113
Location
Davis County, UT
Remember the electrical power needs to go to some kind of thermal switch/relay. You don't want power to the heater in warm weather, only when it gets down to freezing.
I thought the heater was to dry out the descant, and the control port (via the governor) controlled when the air dryer ran.
 
Top
AdBlock Detected

We get it, advertisements are annoying!

Sure, ad-blocking software does a great job at blocking ads, but it also blocks useful features of our website like our supporting vendors. Their ads help keep Steel Soldiers going. Please consider disabling your ad blockers for the site. Thanks!

I've Disabled AdBlock
No Thanks