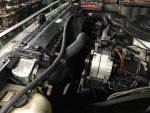
Here is my take on:
The
"What to do if a company sends you a wrong Head, and you don't have time, money, or patiencesto tear it all back apart and do the job all over again" manual...
The
short version, as I know there are many who don't want to read the details:
With the help and input of other SS members, I did get my intake drilled and modified to fit the wrong head. I did have an issue, which was caused by my mistake, but I was able to work around it and fix it. Got it installed and all bolted down, looks like it should work without an issue.
Now, the
Long Version:
A little background - If you didn't see it earlier in this thread, since my original heads were cracked, I ordered a brand new pair off ebay from a company called "
odessa*cylinderhead", which had engine heads for almost anything apparently. Upon receiving them, at first they looked good. But later after I had them and everything else was installed, and I went to put on the intake, I found that they had sent me
two DIFFERENT heads.
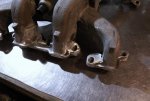
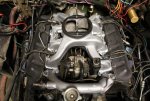
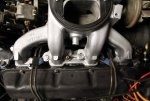
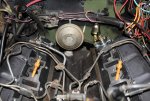
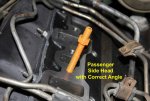
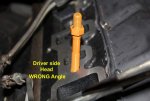
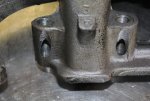
As seen in this photo here, I painted two studs orange so they would show up on camera, showing the two different angles that the intake bolts into each of these heads. They both were supposed to have the angle that the left (passengers side) head has. But they sent me this other one, which ended up on the drivers side.
So, my choice was to either
#1 tear everything else back apart and pull the head. Yes this is the 100% right way
#2 modify the intake on one side to fit this different head
Since I am pushing trying to get this truck back on the road, as it is our daily driver, let alone the extra cost pulling the head would incur
(head bolts, gaskets, etc). I decided to modify the intake.
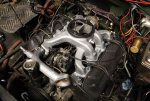
So I started with a stock 6.2L Intake Manifold
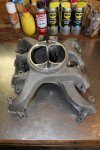
the first thing I did was remove the the two long studs that hold the air filter base on, as I needed to be able to flip the intake onto its top so that I could drill from the bottom side
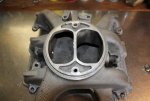
After removing the studs, the first thing that I noticed is the top of the intake is actually angled, and was not a level surface. Since I was going to flip it onto its top in order to drill from the bottom side, I needed the top to be level. Other wise it would cause the holes to be drilled at an angle.
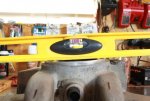
I needed a way to level it, and also I needed a way to clamp it in place so it would move when I drilled each hole.
So I got a piece of ply wood and drilled two holes (plus countersink), corresponding to the threads on the top of the intake where the two studs that removed earlier went.
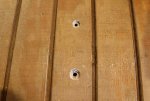
I found a couple of regular bolts in my misc bolt boxes, which had the same metric size and thread pitch (M8 1.25) as the original studs. And would screw into the existing threads in the intake.
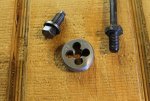
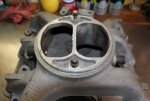
Then I put the screws through the holes in the backside of the plywood, and screwed them into the holes in the intake.
Before tightening, I added a spaced approx 1/4" thick and adjusted it to the proper placement in order to bring the intake top to a level placement.
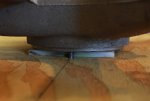
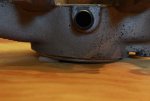
I flipped the plywood and intake assembly back over to double check that it was level
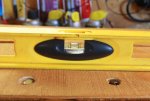
Next, I needed to enlarge my cheap chinese drill press "table", as it was quite small and there was no way it would even hold the intake, let alone the intake bolted to a piece of plywood
So I took a kitchen countertop sink cutout that I had
(which I had bought from a local flea market where a cabinet maker sells them for $1) drilled three countersunk holes into it, and used 1/4" bolts to attach it to the drill press.
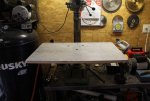
Next I placed the plywood and intake assembly on the drill press, then I added extra wood supports under the center section on the side that I needed to drill, so that it would tilt rock back and forth on the two bolts when drilling, even though I only used light pressure when drilling the holes.
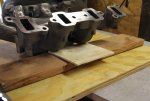
Then I added an another 2x4 and a shim under the end "arm" before drilling. I switched this extra wood support to the opposite end "arm" later.
I used clamps to hold the plywood and keep the assembly from moving.
I tried a 7/16" drill bit first, but when I test fit it, the holes made the bolts a bit to tight to get all of them to thread in properly. So I then re-drilled the holes with a 29/64" drill bit which was one size bigger
(as suggested by Barrman in his thread), and test fit the intake on the engine again, and the bolts threaded into their corresponding holes in the head without issue.
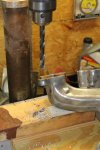
I couldn't drill and hold a camera, so this is what it looked like when I got finished

 ~ Continued on next Post ~


