rustystud
Well-known member
- 9,211
- 2,815
- 113
- Location
- Woodinville, Washington
OK, so I don't offer a monthly tech tip but this is a little handy thing to know when rebuilding your dual master cylinder.
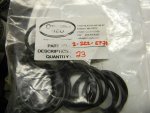
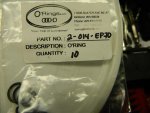
There are only 3 main seals that need replacing. The other seals (Teflon) are replaceable but the "Teflon" seals really don't go out much. There is also 3 seals between the housing and reservoir. Two are the "wagon wheel" seals which are hard to find but "Precision Rebuilders" sells them. The third is easily found along with the main three. All the seals (except the Teflon) are EPDM seals.
The real tech tip is this though. There are two "tipper valves" that allow braked fluid to reenter the bore after the pistons are "stroked" . These little beggars are real difficult to get in straight as they are naturally angled when installed. To allow the reservoir to sit straight and not "bind" the "tipper valves" use a standard steering wheel remover (universal puller) and grind a flat spot on two adjacent arms. Then using 3/8" bolts, bolt this to the master cylinder after the pistons are installed. Then by tightening the screw down you will move the pistons allowing the "tipper valves" to sit straight. Then the reservoir will sit down perfectly not binding the valves.
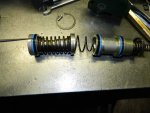
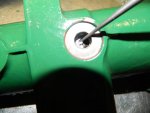
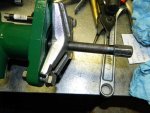
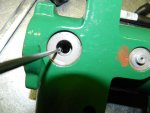
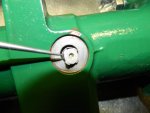
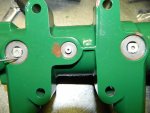
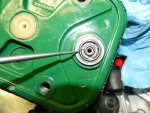
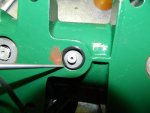
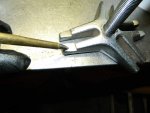
Picture one shows the two pistons and their seals. Picture two shows how the pistons come back and with just the edge of the piston "tip" the "tipper valve" . That's why it's called a tipper valve ! Picture three shows the puller installed to push the pistons down. Now in picture four you see the piston is pushed back allowing the tipper valve to sit straight. If you try and install the reservoir with the valve tipped it will bind on the seal. Picture five shows the tipper valve and spring installed. Picture six shows both tipper valves and center pin installed.
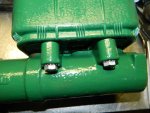
Picture seven shows the "wagon wheel" seal installed on the reservoir. Picture eight shows the center 'O'-ring installed for the center pin. Picture nine shows the reservoir installed properly.
There are only 3 main seals that need replacing. The other seals (Teflon) are replaceable but the "Teflon" seals really don't go out much. There is also 3 seals between the housing and reservoir. Two are the "wagon wheel" seals which are hard to find but "Precision Rebuilders" sells them. The third is easily found along with the main three. All the seals (except the Teflon) are EPDM seals.
The real tech tip is this though. There are two "tipper valves" that allow braked fluid to reenter the bore after the pistons are "stroked" . These little beggars are real difficult to get in straight as they are naturally angled when installed. To allow the reservoir to sit straight and not "bind" the "tipper valves" use a standard steering wheel remover (universal puller) and grind a flat spot on two adjacent arms. Then using 3/8" bolts, bolt this to the master cylinder after the pistons are installed. Then by tightening the screw down you will move the pistons allowing the "tipper valves" to sit straight. Then the reservoir will sit down perfectly not binding the valves.


Picture one shows the two pistons and their seals. Picture two shows how the pistons come back and with just the edge of the piston "tip" the "tipper valve" . That's why it's called a tipper valve ! Picture three shows the puller installed to push the pistons down. Now in picture four you see the piston is pushed back allowing the tipper valve to sit straight. If you try and install the reservoir with the valve tipped it will bind on the seal. Picture five shows the tipper valve and spring installed. Picture six shows both tipper valves and center pin installed.
Picture seven shows the "wagon wheel" seal installed on the reservoir. Picture eight shows the center 'O'-ring installed for the center pin. Picture nine shows the reservoir installed properly.


