• Steel Soldiers now has a few new forums, read more about it at: New Munitions Forums!

  • Microsoft MSN, Live, Hotmail, Outlook email users may not be receiving emails. We are working to resolve this issue. Please add support@steelsoldiers.com to your trusted contacts.

M1010 Work Log

joshuak

Active member
747
214
43
Location
Slower shore, DE
Exhaust

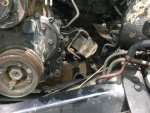
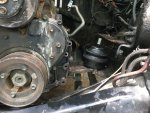
Got a bit further in my effort to increase exhaust diameter. First order of business was removing the exhaust manifold studs, there is only 3 per side, I thought I'd be done in a few hrs. for sure, :razz:. Broke the first stud I put the extractor on. So, off came the manifolds, out of the 16 bolts 14 cooperated, the other two got the sawzall treatment. Thankfully the extractor got those out without an issue and I avoided having to pull the motor.

Example of offending bolt. IMG_3205.jpg IMG_3206.jpg
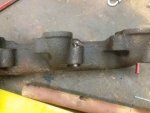
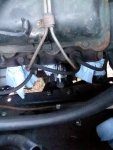
Back to the studs, for the PS I was impatient, par for the course, and recurred to physical methods (drilled and tapped two of them and welded a nut on and backed the other one out.
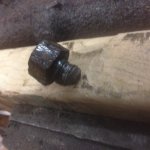
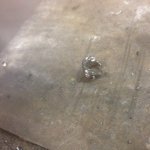
IMG_3209.jpgIMG_3211.jpg
The DS studs soaked in acetone and ATF mixture, 50/50, only 4 hrs. and came out easily. So no pictures, hopefully I'll learn.
There was no gasket on the manifolds when they came off, I used one when they went on. FelPro 91587, pictured bellow next to a 3/8" spacer for another project.
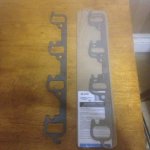
IMG_3203.jpg

And here are both manifolds installed. On the PS, you can see how the 2 1/2" pipe bolted on the manifold steps up to 3", I drilled and tapped the DS flange to accept an EGT probe (Auto Meter 2654).
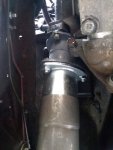
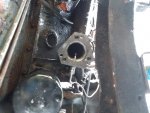
IMG_3223.jpgIMG_3222.jpg

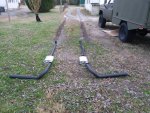
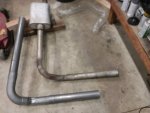
I'm currently working on routing the exhaust. New vs old.
IMG_3218.jpg
 

joshuak

Active member
747
214
43
Location
Slower shore, DE
I'm currently working on routing the exhaust. New vs old.

View attachment 749800
Well, I did finish the exhaust two years ago.

IMG_0987.JPG


Then life happened and here we are.

I enjoy reading other peoples builds threads, maybe someone will get a kick out of what I have going on.

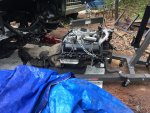
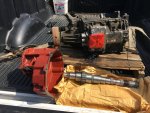
Removing the 6.2/400 in favor of 4bd1t/4500. Details as I get there, but... charge air cooler, tdo4hl-19t turbo, liquid filled motor mounts on custom crossmember, want hydraulic clutch, have mechancial.

IMG_2797.JPG


New to me.

IMG_3088.JPG

IMG_3197.JPG

Being a glutton for punishment, my tranny currently identifies as a 2wd, I'm going to ask it to reevaluate it's life choices.
With some help, https://high-impact.net/product/gm-2wd-nv4500-to-gm-4wd.


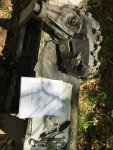
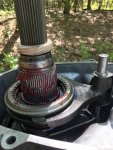
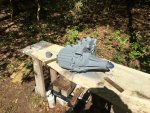
I've gotten as far as resealing the transfer case, used seal kit TSK208.

IMG_3196.JPG

Got a love a workbench with a project and tools, maybe a manual if you need it, I do.

IMG_2611.JPG

Oven cleaner, lol.

IMG_2624.JPG

Hardest part was not losing needle bearings during disassembly, all present and accounted for.

IMG_2661.JPG

Ready to go!

IMG_2667.JPG

Anyway, it's a start we'll see how this goes.
 

joshuak

Active member
747
214
43
Location
Slower shore, DE
I thought I'd try a different dynamic in this round and share some of thought process behind the decisions, before or at least while I'm doing it. Hopefully taking advantage of any insight that fellow members may have on the matter, if someone has constructive critiscim I'm all ears. Yes, I know there is a web site dedicated to putting similar motors in just about anything.

So motor placement.

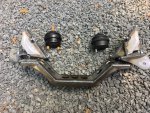
My web wheeling experience suggests that to limit vibrations you want the mounting plane a couple inches above the crankshaft line and that liquid motor mounts are the way go. Difficulty is that they must be mounted vertically as opposed to at an angle. Lord mounts are a popular option, I chose to go with Anchor 2859.

Thinking similar to existing mounting bracket except rotated 180 and gusseted on the sides...

IMG_3250.JPG


CAD to the rescue...

IMG_3163.JPG

IMG_3254.JPG


I wanted to be able to remove the crossmember and the existing frame side brackets (triangles?) didn't give me a warm and fuzzy knowing the slicing I need to do, so after some pondering I money whipped it with an option from CFM. It's for LS swaps but there is enough meat to let me play safely I think.

IMG_3247.JPG

I'm going to let the tranny dictate fore and aft placement of the motor, this should save me ($) from having to modify the driveshafts.

Aiming for a 3-5 degree down in order to match the rear diff and keep driveline angles happy, although when I did the shackle flip instead of shims I cut off OEM spring perches put new ones on, set pinion angle and burned. So I have that option to fall back on I guess...

Anyhow, that's where I am on the motor and waiting for tranny parts.


Good day to all.
 
Last edited:

Another Ahab

Well-known member
17,999
4,556
113
Location
Alexandria, VA
My web wheeling experience suggests that to limit vibrations you want the mounting plane a couple inches above the crankshaft line and that liquid motor mounts are the way go.
Excellent post, joshuak.

I miss you, man, and hope that you're all good and real fine!

What are "liquid" motor mounts:

- an oil-filled damper kind of thing?
 

cruzer747

Active member
218
145
43
Location
California
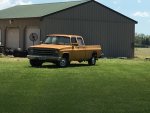
hahah, at least yours is yellow and not YELLOW! Then again it makes it really easy to find in the big parking lots :) Really interested to see how this goes for you in terms of power and drivability over the 6.2. I had thought about this briefly but figured it was wayyy down the road for me to consider a change so big.
 

joshuak

Active member
747
214
43
Location
Slower shore, DE
Excellent post, joshuak.
I miss you, man, and hope that you're all good and real fine!
...
I'm humbled you like what you see. Yessir, all's good in the 'hood. Wishing the same for you/yours/everyone for that matter. Missing y'all as well, avatar is testament to good times!

...
What are "liquid" motor mounts:

- an oil-filled damper kind of thing?
Yep, you nailed it. Rubber provides basic load handling and the fluid component provides dampening effect.

I'm linking Lord's Fluidlastic brochure. I doubt my Anchor's have the same amount of engineering, but get what you pay for.

http://rubberpartscatalog.com/home/products/vibration-control/fluidlastic-mounts
 

joshuak

Active member
747
214
43
Location
Slower shore, DE
hahah, at least yours is yellow and not YELLOW! Then again it makes it really easy to find in the big parking lots :)
I dig it, I'm confused at times. (y)

Really interested to see how this goes for you in terms of power and drivability over the 6.2. I had thought about this briefly but figured it was wayyy down the road for me to consider a change so big.
Me too. This wasn't planned, I pulled a 6.2 thinking a 6.2 was going back in, turns out my "good" spare sucked and I had just bought this 4cyl for the CC. So, hoping for the best, committed to make it work.
 

joshuak

Active member
747
214
43
Location
Slower shore, DE
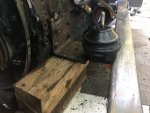
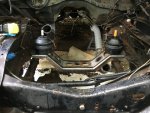
Working on motor mounts, placed it in the frame to see my options. Not centered (+-2"), but close ride height. If I used angled mounting brackets on the motor with solid rubber mounts it would be fairly straight forward to match angles and and use the CFM triangles or OEM for that matter.

IMG_3286.JPG

But I'd really like to try to make the liquid mounts work first though before I go that route.

IMG_3285.JPG

This is pretty close to where they need to be, both height and width.

IMG_3289.JPG

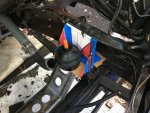
Thinking about something like this in 1/4 " plate, bolted to the top and bottom of the frame rail. Crossmember would still be a bolt on affair.

Any suggestions or opinions on bracket design?

IMG_3292.JPG
 

joshuak

Active member
747
214
43
Location
Slower shore, DE
You been berry berry busy
Thanks
Just having fun sir, my pleasure and thanks for checking in.

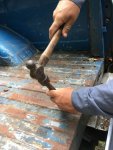
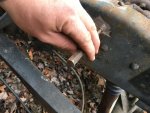
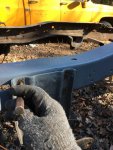
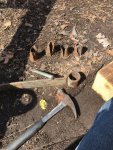
While I have your attention, I've been collecting some pics. over the last year using tools you generously donated and I've wondered what kind of projects they worked on before they became GM specialty tools, do you have a minute to share?

IMG_1614.JPG

IMG_1835.JPG

IMG_2217.JPG

IMG_2407.JPG
 
Top