hvann
New member
- 76
- 0
- 0
- Location
- Hampton/Viginia
Checked my front end alignment yesterday and I found it to be way off.
I performed what I call a poor man’s alignment on my truck yesterday with a friends (Andy’s) help. This can be done solo but it requires a lot more running back and forth when you are aligning the strings to the wheels. Also it would be considerably more difficult to check string to string alignment without some to help hold the stupid end of the measuring tape. And by the way, Andy made me hold the stupid end all the time. Hhhmmm?
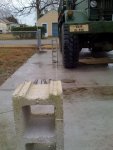
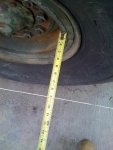
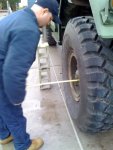
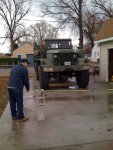
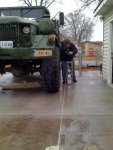
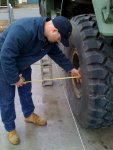
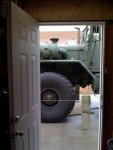
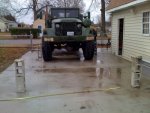
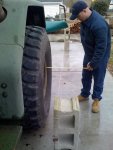
What we did was to tie a string between some concrete blocks and place one end of the string just behind and around 12 inches out from the front wheel. The other end of the string was stretched out around 20 feet in front of the truck. (See the images) The string was centered in the wheel from top to bottom. We had the same string set up on both sides of the truck.
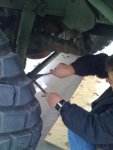
Our first step was to insure that the strings were perfectly aligned with the front wheels. We assured the alignment of the string to the wheel by making sure the string was exactly the same distance from the front and rear of the rim. We checked the string to wheel alignment on both sides in this same manner. After aligning the strings to the wheels we proceeded to check the strings out in front of the truck for parallel alignment by measuring the distance between the two strings just ahead of the front wheels and comparing that to the distance between the strings out at the furthest point from the truck. We found the strings to be around 3 inches further apart at the outer string location as compared to the inner or closest string to the truck location indicating a toe out.
We then loosened the jam collars on the tie rod and made adjustment to it that eventually had our two strings perfectly parallel to each other. Keep in mind that every time we made an adjustment to the tie rod our first step was to realign the strings to each wheel and then to check for string to string alignment. After getting string to string alignment as close as you can get it, it’s a good idea to move the steering wheel back and forth a few times and check the alignment all over again. If you find the alignment changes each time after moving the steering wheel, it could be an indication of looseness in ball joints or kingpins.
We took the truck out for a run afterwards and found the side to side shimmy I was getting at certain speeds was gone.
The only problem I had with this entire procedure is that Andy now thinks I owe him a pay check and medical benefits.
Van
Attachments
-
68.5 KB Views: 204
-
64.6 KB Views: 204
-
56.8 KB Views: 203
-
80 KB Views: 202
-
66.5 KB Views: 200
-
61.4 KB Views: 193
-
54.2 KB Views: 194
-
49 KB Views: 186
-
64.6 KB Views: 194
-
58.8 KB Views: 220


