41cl8m5
Active member
- 254
- 36
- 28
- Location
- Littleton, CO
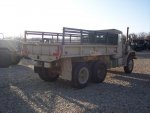
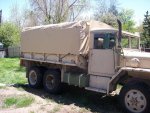
This is the install I did 9 days ago. The TM's are helpful. The diferance between the two TMs is the style of cover:
TM9-2320-209-10-4, Section VII, #2-14, page 2-54 shows the older style cover with the end covers separate from the main.
TM9-2320-361-10 (2006), Chapter 2, 0035 00, page 0035 00-1 shows the newer style one piece cover.
The one I have here is from a newer drop side kit. Like I stated before my duece is a M35A2 not a drop side. The only thing I still new to work on is the tie downs on the tail gate.
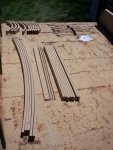
This is the hardware from the kit:
10 straps that I did not use.
5 bows (steel),
10 bow corners,
10 uprights that are fiberglass.
bolts and print of assy.
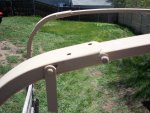
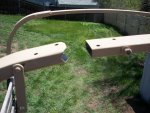
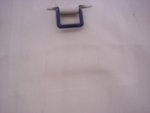
First install the bow corners to the uprights with hardware provided using a Philips screwdriver. 2 bolts for each.
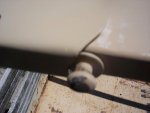
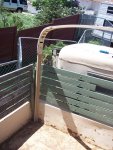
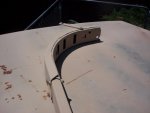
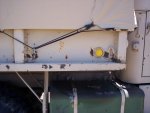
Next for the bow assy. next to the cab you will need to attach the bow to the two bow corners and slide into the troop seat upright. the other four can be put together and wrestled into place so the latch can grab the "button" on the bow. As you can see from the pix you can use bolts and not use the straps on the bow corners, but my kit did not have extra hardware to do this.
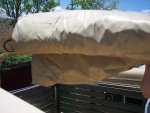
On the cover the word "rear" was printed but not the word "front" Lifting the cover into the bed and then on top of the center bow is a two man job. after rolling it over the other bows you can start to position the cover front to rear.
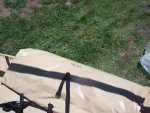
Now roll the sides down and position the corners of the cover on the four outer corners
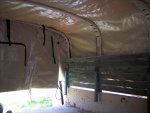
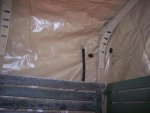
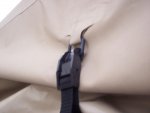
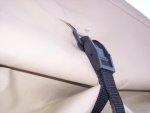
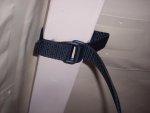
the black straps on the inside are for rolling up the sides of the cover.
Attachments
-
84.4 KB Views: 351
-
51.3 KB Views: 473
-
58.2 KB Views: 384
-
100.4 KB Views: 364
-
41.9 KB Views: 342
-
100.4 KB Views: 347
-
99.7 KB Views: 341
-
100.7 KB Views: 357
-
31.9 KB Views: 318
-
61.3 KB Views: 369


