• Steel Soldiers now has a few new forums, read more about it at: New Munitions Forums!

  • Microsoft MSN, Live, Hotmail, Outlook email users may not be receiving emails. We are working to resolve this issue. Please add support@steelsoldiers.com to your trusted contacts.

M925 M925A2 dump bed hoist install

Jbulach

Well-known member
Steel Soldiers Supporter
2,657
2,183
113
Location
Sunman Indiana
So... I've promised several people I would get this done for some time now. It may take me a little while, but I'm going to get pictures up, of my install of an old Knapheide manufactured, Knaphoist, KH-2520L that I found on the web for $400.
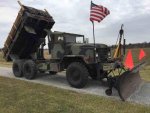
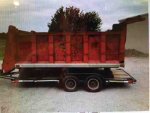
I also ended up buying an old 15' dump bed, but decided at 6000lb it was too big, and heavy. I also started thinking I wanted to keep more of an original look to the truck. IMG_3333.JPGI ended up reselling this bed for what I paid for it.
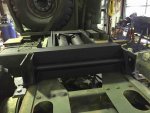
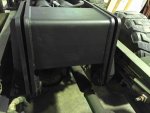
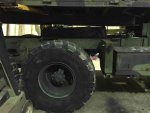
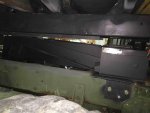
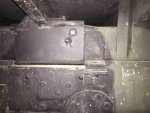
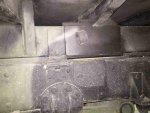
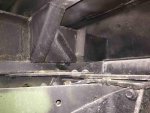
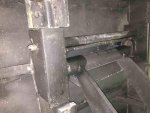
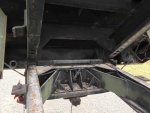
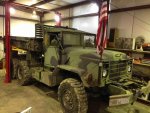
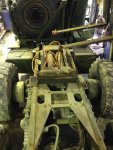
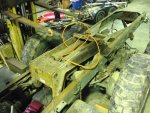
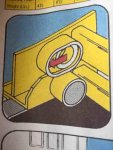
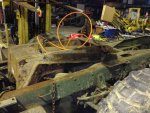
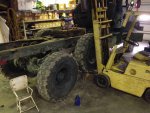
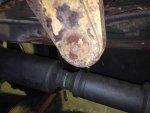
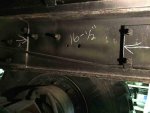
Hmmm... all my pictures of just the hoist seemed to have vanished!IMG_3334.jpgThis is the best overall shot of the hoist I could find, as it was when I bought it. IMG_1831.jpgIMG_1830.jpg Lifting the bed off so I can start test fitting.IMG_1832.jpgI put the front tandem up on blocks, with the rear just touching the ground, so I could check for interference at full articulation.IMG_1833.jpgYou can see where my chains are hooked around the hoist, that is the upper pivot on the end that attaches to the bed. The slotted female portion that goes around these and mounts to the bed did not come with the hoist so I'll have to guesstimate on it's design.IMG_3335.jpgThis cartoon is all I could find of what it was supposed to look like.IMG_1838.jpgYou can see I have the rubber axle bump stops compressed fairly far with the weight of the truck.IMG_1839.jpgIMG_1834.jpgThe hoist weighs 880lb as shown. I'll end up adding about another 75-100lb in the bed mount.IMG_1836.jpg This is about as far back as I can go, the transfer case u-joint is just off to the right of the picture. This will put my dump angle at about 50 degrees. I considered moving the hoist forward as far as possible and shortening the back of the frame 16-1/2" to get more lift capacity and angle by increasing the rear overhang. I decided this was more involved than I wanted to get right now and may need to remove the spare tire and move the bed forward later to get more weight on the front axle anyhow. IMG_3258.jpgIMG_3336.jpgThe original bottom stop turned out perfect on the crossmember.
 
Last edited:

Jbulach

Well-known member
Steel Soldiers Supporter
2,657
2,183
113
Location
Sunman Indiana
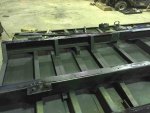
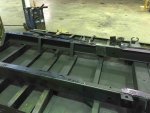
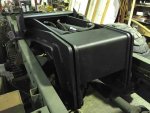
Flipping the bed over so I can get it cleaned up and painted. IMG_1861.jpgEasier said than done. IMG_1858.jpgIMG_1859.jpgIMG_1862.jpgThis bed only weighs 2000lb, so thats 2 ton more payload over the dump bed I was considering!IMG_1858.jpgBottom of bed cleaned and painted.IMG_1859.jpgI didn't want to raise the bed height by putting a subframe under it so I had to cut and channel the cross members where the hoist will go. I also boxed the center portion of the frame rails for strength.IMG_1860.jpgIMG_1861.jpg
 
Last edited:

Jbulach

Well-known member
Steel Soldiers Supporter
2,657
2,183
113
Location
Sunman Indiana
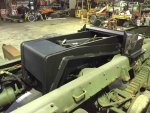
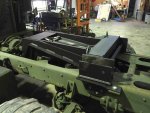
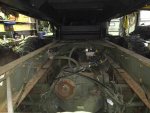
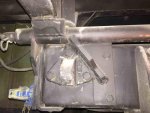
Sorry, I lost a bunch of build pictures.IMG_3337.jpgThis is the section that didn't come with the hoist that I had to build, there a lot more to it than can be seen.IMG_1851.jpgThe hoist after disassembly, blasting, paint and reassembly.IMG_1850.jpgFrame plates made and bolted on ready for the bed to be test fit and tacked into place.IMG_1852.jpgYou can see how I made cradles for the bed frame rails as well as the pipe and holes where the hoist to bed quick detach pin goes through.IMG_1854.jpgI had to loosen the hydraulic hose ( lower left opposite the driveshaft) and clock it a little to get clearance.IMG_1853.jpg I did flip the hydraulic cylinders over to put the hoses on top, this gave a little more clearance underneath for the valve and air lines on top of the axle.IMG_1856.jpg
 

Jbulach

Well-known member
Steel Soldiers Supporter
2,657
2,183
113
Location
Sunman Indiana
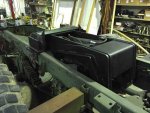
Test fitting the bed.IMG_1863.jpgIMG_1869.jpgIMG_1867.jpg

More missing photos...

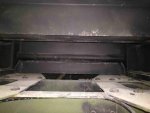
IMG_3261.jpgIMG_3267.jpgIMG_3268.jpgBed attached.IMG_3264.jpgHinges are double shear for strength and drilled with grease fittings.IMG_3265.jpgI boxed the rear frame rails and added lots of gusseting.IMG_3266.jpgI made the hinge with a tube all the way across for ease of pin alignment.IMG_3259.jpgA view of the hing area from under the truck.
 

m16ty

Moderator
Moderator
Steel Soldiers Supporter
9,580
218
63
Location
Dickson,TN
Your hoist is mounted "backwards" of any I've installed. I have seen them mounted like that though, whatever works.

While I've never done a M939 dump, I've done several deuces and other 5-tons. I will caution you on one thing, be careful with bed strength, especially with that hoist mounted so far back. These beds were never designed to be used in something like a dump where the bed rails have to support the load, and you also loose extra support from the sides on a drop side. I'm not saying it won't hold what you are wanting to haul and dump, just start out light and go from there, watching for too much bed flex. You may end up wanting to box the bed rails for extra strength.

On deuces I've boxed the rails and on my personal truck I added some 2X2X1/4 tubing under the rails. One of the other reasons I added the tubing is I needed the extra clearance for the hoist I was using.
 

Jbulach

Well-known member
Steel Soldiers Supporter
2,657
2,183
113
Location
Sunman Indiana
Your hoist is mounted "backwards" of any I've installed. I have seen them mounted like that though, whatever works.

While I've never done a M939 dump, I've done several deuces and other 5-tons. I will caution you on one thing, be careful with bed strength, especially with that hoist mounted so far back. These beds were never designed to be used in something like a dump where the bed rails have to support the load, and you also loose extra support from the sides on a drop side. I'm not saying it won't hold what you are wanting to haul and dump, just start out light and go from there, watching for too much bed flex. You may end up wanting to box the bed rails for extra strength.

On deuces I've boxed the rails and on my personal truck I added some 2X2X1/4 tubing under the rails. One of the other reasons I added the tubing is I needed the extra clearance for the hoist I was using.


Yep, it's like The Honey Badger, mount it backwards, Scissor Hoist don't give a ****! It don't care it still dumps that **** anyway!

This was the only practical way to mount this hoist on this truck. Turn it around and I would have had to move it back 2' too clear the rear axle. The extra dump angle would have been nice, but there's no way I could give up that much capacity.

Any chance you could post a link to some pictures of some of the trucks you have done?

Thanks for your concerns on strength, I will be cautious with how much weight I'm loading.
You'll notice in my second post 5 or 6 captions down, I did box about 6' in the center of the frame rails around the lift point and 2' in the rear around the hinges, to help strengthen the high stress areas.
Any chance you have any pictures or accounts of any failures, cracking, or buckling of these frames, so I can decide if any additional reinforcement is needed?

As mentioned in my post, I didn't want to add any height, that's why I cut the height of the cross members above the hoist down a couple of inches, before reinforcing those as well.


Sent from my iPhone using Tapatalk
 

m16ty

Moderator
Moderator
Steel Soldiers Supporter
9,580
218
63
Location
Dickson,TN
Here is a couple I've done- http://www.steelsoldiers.com/showthread.php?50583-Started-my-dump-conversion&highlight=Dump , http://www.steelsoldiers.com/showthread.php?50583-Started-my-dump-conversion&highlight=Dump

I haven't actually seen one fail, I'm just comparing the frame rails of a factory made dump and the ones on a cargo bed. Compared, cargo bed rails are much lighter. That's why I usually beef them up. It really depends on what you are trying to haul. I'm just saying if you are going to load it with say wet sand until it's running over the sides, you may have problems.

The bottom line is these cargo beds were really never designed to dump and are nowhere near as strong as a purpose built dump bed. The thin floor skin is another issue, hauling large rocks or logs will "washboard" the floor over time. I'm not saying converting a cargo into a dump is a bad idea, I've got one, you just have to realize that you have to be careful what you do with it or you will tear it up.
 

Jbulach

Well-known member
Steel Soldiers Supporter
2,657
2,183
113
Location
Sunman Indiana
Hmmm... all my pictures of just the hoist seemed to have vanished...
...View attachment 663178You can see where my chains are hooked around the hoist, that is the upper pivot on the end that attaches to the bed. The slotted female portion that goes around these and mounts to the bed did not come with the hoist so I'll have to guesstimate on it's design.View attachment 663179This cartoon is all I could find of what it was supposed to look like....
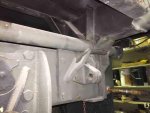
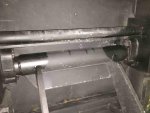
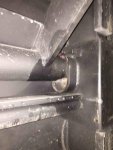
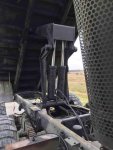
Ok, I was able to raise the hoist and get a picture of this part.IMG_3342.jpgIMG_3341.jpgIMG_3340.jpgThis is the top pivot of the hoist where it attaches to the bottom of the bed.
 

Jbulach

Well-known member
Steel Soldiers Supporter
2,657
2,183
113
Location
Sunman Indiana
Before I get to the hydraulics, a couple of pictures showing the clearance of the hoist hinge that protrudes down between the frame rails.IMG_2231.jpgIMG_2228.jpgThe truck is empty, all tires no the floor, and the bed is down.

This is the 40 GMP selector valve (on the left) that I used so I can select between providing hydraulics to the winch or the dump bed.
IMG_2233.jpgThe factory winch control valve is on the right. The problem is all ports are all open in the neutral, which will allow the bed to lower when you release the winch control lever. I would like to find a blocked port spool or a direct replacement for this vale that has blocked ports at neutral. This winch control valve is also regulated to bypass at 1750 PSI in order to protect from overloading the winch.
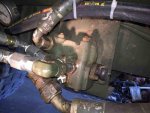
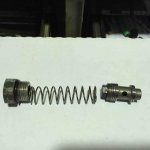
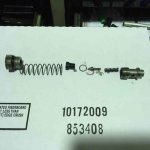
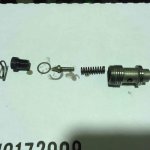
I needed more pressure to get the capacity I needed so, I had to the shim the relief spring tighter.IMG_2013.jpg You can see the cap for the relief valve with the white X painted on it.IMG_2037.jpgThis is the cap, spring and valve.IMG_2039.jpgIMG_2040.jpg This is what the valve looks like disassembled. This small spring is the one you shim to increase your pressure, or add more thickness to the shim that looks like a washer between the cap and body to decrease pressure.IMG_2044.jpg I removed this shim first for a 100 PSI gain, the slowly added more shim to the spring to get my desired PSI.

ALWAYS DO YOUR OWN RESEARCH AND DETERMINE THE MAXIMUM ALOWED PRESSURE FOR EACH COMPONENT (pumps, hoses, valves, motors, exc.) BEFORE INCREASING ANY PRESSURE!!!!!!!!!!!!!!

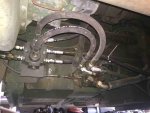
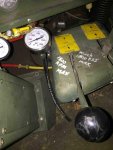
I added a pressure gauge in the cab so I can monitor my pressure.IMG_3293.jpgI am also looking in to installing a relief valve on the winch side of the selector valve to keep from over pressuring the winch.

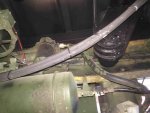
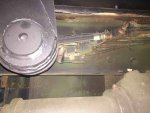
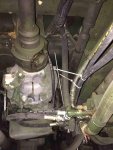
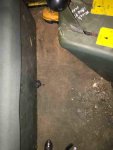
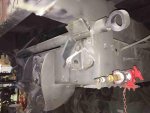
Here you can see the (shiny, just off the right side of the transmission) rod I made to extend the knob of the selector valve up into the cab.IMG_3307.jpg Also my gauge line that loops up over the transmission.IMG_3291.jpgIMG_3292.jpg I spring loaded the knob against the cab floor to help keep the selector valve normally operating the dump bed. Always keep your winch disengaged to prevent accidental spooling!!!
 
Last edited:
m16ty

Moderator
Moderator
Steel Soldiers Supporter
9,580
218
63
Location
Dickson,TN
Watch that gauge or better yet install another relief on the winch line. You get tear stuff up sending more pressure to the winch.

Here is a link to what I had to do in a similar situation- http://www.steelsoldiers.com/showth...oading-setup&p=1743514&viewfull=1#post1743514

That is the "octopus" I had to rig up to power two different loads (winch and dump) with two different power requirements. Just like you, my bed takes more PSI than the winch but I also have to limit flow to the winch as the pump has the capability of exceeding what the winch can take. I couldn't use a standard selector valve like you did because I needed to run the winch and the bed at the same time. I did use a selector valve but it took some extra plumbing to make it all work right.

You could use just a in-line relief on the winch-in pressure line to get the winch back down to 1750psi. The winch-out pressure line still wouldn't be protected but you'd really have to screw up to get to max pressure paying out cable (it would pretty much have to be a big "bird's nest" in the winch cable).
 

Jbulach

Well-known member
Steel Soldiers Supporter
2,657
2,183
113
Location
Sunman Indiana
Even though not really necessary to protect both directions, I would go with a double relief valve, it's a little more money, but a lot easier and cleaner install.
However, I'll probably run as is for now, until I get a feel for, and tidy up both my bed and plow install (possibly 3 or 4 different operations running off 1 control valve!) as well as likely adding another circuit for a future project.
At that time, I will likely redo all my valving, once l decide on the one of many ways and cost of doing it.
 
83
0
6
Location
Pahoa/ HI
Thats a good looking truck!

Is the sub frame and hoist off a M929 or other military dump?
Also any chance you have maxed it out? I've always been curios how much they could dump with a longer bed.
I would love to see more pictures, especially of the hoist and hinges!
The hoist is built by Rugby I think, off of an old GMC single axle dump that had a Gvw 35000. As far as maxing out the hoist, I've had over 10 yards of 6 inch minus on it and no problems dumping. The hoist sub frame is only 10 feet so I use cribbing blocks on top of the truck frame to support the front 4 feet of the bed when lowered. If you Google twin arm dump hoist, that's what it looks like.
 
Top
AdBlock Detected

We get it, advertisements are annoying!

Sure, ad-blocking software does a great job at blocking ads, but it also blocks useful features of our website like our supporting vendors. Their ads help keep Steel Soldiers going. Please consider disabling your ad blockers for the site. Thanks!

I've Disabled AdBlock
No Thanks