kennys@wi.rr.com
Active member
- 1,474
- 23
- 38
- Location
- Waukesha, WI
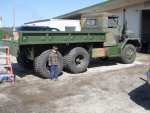
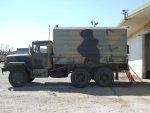
Well it took me just over 5 weeks with only a few breaks in there, but the deuce is done for now. What I mean by that is I still have the interior, frame, axles and some other odds and ends to paint. I will get to those when the snow and cold come back to visit. For now it's time to enjoy the truck. There will be some who say I did too much and other who say I didn't do enough, I say I did just what I was going to.
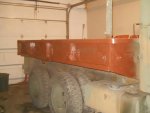
I first sand blasted the bed and painted it and I was going to stop there for a while. But after my HH died and I couldn't make it to Poof Stock I decided to keep going and get more of it done before Memorial weekend. I made my goal.
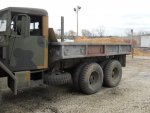
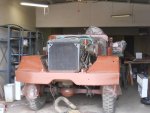
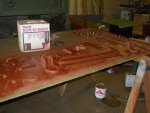
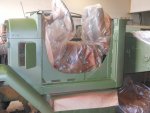
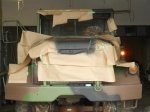
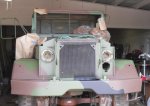
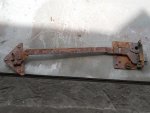
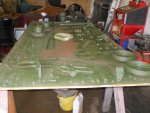
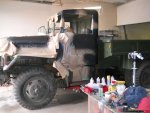
From the bed forward I removed the hard top, windshield frame, doors, hood, side panels, grill, tool box, battery box, steps and fuel tank. Then all of those items were broken down into their various parts. I salvaged what hardware I could and replaced what I couldn't. I had a 4x8 table set up that was filled with varioud nuts, bolts and screws several times over. I never knew just how many bolts and screws were in one of these trucks.
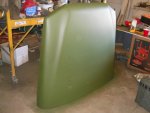
Every part was primed, painted then returned to the truck and touched up as needed. All the parts that would see lots of use were given several more coats than the parts that see less use. So the stairs got several more coats and the brackets for the mud flaps only got 3. Overkill? Maybe, but I really wanted to make sure it is done right.
The materials used were as follows and in no particular order:
400 pounds of sandblast sand.
1.75 gallons of Rustoleum rusty metal primer.
2.5 gallons of Gillespie 383 green.
3 rattle cans of Gullespie 383 brown.
1 quart of Rustoleum flat black.
3 rattle cans of Rustoleum flat black.
A partial can of Gillespie 383 green.
An assortment of nuts, bolts and screws of various sizes.
Lots of sand paper or different grits.
1.5 gallons of Xylox.
3 gallons of mineral spirits.
2 rolls of paper towel.
1.5 rolls of 1/4" masking tape.
6 rolls of 3/4" to 1" masking tape.
1.5 rolls of masking paper.
A bunch of paper towels.
And a bunch of other stuff I just can't recall at the moment.
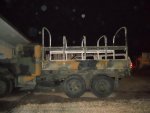
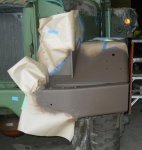
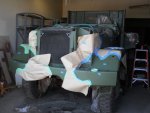
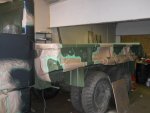
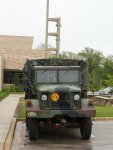
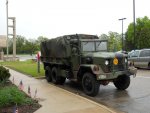
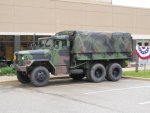
As you will see in the pictures I masked off my camo lines. I know this is not the correct way to do it. I did later go and air brush all the lines to help them fade into the other color. To be honest, I prefer the masked lines, to me they look better, maybe it's just my lack of air brush skills. But the entire truck was painted green, then brown and then black.
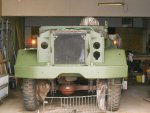
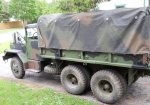
I stand back and look at the truck now compared to what it looked like just a few weeks ago and to run the risk of dislocating my shoulder, it looks a lot better. I am looking forward to having it in the parades this weekend, just need to get some flags mounted on her.
Overall I am very pleased with the Gillespie paint. At first it did look shiny, but quickly dulled and it's hard to tell the difference from CARC, IMHO. Outside my shop is a mulch company and the parking lot is gravel, so I left the doors open for the dust to get in the paint and it gave it a similar texture to CARC. I read that in a thread here somewhere so I thought I'd try it. Worked great.
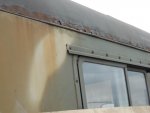
I'm sure I will have to post all the pics in several chucks but I'm sure you can get the idea of what is before and what was after.
Enjoy.
Attachments
-
55.3 KB Views: 164
-
48.3 KB Views: 152
-
67.4 KB Views: 149
-
35 KB Views: 148
-
37.3 KB Views: 147
-
80.2 KB Views: 169
-
55.8 KB Views: 155
-
54.3 KB Views: 158
-
52.4 KB Views: 161
-
61 KB Views: 172


