shannondeese
Member
- 651
- 17
- 18
- Location
- High Springs Fl
Long about January of this year I got an A/C kit from a fellow steelsoldiers member just north of Vegas and I still lived in San Diego. Well I am finally done with the install in Macon Ga. It just took a little while to get it all in and working. I had the heater in, plumbed, wired and functional in Feb. The rest has been on the back burner for awhile. Between moving across country, finding a house, work and other stuff all seemed to get in the way. So here is how I did it.
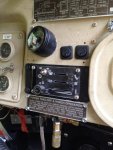
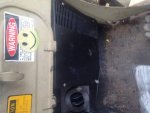
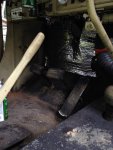
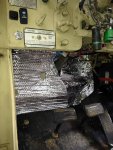
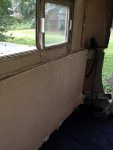
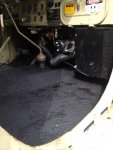
The heater and A/C box I mounted under the dash on the passenger side. I put it as tight to the firewall as I could so my passengers would still have some leg room. This meant that I would not be able to use the stock breather. I removed the glove box insert and cut out a spot for the control panel. I removed the passenger side kick vent completely and used the cover that comes with the kit on the outside of the cab to cover the now gaping hole. The suction port for the kit fits perfectly in the hole left over along with the doughnut seal it comes with.
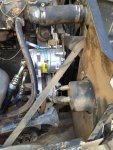
I bought TM Americas dual alternator mount. I used the lower mount as advertised with a 27SI alternator with a 3 1/2 inch pulley. I moved the primary fuel filter back 1 bolt hole and drilled a new hole for the aft bolt. The upper alternator bracket I cut the fwd ear off and moved it back 1/2 inch and re welded it. I took the stock alternator adjustment bar and drilled a hole in the radiator cross support and mounted it there. This allowed me to mount the compressor inline with the belts and be able to adjust it if I needed to.
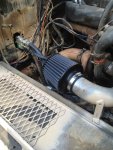
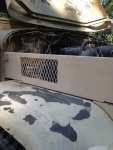
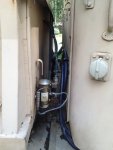
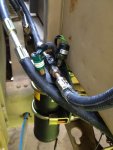
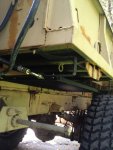
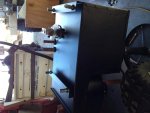
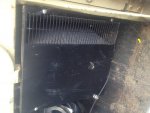
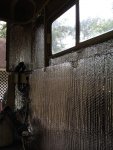
The stock breather wasn't going to work with the hoses from the kit so I ditched it. I bought an AEM dry 650 CFM cone filter that fit on the stock breather tube. I used a left over mount from the A/C kit and laid over the tube until the filter was right beside the drop panel. I welded the bracket to the tube and bolted it to the body. Then I made a window in the drop panel so some fresh air could get to the filter and used some spare BBQ grill expanded steel mesh and welded it in place as a brush guard. I took the stock hoses that came with the kit and had NAPA add 10 feet to each of the hoses going to the condenser. I mounted it under the bed by cutting the legs off the stock mounts and reversing them. The heater hose control valve came from O'Riely's. It's for a 69 Bronco. It is a standard 5/8 hose inlet and outlet but it's control valve fits the cable that came with the kit perfectly. The belts are 56 Inch Green Stripe Gates belts. You could use 55 inch belts with this set up but I didn't feel like fighting with a belt that was just about max stretch at full collapse on the adjustment bars. The fan I used was from Coldmasterinc on E- ay it was $40.00
The wiring was a bear. I wired the control panel that came with the kit just as it says to with the kit but I added a master power switch to it to act as an ignition on switch basically. Then I wired in another switch, this one runs as follows. Starts at the battery, to switch on dash, 20 AMP relay to low pressure safety switch, to high pressure safety switch, to T fitting and splits off to a 12 inch 24V fan on the condenser and back under the hood to the compressor. I have multiple ground points due to the fact that I used most of the wiring harness that came with the kit.
The heater has two settings off and Sahara Desert, The A/C is pretty cold considering I have not sealed my cab at all.
Attachments
-
83.4 KB Views: 180
-
86.8 KB Views: 160
-
55 KB Views: 148
-
43.8 KB Views: 157
-
65.7 KB Views: 175
-
53.9 KB Views: 149
-
59 KB Views: 164


