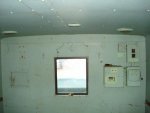
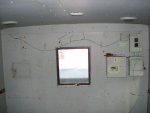
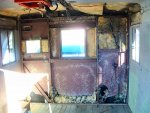
WOW, that looks great! Yep, Mik, his wife, and I tore apart the interior to access the wiring inside...I just didn't think to take photos of it! I'll remedy that tomorrow.
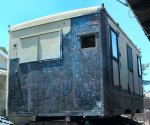
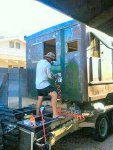
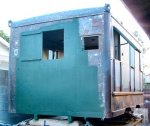
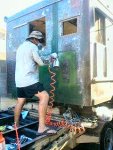
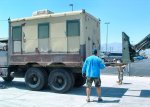
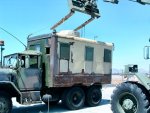
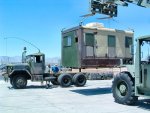
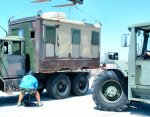
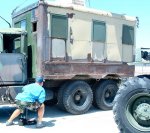
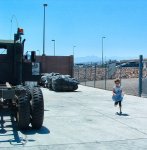
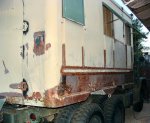
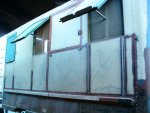
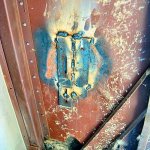
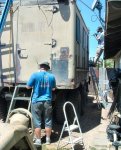
Here are some more photos of our progress lately. My neighbor (who I'm friends with) has been out of work for 8 months now, and his bedroom is right on the other side of where we've been working on this truck. We had a chat last weekend and he told me how if he was working, he wouldn't be home & the endless drone of the needle scaler wouldn't bother him a bit....but now that he's out of work, the endless drone of the needle scaler was really starting to bother him. So, I made him an offer he couldn't refuse: I paid him to come over starting today and run the needle scaler with hearing protection on, until we're finished. Then he won't have to hear it anymore and we'll be done with paint removal by the end of this weekend. Win-win all the way around!!
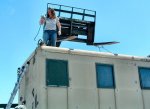
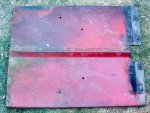
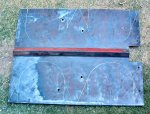
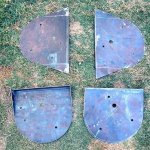
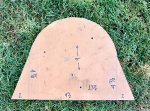
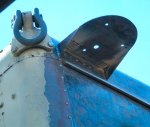
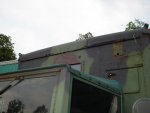
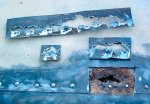
So, my neighbor Mark worked his butt off on the needle scaler today for 8 straight hours, while I finished the wiring for the rotating beacon lights and started to cut out rust spots on the roof. I'll use the old cut out portions of the roof as templates to cut new sheet steel pieces (from yet another one of M16TY's splashguards!), and then weld these directly in to cover the holes. Afterwards I'll seal up any gaps between the sheets with paintable caulk (flexible so it won't crack & peel off) before priming. That should give Airbornebandsman a couple of years of no leaks to decide how he wants to re-do the roof.
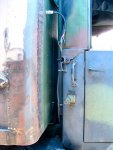
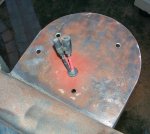
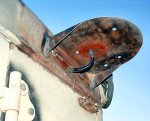
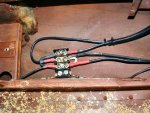
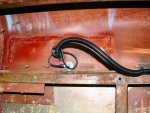
The wiring was done with 10-gauge power wires, all grounds were grounded to the van body on the inside, and all wire connections were soldered thoroughly and double-heat-shrunk for max protection & longevity. I wrapped wires with plastic wire loom, wrapped the loom with electrical tape, then sealed each end of electrical tape with heat shrink to prevent the tape from unraveling. I used rubber grommets on every hole through sheetmetal that the wires passed through, and sealed each of these grommets with silicone for maximum waterproofing. Each wire end is finished with a military plug connector that matches up to the plugs on each rotating beacon light. Tomorrow I'll take some photos of the interior mess and the power distribution block I installed for the power wires. And yes, after I was done wiring I toned out each power wire to check for shorts, which all tested perfect, and ensured each ground had minimal or no resistance across the van body chassis. Conductivity is a GO.
Tomorrow we'll be back at it, with Airbornebandsman over to help with the grinder & wire wheel on paint stripping duty. Full steam ahead, I can see the light at the end of the tunnel!!


