After reading about how much the stock heaters suck on here, I decided I needed to do something to improve the heating before the weather got cold (after I installed a new stock heater to replace a leaking factory one of course!).
I thought about getting one of the diesel fired aux heaters but didn't like the high cost and added complexity. Then I thought about adding a 24v electric heater but I was hesitant to add more electrical load when I already had an ample supply of heat in the coolant but just needed a way to better harness it. I also didn't like the thought of adding a second heater that would take up space on the floor/drivetrain tunnel that I wanted to keep open.
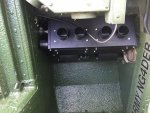
After some searching I found the solution! An MRAP heater on eBay. The NSN for the heater is 2540-01-554-3505. It's 60,000 BTU so it puts out a ton of heat, is sized small enough it fits perfectly in the same space as the factory heater assembly, and only $300 so it isn't much more than a factory blower assembly.
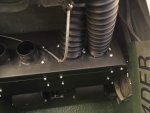
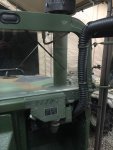
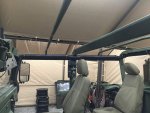
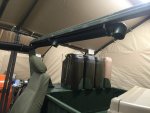
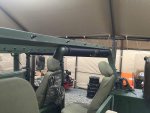
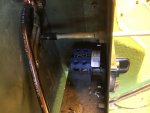
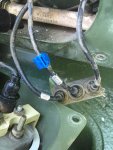
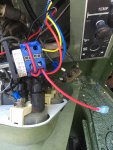
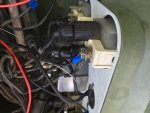
Installation did take some adaptation to the factory setup but I was able to plumb it in reasonably easy. Because the heater has 5 outputs on it, I decided to eliminate the need to use the diverter box on the factory ducting so I fixed it to only output to the dash. One output was plumbed to that with some PVC fittings painted Green 383. Two of the outputs were plumbed into the windshield defroster ducting individually. The side output I trimmed down and it puts heat into the front passenger footwell. And the last output had heavy rubber Flexadux 2" ducting (found on Amazon) run along the passenger roof rail with rubber cushioned 2" clamps (also found on Amazon) to the back so the rear seats now have heat. Almost all of the original cheap plastic flex ducting was replaced with the much heavier duty rubber duct which did take a little shoehorning. I couldn't use it to replace the flex duct to the driver's side footwell because it is a lot smaller diameter. Fortunately it was in good shape so it stayed.
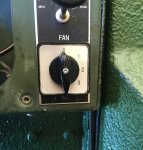
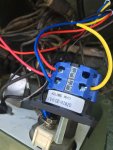
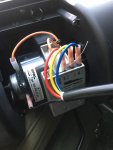
The new heater also has 3 fan speeds instead of just 2 but the resistor is part of the assembly so you just need to install a rotary switch on the dash to use the different speeds. I installed a 6 terminal, 4 position rotary cam switch I found on Amazon that fits perfectly where the original fan speed switch was.
Temperature is still controlled with the original pull knob and coolant proportioning valve.
It sounds like a lot of work, and it was, but in the end I've got a very compact, high output heater which takes up no additional space but turns the passenger compartment into an oven! Since putting this in I only need to run the temp selector and fan at max until the cab warms up then I can start dialing it back. So far I usually only need the heat selector at about half way and rarely have to go above medium fan speed. Anything hotter it starts getting uncomfortable. Granted this is the first winter I've had my truck and obviously the first winter with this heater, and I know we haven't had any bone chilling cold yet but, if the performance so far is an accurate preview this thing will work great!
(The flex duct running up the windshield is bent because I used an existing hole to screw the clamp to instead of making a new one)
