• Steel Soldiers now has a few new forums, read more about it at: New Munitions Forums!

  • Microsoft MSN, Live, Hotmail, Outlook email users may not be receiving emails. We are working to resolve this issue. Please add support@steelsoldiers.com to your trusted contacts.

ball joint removal

1993

Member
173
1
16
Location
NY
I'm waiting for new ball joints. In the mean time I'm looking for the best tool for the job.
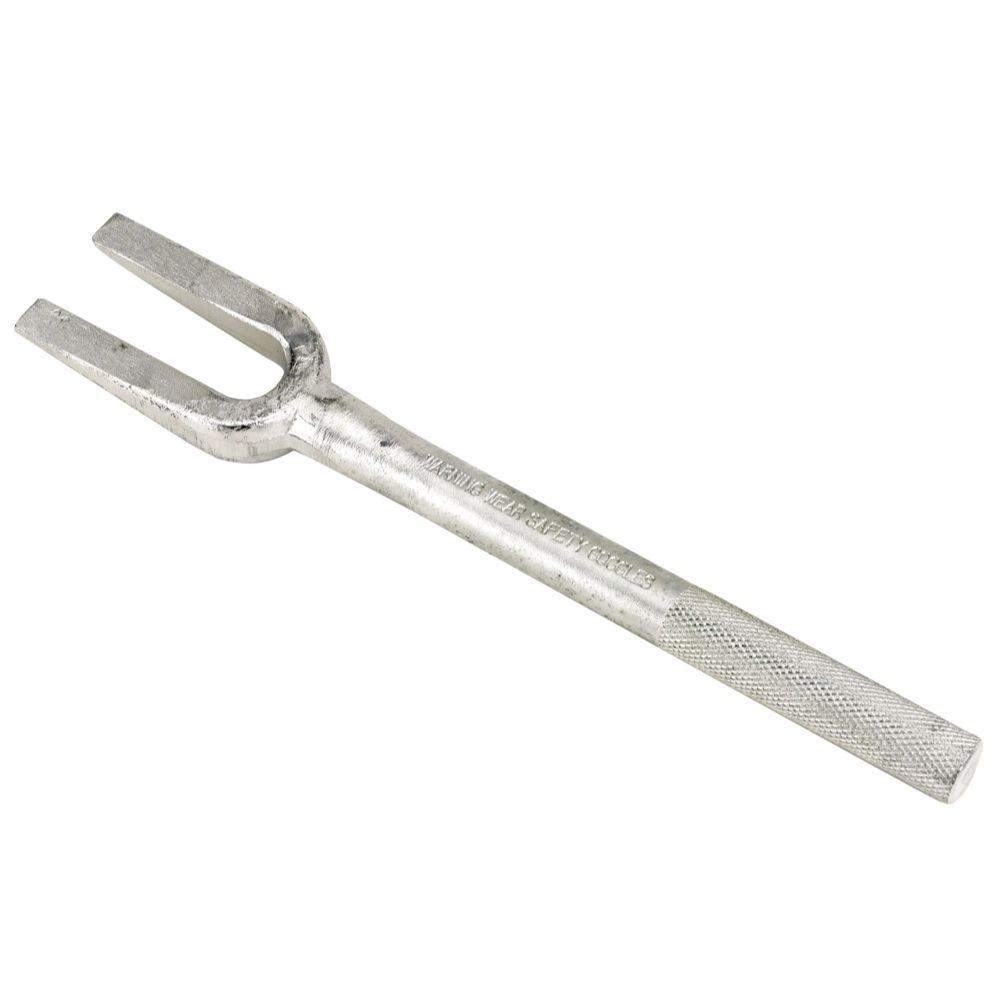
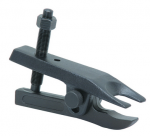
in consideration is a ball joint separator from HF -vs- a pitman/pickle fork.

can anyone tell me from their experience which of these is a better option for these ball joints?

And importantly, What size(width) pickle fork is the best fit? I don't want to buy a full set if I don't have to..
 

juanprado

Well-known member
Steel Soldiers Supporter
5,614
2,922
113
Location
Metairie/La (N'awlins)
Since these are bolt on and not press on Ball joints, you will not need the press.

Typically the ball joint fork is one size and wider than a tie rod fork. If you have an auto zone or O'reilly 's close by, they will loan you the tool for the deposit of the cost and will refund the deposit upon return. Or the forks themselves are not too expensive. Some Napa's have loaner tools but not every store as some are independent. I think Advance also does it but I don't typically go there.
 

lowell66dart

Member
Steel Soldiers Supporter
135
7
18
Location
Paulina La.
Get two hammers. Loosen the nut on the stud. Put one hammer on the back side of the casting that the ball joint stud goes thru. Take the other hammer and hit the other side of the casting. What you are trying to do with this method is make the tapered hole that the stud goes thru "less round" for a fraction of a second and the stud will pop out. Works every time if done right.
 

Augi

Active member
284
42
28
Location
SF Bay Area
I've never used a tool to remove a ball joint and I've replaced a couple of complete truck's worth.

I start by removing the nut and reinstalling it upside down loosely - I make sure there's a nice gap between the nut and the geared hub flange and the stud isn't sticking out the end of the nut.

Then I take a 4lb drilling hammer and give the flange on the geared hub a few whacks to shock it loose. Then I pound on the nut to knock the stud out of the taper of the geared hub flange. The nut protects the soft stud from mushrooming and being stuck forever.

For the lower ball joint I jack under the lower control arm so that it's compressing the coil spring a bit and trying to separate the joint.
For the upper ball joint I don't jack it and let gravity pull down on the hub. The upper control arm will want to spring up when the ball joint breaks free.

Augi
 

Action

Well-known member
3,576
1,558
113
Location
East Tennessee
Just get the correct puller from autozone. They have 2 tools that look the same. Get the bigger one. It looks like this...


seemly-pitman-arm-print-heshi-tools-pitman-arm-puller-auve_pitman-arm-puller_1200x1000.jpg
 

Milcommoguy

Well-known member
Supporting Vendor
1,710
2,265
113
Location
Rosamond, CA
If you are removing the ball joints do to questionable / failed service and having new ones to replace (good idea), there's a good chance it will be messed up when you do get it out. (not always) Using the techniques stated in previous threads above, with luck it could pop free. When your down there wacking away... think about the fine line that these two parts play to keep the truck going down the road and your butt safe.

Go with the best you can, follow proper torque and grade of hardware (bolt kits are available), double check everything. Pay attention to TM's as to the direction the bolts are placed in the "A" arms. Cutting corners here will bite you in the butt. Clue here is corners.

"you and your" equals Me too.

Extra pickles please, CAM


THE BIG FORK


1993

Member
173
1
16
Location
NY
If you are removing the ball joints do to questionable / failed service and having new ones to replace (good idea), there's a good chance it will be messed up when you do get it out. (not always) Using the techniques stated in previous threads above, with luck it could pop free. When your down there wacking away... think about the fine line that these two parts play to keep the truck going down the road and your butt safe.

Go with the best you can, follow proper torque and grade of hardware (bolt kits are available), double check everything. Pay attention to TM's as to the direction the bolts are placed in the "A" arms. Cutting corners here will bite you in the butt. Clue here is corners.

"you and your" equals Me too.

Extra pickles please, CAM


THE BIG FORK


yup I agree. that's why I asked. I like to do things right the first time and to save time by having everything ready before taking on the task.
Are you suggesting that I should replace the bolts with new ones? I plan on using red loctite
 

86humv

Well-known member
Steel Soldiers Supporter
1,700
501
113
Location
Texas
yup I agree. that's why I asked. I like to do things right the first time and to save time by having everything ready before taking on the task.
Are you suggesting that I should replace the bolts with new ones? I plan on using red loctite
Make sure when you buy ball joints, they match the hole size on your arms.
Early ones use 5/16 th bolts on uppers, and 3/8 th on lowers.
Trucks with later Arms, use : 3/8 th on top, and 7/16 th on lowers.
 

1993

Member
173
1
16
Location
NY
Make sure when you buy ball joints, they match the hole size on your arms.
Early ones use 5/16 th bolts on uppers, and 3/8 th on lowers.
Trucks with later Arms, use : 3/8 th on top, and 7/16 th on lowers.
yup, got the originals. don't have time to mess with drilling. supposedly you also need adapter plates if upgrading to the heavier duty ones.
 

juanprado

Well-known member
Steel Soldiers Supporter
5,614
2,922
113
Location
Metairie/La (N'awlins)
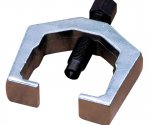
The tool in the pic worked perfect for me. I didn't want to tear up the boots with the fork.
Or am I thinging of when I pulled the tie rod out of the hub? I am getting too old.
There is 2 styles of them made. Originally a pitman arm tool and then they changed the width and it can be also used for some control arms to get to the ball joint if it fits. The other picture posted of the "clothes Pin" type with the threaded bolt/rod is one of the newer styles that does not rip the boot.
 

1993

Member
173
1
16
Location
NY
new ball joint arrived yesterday.

removing the old one:
the nut was spinning with the joint so I had to spray it with pb-blaster and used a prybar between the joint and hub to create more friction against the joint rod.
with that the nut came off easily.
And the joint came out as I backed off the nut.
No banging or tools used to remove the joint!
it just departed while I turned the nut!!

I continue to be amazed how rust free this truck is wherever I find a mud free surface. The grade 8 bolts look like they were bought today.
I have never seen anything like it before in the northeast.
Usually a 5 year old truck around here is speckled with frame rust from all the sodium chloride and road salt from winter driving.
However this truck(25years old) looks like what I would expect from a truck kept in a garage it's whole life and never driven in winter.
apart from the moss that was growing on horizontal surfaces when I picked it up:)
 

1993

Member
173
1
16
Location
NY
If it came out that easy I would be checking the hole for excessive wear.
The play was in the joint. The tapered shaft spun during initial nut removal but not easily. Maybe it was originally not torqued enough?
everything installed nice and tight. torqued to spec. used a little lock tight on the 3/8 bolts since I reused the original lock nuts.
 
Top
AdBlock Detected

We get it, advertisements are annoying!

Sure, ad-blocking software does a great job at blocking ads, but it also blocks useful features of our website like our supporting vendors. Their ads help keep Steel Soldiers going. Please consider disabling your ad blockers for the site. Thanks!

I've Disabled AdBlock
No Thanks