rattlecan6104
New member
- 357
- 7
- 0
- Location
- Oak Harbor, WA
so a few weeks ago, work for us in the airframe structures shop was dead. I knew I needed a new battery box as mine is nearly non existent due to rust. I also needed new steps as I had mangled mine while trying to go rock crawling in the deuce with my offroad club. Our LPO (Leading Petty Officer) had no issues with us using scrap materials to build small little projects. It kept us busy and out of trouble, and also was a form of practice for our metalworking skills.
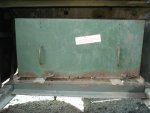
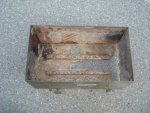
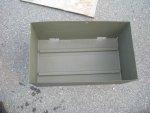
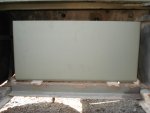
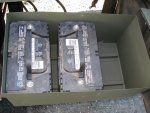
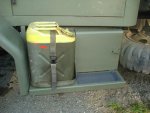
The battery box was pretty straight forward, measure dimensions, make a box and a pair of supports for the bottom, then rivet it all up. I had found that the original dimensions for the battery box can house 3 of the batteries that I am currently using, so for now there is only two in the box, but when I get to adding a 12 volt system, it will have its own battery nestled in the box with the other two. I had used .063" 6061-T4 aluminum and #5 rivets. It all came together simple enough. In the process of making it I had an airman come over from the tire shop. Aside from his "A" school, he had never done any metal working. He was so excited to help, that he nearly took over and I had to just sit back and supervise. It took only a couple of days to finish, putting it away every now and then when actual work came in, then finally it was glass blasted, treated, primed, riveted together, then I took it home and painted it, and there it sat up until today.
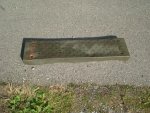
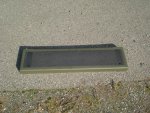
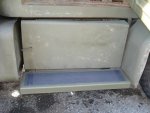
Shortly after came the steps. We had a few sheets of .080 301 half hard stainless that was to be discarded, so I took advantage of that and proceeded to make a pair of steps for the deuce. Being that it is 301 stainless, it could be welded, so keeping that in mind I built it accordingly along with a support in the center. This time I had one of my third classes in the shop that wanted to help. He was very meticulous in his measurements, and I had reminded him that it was a truck and not an F-18, he told me that as far as he is concerned he wants to do the best that he can at everything that he does. I couldn't really argue with that logic, and as a shop supervisor, why would I? Once everything was bent up, it was time to be welded. The guys in the weld shop were kind enough to TIG weld it up for me, and bam, I now have a pair of steps. I took them home and then they received a treatment of prime, paint, nonskid, then more paint on the nonskid.
Now that everything has cured, I decided today was the day to install these new parts, I could tell you guys it looks better, but a picture is worth a thousand words, unfortunately no pictures of the work in progress, pictures in the building tend to be frowned upon.
Attachments
-
98.9 KB Views: 111
-
98.9 KB Views: 118
-
57.6 KB Views: 107
-
101.5 KB Views: 108
-
79 KB Views: 117
-
44.9 KB Views: 108
-
70.8 KB Views: 115
-
57.2 KB Views: 123
-
66.8 KB Views: 122
-
27.5 KB Views: 104


