• Steel Soldiers now has a few new forums, read more about it at: New Munitions Forums!

  • Microsoft MSN, Live, Hotmail, Outlook email users may not be receiving emails. We are working to resolve this issue. Please add support@steelsoldiers.com to your trusted contacts.

Extreme RV from M36a2

daddy2

Member
276
3
18
Location
Easton, PA
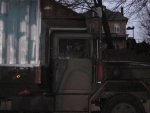
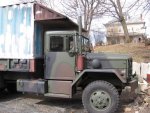
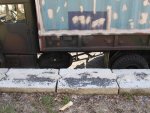
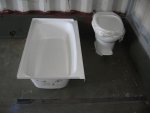
I got the truck inspected. All is good. When I got back from the inspection I noticed some things I need to think about. The stack blew soot on the cabover and the decking so I will need a new piece of osb board to paint. I did some archiving and I think I am giong to put on a Donaldson muffler. I like the M070050. It is a little longer than the M070028, but it allows for more flow. I can do the mirror bracket modification and it will keep the top of the stack even with the camper box. I have also ordered some of the things that I am going to need for the inside. I got the toilet and I am waiting on the two 42 gal. fresh water tanks, the two 28 gal grey and brown holding tanks and the 24" x 40" tub. When I get these in I will be able to lay-out the framing for the bathroom. I am using 11gauge 1x1 tubing on the framing. But for the rest of this week I am still working on straitening out the mess in the sheds. I'll send some pics when I get back to the truck.
 

daddy2

Member
276
3
18
Location
Easton, PA
Sorry about the lack of recent posts. I Got sick, took vacation, became a little lazy. Today I am getting back to work. I wanted to let you guys know that I did get it weighed in. Same parameters, except I had 3/4 tank of fuel instead of 1/2 tank. Same scale was used. Pre box weight was 14,800 lbs with troop carrier. New weight with camper on bed is 16,240 lbs. Steel box weighed about 1440lbs. Today I plan on putting on the muffler and doing some work on the rear doors. Making a drip edge for it. New pictures latter today.
 

RetiredNavy

Member
230
0
16
Location
Billings, MT
Daddy2, if you dont mind me asking, what would the total cost be by the time you get done? Or maybe your estimation thus far? It is taking shape from the photo's I have seen and it is looking good!
 

daddy2

Member
276
3
18
Location
Easton, PA
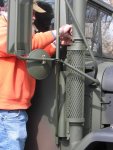
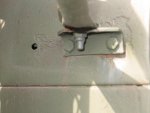
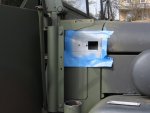
I didn't get as much done as I thought, but I never do. I repaired a rust spot where the mirror bracket attaches to the side of the truck. I take no credit to the idea of the muffler and installation. I archived " muffler install with db comparison" It was a great idea. I will need to get a solid piece straite pipe to go from the muffler to the top. I need about 1'-2' more in height. Then I will put the flapper on.
As for the cost, well not sure. Give you ideas on the materials to date:
1. Three 10 lb spolls of Mig welding wire 0.030
2. Three tanks of 75% 25% welding gas
3. Shipping container 40' cost me $3200. A 20' container would have cost me $3000.
4. Estimating to be about $500 to $1000 in steel. 2*2 tubing, 1*1 tubing, flat stock ect....
5. Just got a delivery. Two 42 gal fresh water tanks, two 28 gal grey and brown water
tanks, bath tub (tub only not side walls), toilet. Still need plumbing. Cost was $700
6. A few cans of paint and primer for temperary stuff untill summer when I will spray it.

I still have a ways to go. Insulation, plumbing, dinnette set, lighting, wiring, generator. I am also planning to go with super single. Got the rims already from GovLiq. No tires yet. I thought about keeping a tally on the cost as I went allong, but I was scared the wife would see the cost of my toys. My guess is I will have about $5000-$10,000 in it not not including the container.
 

Attachments

daddy2

Member
276
3
18
Location
Easton, PA
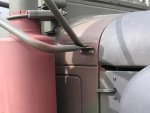
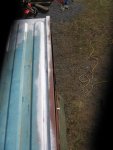
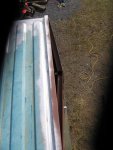
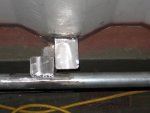
A little more progress today. Two more pictures of the muffler. I am going to take the two piece section of pipe coming out the top of the muffler off and I'm going to use a solid 5 and half long piece. That will give me about two more feet in height and it should be a quick job.
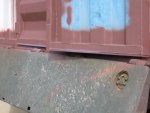
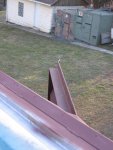
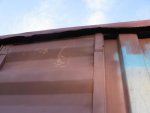
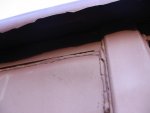
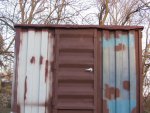
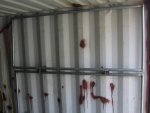
Today I made the drip edge for the rear camper doors. The way I framed the doors with the angle iron created a seam that was great for water to run in. I welded a piece of the 2*2*1/8" flat stock onto the square tubing frame. It hung out over the seam between the door and the square tubing I used for the frame. Then I glued and riveted a piece of rubber and let it hang down bellow the seam. That way water can't get into the upper seam.
Thought I might let you guys know about a product that I use when welding. When I cut out the piece for the mirror bracket and welded the new piece in I used a welding primer. Many times you can't get to the inside of the pannels after you weld them in. The primer is SEM Weld-THRU PRIMER #39783. I get it at a auto body supply shop. 3M makes it also but they are a bit expensive. I'm not a spokes person for SEM but the stuff works good. The primer dosen't burn off with the heat of welding. You can't weld on it but it is great for the back side of the piece you are welding if you won't be able to get to it after the piece is welded on.
Hope to get a bit more done this week. I'm looking to start on the bath room. Should get the framing done by next week. I like to look at other threads with guys doing campers with the 109. They always seem to get a lot more done than me. I should try using both hands instead of one working and the other holding the beer. Might get twice as much finished that way.
 

Attachments

daddy2

Member
276
3
18
Location
Easton, PA
Winter or not, I plan on taking it to Kokomo, Indiana in September for the Veterans reunion. Thankfully this winter has been mild. I would also like to get to the Rausch Creek rally this fall. Spring rally isn't going to happen for me. To much work left for spring. This fall might be possible good. Would be good to do some off roading to look for areas I could improve or to see if something just won't hold up. Hopefully the welds will be good. I only spilled beer on some of them.
 

AirborneJordan

New member
8
1
3
Location
Rittman/Ohio
Nice job on the rv build. I love these type of projects. I am building a rv right now out of an old 24 foot u haul truck. I have really been thinking about putting the box onto a duce. I can post the link to my build thread if your interested. I just did not want to hi jack your thread. Nice job.
 

skidder

Member
165
8
18
Location
Winsted,conn
Nice job, IT makes one think what we can do with a welder an tourches !!! hope to see you an have a beer at GILBERT PA Raley Maybe i might have mine done by then lol
 

daddy2

Member
276
3
18
Location
Easton, PA
AirborneJordan send me a link. Love looking at other builds. Swap Ideas.
Skidder, I'll try to make Gilbert. When is it? I'll bring the beer. Or maybe we should both bring some. Just in case yours tastes better.

Hope to have some more pics this weekend.
 

daddy2

Member
276
3
18
Location
Easton, PA
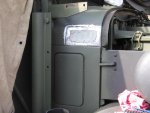
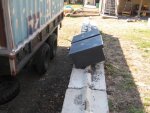
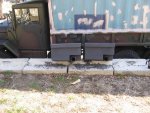
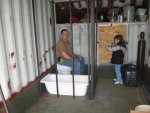
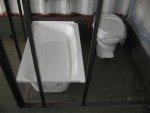
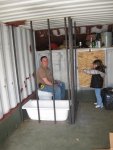
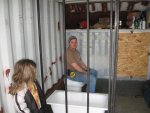
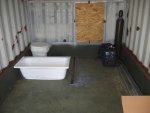
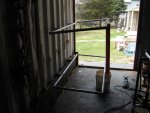
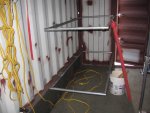
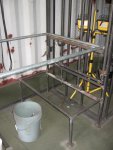
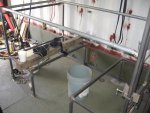
A few new Pictures. Framing for the bathroom. I included a picture of the grey water and brown water tanks. I'm going to relocate the spare tire and just get rid of the shovel, pick, and ax holder. Tanks will hold 28 gal. each. The toilet uses less than one liter per flush. One gallon is 3.78 liiters. Should get three flushes per gal * 28 gal= 84 flushes. good fo a week or two. I'm going to box out the tanks with sheet metal to protect them when off roading. Let me know what you guys think.:grd:
 

Attachments

daddy2

Member
276
3
18
Location
Easton, PA
Got a bit more done. Had to manage a death in the family so took some time off to regroup.

I decided to go with two fold up bunks. More room when not in use. Top bunk will be held up with two small chains. The bottom with two legs. The chain will have links to allow for the truck being off level and the legs will have threaded roundstock to accomplish the same thing as the chains if off level. A third bunk will go above the dinnette. The fold down bunks are 30" wide by 72" long. The bunk above the dinnette is 37" wide by 69" long. The dinnette will also turn into a 65" wide by 72" long bed. Pics will be better to show this when it is closer to being done.

the Dinnette benches are 20" deep by 42" long The dinner table will be 24" wide by the same 42". A 42 gal. fresh water tank will go under each bench. I am now going to start on the fold up seating bench that will be opposite the bathroom. going to be additional seating for three. Four at the dinnette and three on the bench seat. Seven total in the back with seven sets of seat belts to keep it legal. :smile:
 

Attachments

Mike929

Member
820
22
18
Location
DFW, Tx
Curious, have you thought about attaching the bottom bunk to the top via a chain. That way the bottom bunk would self level when you level the top one?

Just an idea, since it looks like your spacing is uniform.
 

daddy2

Member
276
3
18
Location
Easton, PA
I did think of that but if I am not using the top rack then the chain would have to run to the ceiling. I thought it might be better to keep them separate. It did sound like a good idea until I thought of that, but I have already remodified a number of things, so if teh legs don't work out, then I might end up doing it.

I plan on making the legs attach to the bottom bunk six inches in from each side. That would give me 60" between the legs. Enouph for a two man blow up mattress to fit between. It would be very tight but might be better than getting wet, for the two sleeping there.[thumbzup]
 

daddy2

Member
276
3
18
Location
Easton, PA
To tell you the truth, the biggest problem I had with the bunks was the hinges. I had to make then out of 2"*2" angle iron. the clearance was the issue. The sides of the duese are 14". The bunks are both 30" wide. gives me 74" the inside height is 6'4" or 76". Take 1" away for ceiling insulation = low tolerances. Must of had a bit of devine intervention for the things to fit.[thumbzup]
 
Top
AdBlock Detected

We get it, advertisements are annoying!

Sure, ad-blocking software does a great job at blocking ads, but it also blocks useful features of our website like our supporting vendors. Their ads help keep Steel Soldiers going. Please consider disabling your ad blockers for the site. Thanks!

I've Disabled AdBlock
No Thanks