• Steel Soldiers now has a few new forums, read more about it at: New Munitions Forums!

  • Microsoft MSN, Live, Hotmail, Outlook email users may not be receiving emails. We are working to resolve this issue. Please add support@steelsoldiers.com to your trusted contacts.

Fabricating loading ramps for m871 trailer and halftrack

Autocar

Member
260
16
18
Location
California
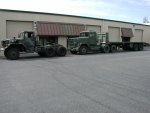
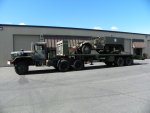
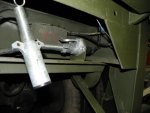
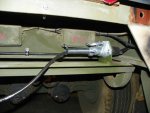
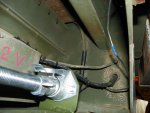
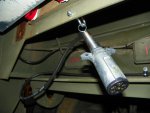
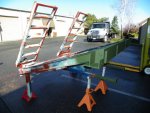
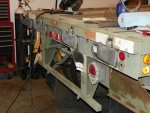
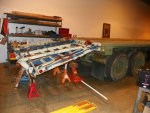
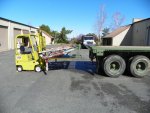
I found a detachable dump truck ramp on CL. It hooks onto the back of a dump truck box and allows a backhoe to climb into the box and therefore a trailer is not needed. I added this ramp to my M871 22 1/2 ton 30 foot long flatbed/stakebed trailer and make it detachable also. I cut the wiring to the rear trailer lights and connected the wiring to a standard 7 pin receptacle. I wired the existing rear trailer lights into a 7 pin plug. The ramp lights were wired into a 7 pin plug also. When the ramp is not used, the rear trailer lights are plugged into the receptacle and everything works normally. When the ramp is used, the trailer lights are unplugged and the ramp plug is plugged into the receptacle, thereby killing the rear trailer lights. The creates the proper current draw so that the 24/12V conversion resistors in the M871 trailer work properly.
 

Attachments

NDT

Well-known member
Steel Soldiers Supporter
10,498
6,631
113
Location
Camp Wood/LC, TX
Wow! This really improves the usefulness of the 871. Can you give length of the beavertail and how high off the ground the very end is.
 

Autocar

Member
260
16
18
Location
California
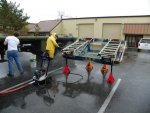
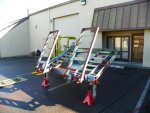
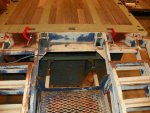
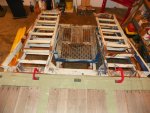
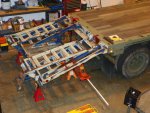
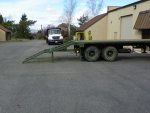
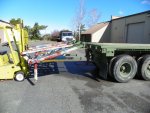
The ramp was pretty banged up so I ended doing a whole lot of tweaking and repairing. Finally got everything straight and patched up. It has swing down arms at the rear to take up the load during loading. After priming the repairs, I power washed it and painted the front section where it bolted to the trailer. I'll add more tomorrow.
 

Attachments

wehring

Active member
1,375
26
38
Location
Angleton, TX
excellent work

Thank you for making this post. Excellent work. Please forward anything you can about this unit. Is it a custom job or is it commercially available. Any data paltes on it? Any info at all as to where one can be bought.

Thank you for the great idea!!

Justin Wehring
979 997 3112
 

clinto

Moderator, wonderful human being & practicing Deuc
Staff member
Administrator
Super Moderator
Steel Soldiers Supporter
Supporting Vendor
12,596
1,133
113
Location
Athens, Ga.
Very nice work, Autocar. Thank you for sharing it with us.
 

Autocar

Member
260
16
18
Location
California
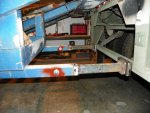
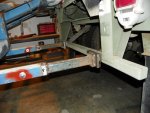
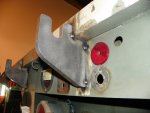
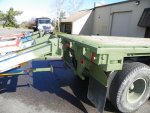
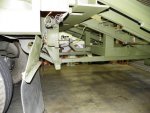
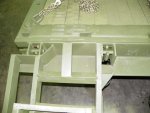
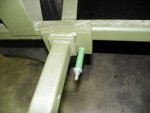
The ramp is held onto the trailer with (4) hook brackets. I designed the brackets after dry fitting the ramp to the trailer and taking measurements. I had the hooks CNC machined from 3/4 plate and tack welded them in place. Afterwards I dry fit the ramp again to make sure the hooks were correct before final welding. The hooks support (4) mounting pins located on the front of the ramp. To support the bottom of the ramp, there are feet that come out of the bottom of the ramp that push on the truck frame. I fabbed up reinforcing plates that were welded to the ICC bumper, then I added 2x2" angle reinforcing struts that went from the back of the ICC bumper up to the heavy lifting lugs on the trailer frame. Lastly, I sized the arms to the right length and welded on the limiting collars.
 

Attachments

Autocar

Member
260
16
18
Location
California
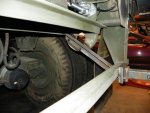
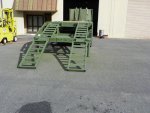
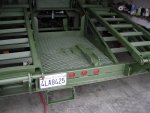
Here is the ramp being attached to the trailer for the first time after all the fab work was completed. The ramp is tilted up slightly at the back and then the pins are dropped over the hooks on the trailer. The ramp is lowered down and the arms swing forward until they touch the pads on the ICC bumper. The rest of the ramp was painted. The last picture shows a side view of the ramp with the swing down support arms in the down position.
 

Attachments

Autocar

Member
260
16
18
Location
California
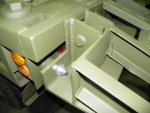
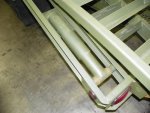
These are photos of the finished attached ramp. There is a good view showing how the pins slip into the hooks. To prevent the ramp from bouncing out of the hooks when going down the road, two large bolts were added to prevent vertical movement of the ramp. It also adds extra support for the hooks. The ramp arms are not hard mounted to the ICC pads because if the trailer squatted during loading, the ramp would want to pivot on the pins/hooks and you would put undue loads on the arms and ramp. The arms are supported for downward loads on the ramps, but there are springs on the pad so that if the ramp tries to lift upwards, the springs will give and let the ramp rise(or the trailer squat) without stressing anything. Also shown is one of the swing down support arms. It folds up for normal driving, but swings down to support the back of the ramp during loading. It has a heavy jackscrew in the middle of the two tubes that allow you to screw the bottom tube of the leg up or down to match the ground elevation.
 

Attachments

Autocar

Member
260
16
18
Location
California
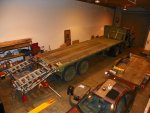
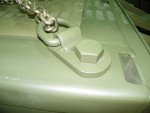
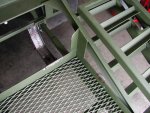
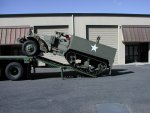
To hold the halftrack down, I made D ring brackets. These were cut out of 5/8 steel plate and the D rings were welded to the brackets. The brackets are bolted to the trailer using 1 1/2" dia. bolts. Whats nice is that every few feet on the trailer rails, there are reinforced pads with 1 5/8" holes, so I can move the D rings anywhere I want to for the entire length of the trailer. You can see the holes on the birds eye view. The birds eye view shows how the chains and D rings are used for tie downs.
 

Attachments

Last edited:

Autocar

Member
260
16
18
Location
California
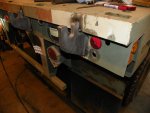
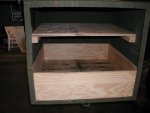
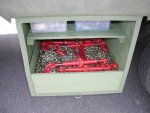
I added a wooden liner to the chain box to hold the chains and the load binders along with a shelf with plastic bins to hold tie downs, gloves, coveralls, rags, etc. I also added brackets to hold my scooter on the ramp deck. With the ramp deck being so far back from the rear trailer axles, the ride is really rough and it beat the crap out of my scooter(I think the bumps get magnified sort of like cracking a whip). I will have to mount the scooter somewhere else.
 

Attachments

Autocar

Member
260
16
18
Location
California
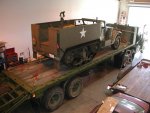
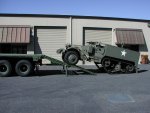
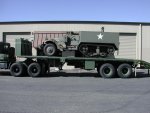
I was concerned about the halftrack being higher than it would be on a low boy, but the trailer handles fine. There is no swaying on curves and it seems very stable. The total height is 11'3" so the height and center of gravity is actually less than most standard loaded box trailers. Loading and unloading turned out to be very easy also. I can easily load/unload by myself. I put the halftrack in low transfer/1st gear and just buzz right on up the ramp. The trailer is wide enough that I can look out the side window of the halftrack and just watch the edge of the trailer when I load/unload and I get it centered within an inch or two each time.
 

Attachments

Autocar

Member
260
16
18
Location
California
Wow! This really improves the usefulness of the 871. Can you give length of the beavertail and how high off the ground the very end is.
The length of the beaver tail is about 7 feet and the ramps are 5 feet with the short link ramps being about 1 foot. The height varies depending on which tractor I use. From the ground to the top of the deck at the rear where the short link ramps attach if I remember correctly is about 28" with the M818 and about 30" with the M915. The M818 5th wheel is 5-7" higher than the M915 so it tilts the back of the trailer down which is why the ramp is lower with the M818
 

Autocar

Member
260
16
18
Location
California
Thank you for making this post. Excellent work. Please forward anything you can about this unit. Is it a custom job or is it commercially available. Any data paltes on it? Any info at all as to where one can be bought.

Thank you for the great idea!!

Justin Wehring
979 997 3112
This ramp was a commercially available unit that was invented and first made in the San Francisco Bay Area during the early 1970s. I couldn't find any data plate or info on it, but I did a patent search on it and found it but the company listed in the patent wasn't around any longer. They are very common out here in California because the dump truck doesn't need a trailer to haul the backhoe around. I saw a brand new unit on a new truck a few months ago but I couldn't find any data plates in the short amount of time I had to look at it. I imagine that you could check with a truck body company in your area and they might know about them. It's a really nice piece so I think they may be expensive new. If you can find one used, with the construction economy the way it is, you could probably get one really cheap. I paid $900 for mine and I don't think you could buy the raw steel for that little. It weighs about 1500#.
 
Last edited:
Top
AdBlock Detected

We get it, advertisements are annoying!

Sure, ad-blocking software does a great job at blocking ads, but it also blocks useful features of our website like our supporting vendors. Their ads help keep Steel Soldiers going. Please consider disabling your ad blockers for the site. Thanks!

I've Disabled AdBlock
No Thanks