Gunfreak25
Well-known member
- 1,561
- 620
- 113
- Location
- Yuma, AZ
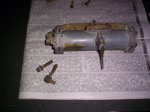
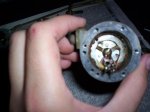
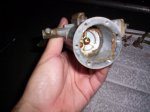
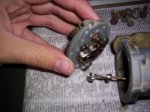
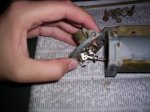
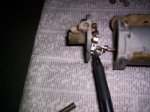
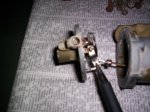
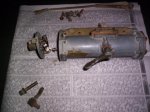
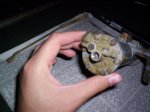
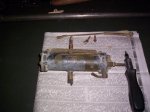
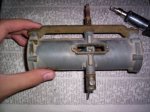
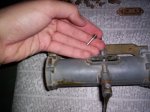
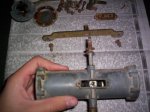
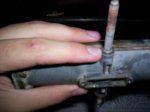
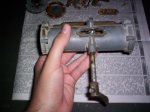
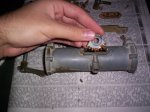
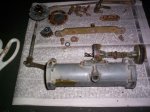
Each paragraph corresponds with each picture from L to R
-Here is our candidate. Full of rock hard grease, leaky gaskets and plugged inlet and exhaust ports. They are very easy to fix!
-First remove the inlet hose barb and exhaust fitting
-Remove these 6 machine screws
-Gently pull the left valve cap and valve assembly out and lay it down like so
-The valve is spring loaded and has 2 detent positions. This is the up position.
-Press it down into place like this
-The thin metal rod has two hooks at the end that connect to the valve. Unhook the rod like so
-Picture showing the hooks and how they engage the pin on the valve
-Go ahead and remove the right cap and 6 machine screws too
-Back to the left side with the valve rod. Pretty nasty! I believe the old grease is vegetable based and STINKS like all get out.
Continued below....
Attachments
-
66.2 KB Views: 39
-
44 KB Views: 41
-
49.6 KB Views: 40
-
51.6 KB Views: 39
-
54.7 KB Views: 38
-
56.7 KB Views: 37
-
58.6 KB Views: 41
-
73.1 KB Views: 37
-
53.6 KB Views: 35
-
61.2 KB Views: 40
Last edited:


