• Steel Soldiers now has a few new forums, read more about it at: New Munitions Forums!

  • Microsoft MSN, Live, Hotmail, Outlook email users may not be receiving emails. We are working to resolve this issue. Please add support@steelsoldiers.com to your trusted contacts.

Ibis Tek Light Bar Install

Valence

Well-known member
Steel Soldiers Supporter
2,112
555
113
Location
Davis County, UT
Valence, you are such a bad influence.. First the gun ring and now the light bar.
HAH! Tell your War department that I'm sorry for the impeding divorce. :p

Well, the good news is, these 66" Ibis Tek lightbar kits aren't as expensive as what they were when I bought mine. But I'd honestly suggest some LED light bars (less big holes drilled in your windshield frame) - unless you've just "got to have" those integrated IR lights and switch box. ;) (even then, folks on here often have IR lights from armored vehicles for sale). But light bars are fun.

For the record, I believe the passenger side gun ring leg will clear these light bar brackets.

I love my light bar. I love how it works, how it looks, the extra shading provided, and the control box. But it has been quite expensive and required several modifications and repairs (both internal and external). I would like to mount a pair of those 2' light bars to the underside of my gun ring (when that's finally on). May require a 4th leg placed over on the driver's side (but that's also why I'm reinforcing both sides of the cab too).
 
Last edited:

Valence

Well-known member
Steel Soldiers Supporter
2,112
555
113
Location
Davis County, UT
I just wanted to update this thread on some developments regarding the mounting brackets.

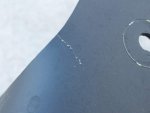
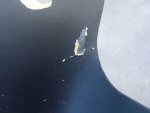
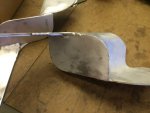
The light bar really shook side to side and I only noticed a developed crack in the aluminum bracket once I had taken them off to be reinforced anyway.
image.jpg image.jpg

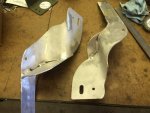
After the crack repair and reinforcement (no, I didn't do this, I paid Scott at the Iron Works in Woods Cross, UT for this fine aluminum welding and workmanship!):
2016-06-18 12.01.52.jpg 2016-06-18 12.02.10.jpg

Then after I got my M66 Gun Ring mounted, I realized the front right leg was in the way of part of the reinforcement!
2016-06-26 19.37.43.jpg

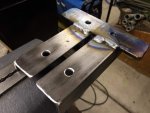
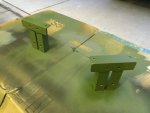
Fortunately, I possessed just enough tools and skills to trim it back. I used a 2-1/4" hole saw (same diameter as the front gun ring leg) to cut the interior curve, and a Dremel to cut the line and the outside curves, which again are from the same 2-1/4" diameter circle. I cleaned up and smoothed the cuts and edges with a bastard file - the same I use to sharpen my wood axes and lawn mower blade. Notice that there aren't sharp corners, as that would just provide a stress concentration where the metal could easily fail again.
2016-06-26 21.08.51.jpg 2016-06-26 21.12.18.jpg

After the right side bracket was repainted and bolted on, it actually just touched the gun ring leg, even though when I dry fitted it I thought I had about 1/16" of clearance. I realize the gun ring leg may flex a bit so I'll still keep an eye on this bracket if _somehow_ it ends up taking some force to it. But I really don't expect any problems. If it rattles against the leg, I'm going to glue in a small piece of rubber between the light bar mounting bracket and gun ring leg.
image.jpg image.jpg
 
Last edited:

Valence

Well-known member
Steel Soldiers Supporter
2,112
555
113
Location
Davis County, UT
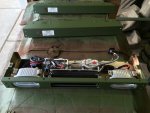
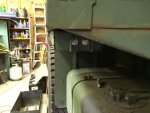
I've been working at adding two 24" light bars to the truck, one above the fuel tank on the passenger side, and the other by the pioneer tool rack. Both will use the front mud flap in those locations as a mounting point, with a very simple fabricated bracket on the other sides to bolt to the under side of the bed. I plan to control them with my in-cab switch box (pictured earlier in this thread) as the "rear" light control.

2017-05-22 20.15.33.jpg 2017-05-22 20.16.31.jpg

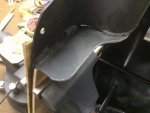
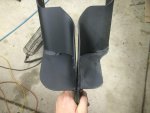
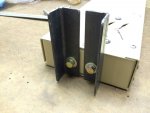
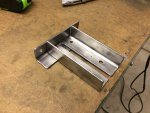
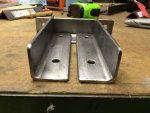
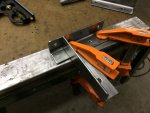
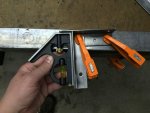
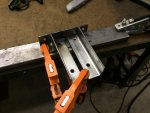
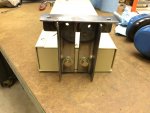
This very simple bracket is made entirely of 1/8" thick 1-1/4" angle iron. A better design would have been a wide, flat sheet of 1/8" steel with a 90 degree bend and some 45 degree reinforcing gussets. I don't have a press and I don't think trying to bend thicker gauges with my bench vise and a hammer would turn out all that well. A better bracket can always be made and holes reused. I used a 4" wire wheel in a hand held drill to clean the metal, and a bench grinder and a file on the ends.

2017-05-23 20.41.32.jpg 2017-05-24 19.28.33.jpg 2017-05-24 19.28.42.jpg 2017-05-24 19.28.54.jpg

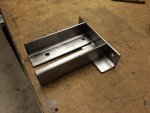
Originally I was just going to bolt the brackets together, but once test fitted, I realized how it could easily move and pivot, so I decided it should be welded. I also appreciated the welding practice this gave me on a non-critical/non-structural item. The inside, more difficult, welds are fairly horrible. :roll: (I'm actually still going to use the bolt holes to hold the bottom parallel brackets to the top, just in case my learning welds fail due to vibration/stress, the light bars won't fall or get damaged.)

2017-05-24 19.35.07.jpg 2017-05-24 19.35.41 HDR.jpg 2017-05-24 19.50.58.jpg 2017-05-24 19.57.51.jpg 2017-05-24 20.08.27.jpg

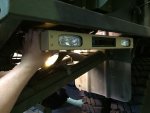
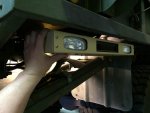
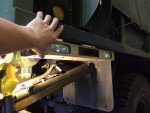
The bracket is 5-1/16" tall (total), with the top 5" wide. This actually puts one hole through the exterior lip of the bed. I thought that'd be fine and better than trying to hide both the bolts on the bed interior and allowing the light bar to exert greater leverage on the assembly. Here's my dumb arm in the way of the bracket in a final test fit.

2017-05-28 20.00.58.jpg 2017-05-28 20.59.29.jpg

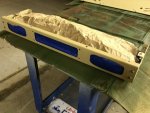
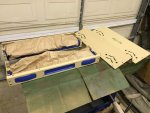
I partially disassembled the light bars for masking and painting.

2017-05-06 21.45.32.jpg 2017-05-06 22.20.14.jpg 2017-05-08 18.33.27 HDR.jpg
 
Last edited:

Valence

Well-known member
Steel Soldiers Supporter
2,112
555
113
Location
Davis County, UT
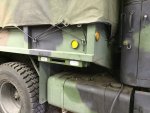
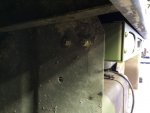
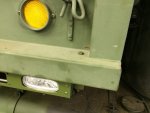
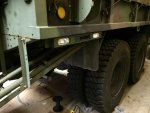
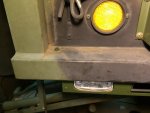
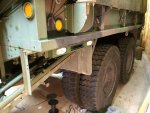
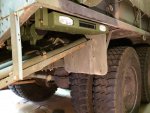
Mounted, but not wired (yet). Also pictured here is the one bolt on each side that was on the outside of the bed. I might need to mask the light again and paint a bit of black on its face to match the bed's camouflage pattern.

2017-05-29 20.22.24.jpg 2017-05-29 20.23.21.jpg 2017-05-29 20.22.50.jpg 2017-05-29 20.22.30.jpg 2017-05-29 20.41.03.jpg 2017-05-29 20.59.12.jpg 2017-05-29 20.41.09.jpg 2017-05-29 20.41.17.jpg

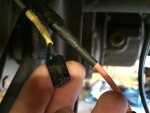
Wiring sure is a time consuming devil. I decided not to cut the wiring harness that came with the 66" light bar and use matching connectors to connect these two light bars when the power and controls only intended one more. I'll admit, I'm not sure if these 24" bars were intended to be compatible with my in-cab controls, but so much of the Ibis Tek products seem to be the same equipment, just in different, or larger configurations. However, the "rear" controls on the switch box contain only 3 pins, yet there are 4 control pins on the plug on the light bar. I suspect the 4th one will be jumpered to one of the other three.

For reference, the factory harness Rear Control plug:

2017-05-29 15.12.43.jpg

On the plug:
A = Green wire
B = Black wire
C = Red wire

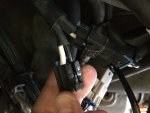
The factory power (one for front, one for rear):

2017-05-29 15.14.07.jpg

On the plug:
A = White wire (+24V)
B = Black wire (ground)

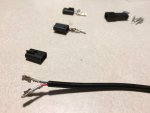
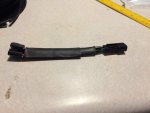
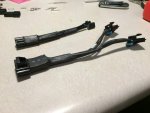
My home made y-splitters for the 3-pin control and power/ground:

2017-05-29 16.09.30.jpg 2017-05-29 17.00.37.jpg 2017-05-29 19.05.27.jpg

The three conductor wire used above in the in rear control splitter was from an unrelated dash camera installation in my mother's car, but its colors matched the Ibis Tek Rear Control (Red, Black, Green).
75' spool of RCA Antenna Rotator Cable:
https://www.amazon.com/gp/product/B003EI0XRK/
 
Last edited:

Valence

Well-known member
Steel Soldiers Supporter
2,112
555
113
Location
Davis County, UT
Connector list that matches the factory Ibis Tek wiring harness, at least for my 66" one:

Power Plug:
Male plug:
Delphi, P/N: 12129939-B
Automotive Connectors CON MP 630 2W FEM
http://www.mouser.com/Search/Produc...9-Bvirtualkey63000000virtualkey829-12129939-B
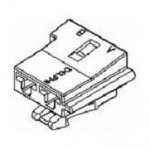
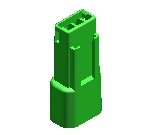
12129939-B.jpg


Female pins for the above male power plug:
**Note: There are multiple terminal options depending on the size of the wire used. These fit 12 gauge wire very tightly, or two 16 gauge prestolite wires for split connections.
Delphi, P/N: 12084590-L
Automotive Connectors FMALE 630 SERIES TIN CBL RANG 5.24-3.49MM
http://www.mouser.com/Search/ProductDetail.aspx?R=12084590-Lvirtualkey63000000virtualkey829-12084590
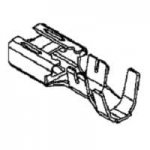
12084590-L.jpg


Female plug:
Delphi, P/N: 12129938-B
Automotive Connectors CON MP 630 2W ML
http://www.mouser.com/Search/Produc...8-Bvirtualkey63000000virtualkey829-12129938-B
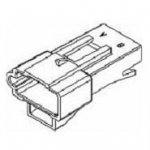
12129938-B.jpg


Male pins for the above female power plug:
**Note: There are multiple terminal options depending on the size of the wire used. These fit 12 gauge wire very tightly, or two 16 gauge prestolite wires for split connections.
Delphi, P/N: 12066493-L
Automotive Connectors TERM M/P 630 ML
http://www.mouser.com/Search/Produc...3-Lvirtualkey63000000virtualkey829-12066493-L
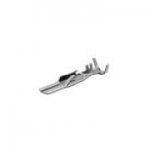
12066493-L.jpg

Connector lock for both the above male and female plugs:
Delphi, P/N: 12129940-B
Automotive Connectors TPA BLU SCNDRY LK
http://www.mouser.com/Search/Produc...0-Bvirtualkey63000000virtualkey829-12129940-B
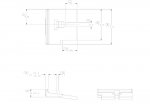
12129940-B.jpg


Rear Control:
See Delphi's Metri-Pack 150 for a complete listing and alternate terminal options for different gauge wire.
21.8 MB PDF:
http://ecat.delphi.com/docs/default-source/ecatalog-documents/metri_pack_series_section-pdf.pdf
View attachment metri_pack_series_section-pdf.pdf

Male plug for rear control:
Delphi, P/N: 12047781-B
Automotive Connectors CON MP 150 3W FEM
http://www.mouser.com/Search/Produc...1-Bvirtualkey63000000virtualkey829-12047781-B
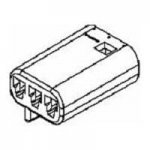
12047781-B.jpg


Female pins for the above rear control male plug:
**Note: There are multiple terminal options depending on the size of the wire used. These fit 20-22 gauge wire fine.
Delphi, P/N: 12047767-L
Automotive Connectors FMALE 150 SERIES TIN CBL RANG 2.40-1.70MM
http://www.mouser.com/Search/ProductDetail.aspx?R=12047767-Lvirtualkey63000000virtualkey829-12047767
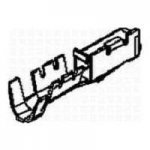
12047767-L.jpg

Connector lock for the above rear control male plug:
Delphi, P/N: 12047783-B
Automotive Connectors TPA M/P 150 LK
http://www.mouser.com/Search/Produc...3-Bvirtualkey63000000virtualkey829-12047783-B
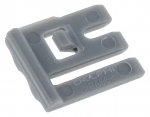
12047783-B.jpg


Female Plug for the rear control:
Delphi, P/N: 12047782
Automotive Connectors 3P MALE BLACK 150 SERIES 14 AMPS
http://www.mouser.com/Search/ProductDetail.aspx?R=12047782virtualkey63000000virtualkey829-12047782
(Note: At the time of this writing, the picture in the above link is actually just the generic Metri-pack 150 unsealed connector image, see the below, correct, reference picture)
12047782.png 12047782.jpg


Male pins for the above rear control female plug:
**Note: There are multiple terminal options depending on the size of the cable used. These fit 20-22 gauge wire fine.
Delphi, P/N: 12059894-L
Automotive Connectors MALE 150 SERIES TIN CBL RANG 2.40-1.47MM
http://www.mouser.com/Search/Produc...4-Lvirtualkey63000000virtualkey829-12059894-L
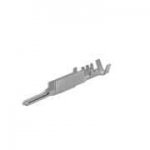
12059894-L.jpg


Connector lock for the above rear control female plug:
Delphi, P/N: 12047784-B
Automotive Connectors TPA MP 150 3W LK
http://www.mouser.com/Search/Produc...4-Bvirtualkey63000000virtualkey829-12047784-B
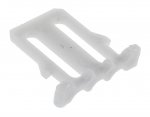
12047784-B.jpg


Front Control:
Female plug:
Delphi, P/N: 12064763-B
Automotive Connectors CON MP 150 6W ML
http://www.mouser.com/Search/Produc...3-Bvirtualkey63000000virtualkey829-12064763-B
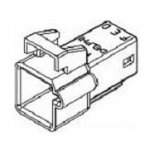
12064763-B.jpg

Male pins for the above front control female plug:
**See the male pins for the rear control plug, I believe they're the same.
12059894-L.jpg

Connector lock for the above front control female plug
Delphi, P/N: 12064765-B
Automotive Connectors TPA M/P 150 LK
http://www.mouser.com/search/ProductDetail.aspx?R=0virtualkey0virtualkey12064765-B
12064765.png


Front Control male plug:
Delphi, P/N: 12064762-B
Automotive Connectors CON MP 150 6W FEM
http://www.mouser.com/search/ProductDetail.aspx?R=0virtualkey0virtualkey12064762-B
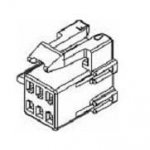
12064762-B.jpg


Female pins for the above front control male plug:
**See the female pins for the rear control plug, I believe they're the same.


Connector lock for the above front control male plug:
**Note: Requires two
Delphi, P/N: 12064764-B
Automotive Connectors TPA M/P 150 LK
http://www.mouser.com/search/ProductDetail.aspx?R=0virtualkey0virtualkey12064764-B
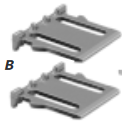
12064764-B.png
 
Last edited:

Thehex

New member
7
3
3
Location
Texas
Thank you for this thread! I am in the process of shortening the wiring harness, I am able to save all the connectors but a quarter of the pins are getting destroyed when i try to re-crimp them.
 
Top