• Steel Soldiers now has a few new forums, read more about it at: New Munitions Forums!

  • Microsoft MSN, Live, Hotmail, Outlook email users may not be receiving emails. We are working to resolve this issue. Please add support@steelsoldiers.com to your trusted contacts.

M1008 Build

DIVE DIVE

Well-known member
217
778
93
Location
Chesapeake, VA
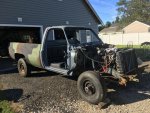
Hello I’m starting this build thread for my M1008 so others can see it and maybe get some ideas and also to learn from any feedback you guys may have. I’ve had an M1008 before that I parted out for use in my rock crawler and also had an M1009 a few years ago that I got while I was stationed in Hawaii. I built that thing and then subsequently sold it to move on to other projects. So I guess this is my third M, but this time I plan on documenting the journey a little better.
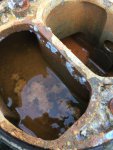
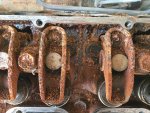
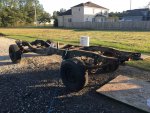
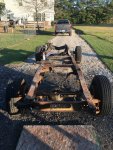
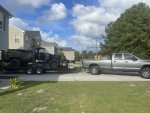
I got this one from a guy down in NC a few months ago and it is in pretty good shape. He had started the build but stopped for whatever reason. He had already stripped the cab, repainted the inside, rhino lined the floor pan, and added a bunch of dyna mat to the firewall and dash. Unfortunately the truck sat outside for several months and the engine filled with water. So as of right now I don’t have an engine. I’ll post a bunch of pics from what I’ve done so far and then try to stay on top of posting as I go on. Hope you enjoy!BCEF91FA-F3C6-4A92-960F-2FF406528852.jpeg96FF2CDA-15C2-41B5-8820-94C9C3C3BAC8.jpeg
 
Last edited:
DIVE DIVE

Well-known member
217
778
93
Location
Chesapeake, VA
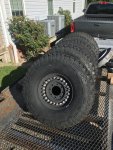
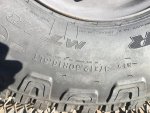
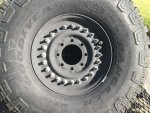
I plan on running these 37s on the beadlocks with spacers. I think I’m going to go with the ORD 4” shackle flip kit and see where that gets me as far as panel interference in the front. I suspect that I may need to also do the zero rate add a leaf in the front as well so I don’t have to trim too much and also keep things leveled out.28888122-68FF-477C-8A94-7D05027EA1CB.jpeg1AB4A351-78D1-48D0-8CCB-72C0528F2585.jpeg80034151-F680-4C1D-80D7-AB16F388A42C.jpeg
 
Last edited:
DIVE DIVE

Well-known member
217
778
93
Location
Chesapeake, VA
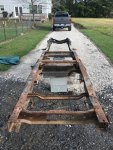
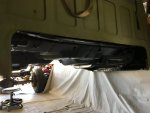
Spent quite a long time cleaning and prepping the frame for paint. Also cut off all of the things that were no longer needed like the shackle hangers and bump stops. At this point I also drilled out the exhaust hangers and removed them in order to properly clean them and prep for paint by drilling out the spot welds on the rubber mounts so I could remove the rubber part.E1AA35F5-A827-45E1-9E37-6E79368A4D12.jpeg35F2F136-5708-4467-ABFB-7428790EFF2B.jpegFC15E67A-B74D-4368-AFA2-E3684DA195C6.jpegE167F16E-3DFD-4B4B-B894-C001503B7190.jpeg
 
Last edited:
DIVE DIVE

Well-known member
217
778
93
Location
Chesapeake, VA
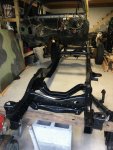
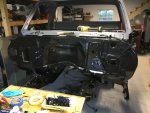
Again, spent a ton of time stripping and prepping the bottom of the cab and the firewall for paint. I used chassis saver paint which is very similar to POR-15. When I first opened the paint I immediately mixed it very well with a stir stick and separated it into 4 different quart mason jars. I put a small amount of reducer on the top, then I then put two layers of Saran Wrap over the top, put the lid on, and gently placed them on the shelf. It worked very well and I didn’t have any issues with the paint drying up on me which it can do very quickly once exposed to air. At this point I used an entire gallon over the course of the last few months on the frame, gas tank, underbody of the cab, firewall, and underbody of the bed rails and inner wheel wells of the bed.F9D97087-C0F0-4EB5-AD2D-FBAE72E83FF7.jpeg6BF388BE-76DE-4800-A7A7-3D3D7554E154.jpeg3BD1249A-2199-44B7-B32E-F88FBD730650.jpegACF1191F-4275-4102-B8F4-981C2911FF27.jpeg
 
Last edited:
DIVE DIVE

Well-known member
217
778
93
Location
Chesapeake, VA
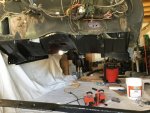
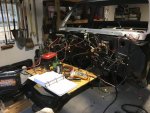
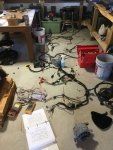
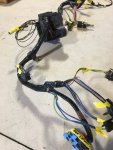
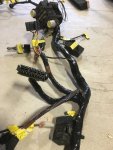
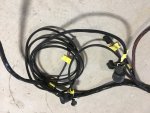
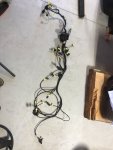
Then I started to attack the wiring. Pulled every single wire off of the truck and conducted end to end checks. Utilizing the TM electrical drawings, methodically labeled and re-wrapped all of the wiring using a combination of heat shrink tubing, new conduit, new wire sheathing and non sticky vinyl wrapping. Surprisingly, I only found a few damaged wires and a bad socket ground on the rear taillight. I cleaned up all the wires using a dish soap mixture and wire brushed all the connections to get down to clean metal. This should prevent any gremlins in the future and gives me a good starting point for troubleshooting when it becomes necessary.1BE0781C-78F3-4F1E-B4DF-B2B8B46D4049.jpegB28F558D-C6D9-4121-A5BB-B43BFD5DF897.jpegCFB248C0-1193-4EF7-B457-AFE7EFFA9010.jpeg63807E92-AB50-4C1D-897C-4C6BCB00EB62.jpegA01B3723-0D14-4705-AD29-39D2BC3C3D34.jpeg08E12555-EFE3-4F66-A9FE-7F13E49F3F8D.jpeg222CBA18-3A05-49DC-B104-BD801B1FC2D8.jpegF8876444-F2EA-4CF8-BDEA-FA12DBBC07C8.jpeg
 
Last edited:
DIVE DIVE

Well-known member
217
778
93
Location
Chesapeake, VA
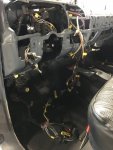
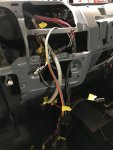
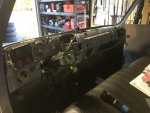
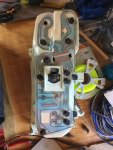
Got the dash all wired up. Had to completely disassemble the steering column because the bearings had a bunch of blasting grit in them from the previous owner. I cleaned up the instrument panel and cleaned the back electrical sheet up with a wire brush (very gently). I cleaned and tested all the light bulbs and then installed them. After they were all installed I applied power to the harness connection point and made sure everything worked. The only discrepancies were the speedometer doesn’t work mechanically and the fuel gage doesn’t go all the way down to empty. Figure that out later. Probably just need a new sending unit.B32A55C6-5174-43C9-A9A0-E4B5DA912481.jpegB63DFA0E-E2C6-49E8-9061-922E252B3F4C.jpeg
 
Last edited:
Mullaney

Well-known member
Steel Soldiers Supporter
Supporting Vendor
7,724
19,772
113
Location
Charlotte NC
Got the dash all wires up. Had to completely disassemble the steering column because the bearings had a bunch of planting grit in them from the previous owner. I cleaned up the instrument panel and cleaned the back electrical sheet up with a wire brush (very gently). I cleaned and tested all the light bulbs and then installed them. After they were all installed I applied power to the harness connection point and made sure everything worked. The only discrepancies were the speedometer doesn’t work mechanically and the fuel gage doesn’t go all the way down to empty. Figure that out later. Probably just need a new sending unit.
.
Wow what a difference! When you get finished with it, it will be about like it was when it rolled off the assembly line. LOTS of hours have been poured into that truck. Really sharp and lots of attention to detail by you!

What a great thread...
 

DIVE DIVE

Well-known member
217
778
93
Location
Chesapeake, VA
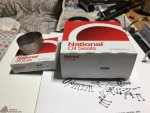
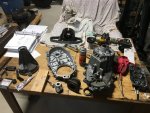
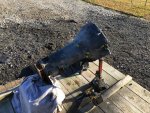
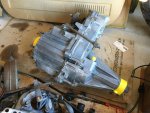
I was having some trouble getting the t-case input seal out so I decided to split the case so as to not damage anything. I also noticed when I took the front output drive flange off that the last guy left the inner lip seal spring as a little present still inside the case smashed between the flange and the shaft shoulder. Everything looked great inside so I just cleaned everything up and put it back together with a new input seal and front output seal. The rear seal was a different story. I ordered the kit to replace the rear seal and sleeve bearing from Oreillys. It was a National part that came with the TM matching 9449 seal and a sleeve bearing that was supposed to fit as well. I mic’d the ID of the new bearing and it checked out so I proceeded with destructive removal of the old bearing. When I went to put the new bearing in I was frustrated to learn the it was too small. Although the ID of the old and new bearings were the same, the thickness of the bearings were different. The old bearing was .060 thick and the new one was .050. So now I’m trying to figure out what the right bearing is because the one in the kit’s diameter is ~.020 too small.B2F2D452-3274-4C32-A503-E5A1B4AE1584.jpeg330DA110-BA8F-491E-8B70-E50E7230FF25.jpeg
 

DIVE DIVE

Well-known member
217
778
93
Location
Chesapeake, VA
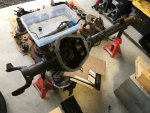
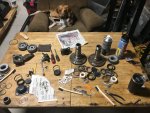
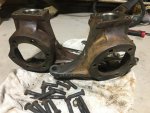
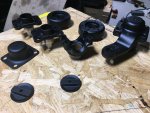
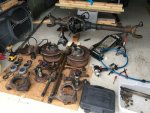
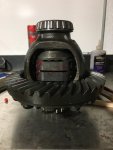
Still waiting on the rear output sleeve bearing that I ordered in order to get the t-case buttoned up. Took time over the last few weeks to make some progress on the front axle. Steering knuckles are blown apart and pre-cleaned and all the internal axle parts are cleaned up.5EA8576A-BD4A-4D4E-9947-7F970E4CDE33.jpeg79B35AA8-F103-45EB-9FE0-A012422A2B68.jpeg84E57CEE-D500-4A61-9657-3322B042C81E.jpeg
 
Last edited:
DIVE DIVE

Well-known member
217
778
93
Location
Chesapeake, VA
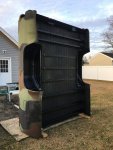
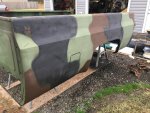
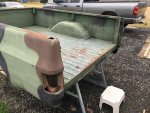
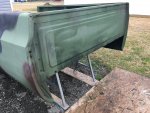
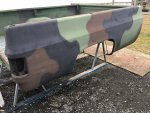
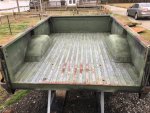
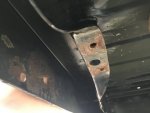
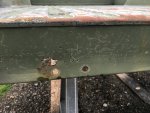
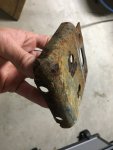
Here are some pics of the bed. I haven’t done much to it yet other than pound out all the dents in the bed and wheel wells. There is one spot of rust on the rear of the bed I’m going to have to cut out that is on the rear fascia to under bed area. Drilled out the spot welds and pulled the support off and now I’ll have to cut out the small piece of sheet metal and then weld the support back on.
 

Attachments

DIVE DIVE

Well-known member
217
778
93
Location
Chesapeake, VA
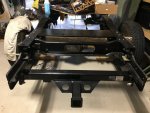
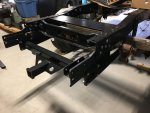
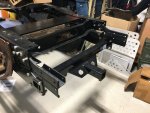
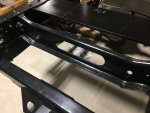
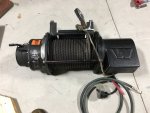
I wanted to show the roughly final look of the rear hitch assembly. This will still need to incorporate the wing supports and pintle supports of course, but here is what it currently looks like. Previous owner had started to work on a cross member above the rear axle to incorporate a rear winch so I finished it up and installed it. Not sure if I’m gonna use it yet because the fairlead would have to go where the pintle hitch goes and I’m pretty set on having the pintle there.
 

Attachments

Mullaney

Well-known member
Steel Soldiers Supporter
Supporting Vendor
7,724
19,772
113
Location
Charlotte NC
Still waiting on the rear output sleeve bearing that I ordered in order to get the r-case buttoned up. Took time over the last few weeks to make some progress on the front axle. Steering knuckles are blown apart and pre-cleaned and all the internal axle parts are cleaned up.View attachment 854921View attachment 854922View attachment 854945
.
Had to reply to this post in particular...

Everything is looking good to me!
I can only assume that it is this good only because Super(visor) Dog is there keeping an eye on you :)
.
 
Top