• Steel Soldiers now has a few new forums, read more about it at: New Munitions Forums!

  • Microsoft MSN, Live, Hotmail, Outlook email users may not be receiving emails. We are working to resolve this issue. Please add support@steelsoldiers.com to your trusted contacts.

M1009 Little Red Riding Hood.

cucvrus

Well-known member
11,474
10,441
113
Location
Jonestown Pennsylvania
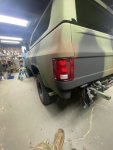
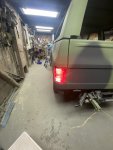
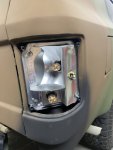
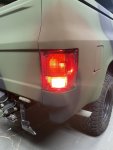
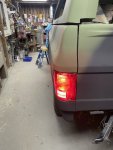
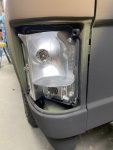
I can barely tell the difference in the park lamps between LED and standard bulbs. The B/U is the big difference. I am going with LED because of the heat difference and the amperage draw . IMG_1712.jpeg IMG_1713.jpeg IMG_1714.jpeg IMG_1715.jpeg IMG_1717.jpeg IMG_1718.jpeg I may call it a day at this point. I don’t want to over do it and rush into things. I guess the rear gate is next. That is a fun job. I have everything brand new so it will take me a bit longer. Have a Great Day. I also had some other work done this week. Just sharing. IMG_7806.jpeg
 

cucvrus

Well-known member
11,474
10,441
113
Location
Jonestown Pennsylvania
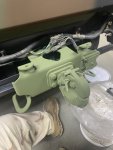
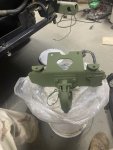
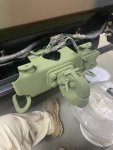
I was being rained out and needed to take time to work on my project. Rain has me mowing 2 -3 times a week. Slow progress. I picked up some new 7/16” hardware and decided I would attach the hitch. Now I will think about installing the rear bumper. IMG_1799.jpeg IMG_1800.jpeg IMG_1801.jpeg
Have a Great Day. Be Safe.
 

Attachments

Last edited:

cucvrus

Well-known member
11,474
10,441
113
Location
Jonestown Pennsylvania
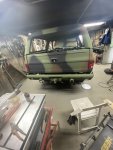
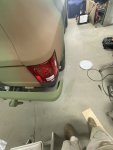
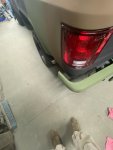
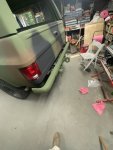
Well if it keeps on raining the levees going to break. I wanted to clean up my shop and the first thing I came across was the rear bumper setting on a stand in my way. Why not just do it, it had to go on anyway at some point. I had new bolts and serrated flange nuts all ready. I installed the rear bumper and attached the hitch to the bumper. The hardest part for me is the cotter pins on the clevises.
IMG_1802.jpeg It looks great and I measured it and it is perfect on both sides. Not my first day. But new fasteners make the job a breeze. I used a 3/8” ratchet with a swivel head. A long handled SnapOn that o had since the 80’s.
IMG_1803.jpeg IMG_1804.jpegIMG_1805.jpeg
Now I am going to clean up the garage V8 and put Al my tools away. It is always a motivator for me when I don’t need to search for everything. I guess the gate is next. Getting to the time of year when it gets hot and I can attempt to have a the windows and new rubbers installed. Take Care. Be Safe.
 
Last edited:

1love

Active member
120
126
43
Location
CA
Killing Rick! By chance would you know the specs for those serrated flange nuts as mine are rusted to hell?
 

cucvrus

Well-known member
11,474
10,441
113
Location
Jonestown Pennsylvania
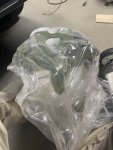
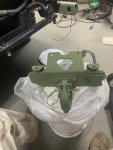
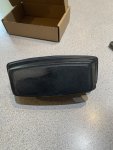
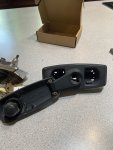
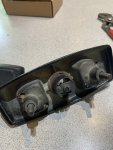
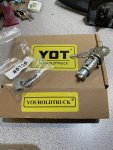
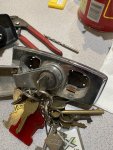
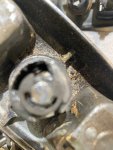
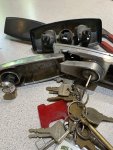
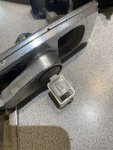
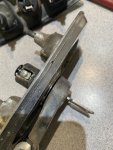
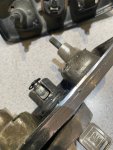
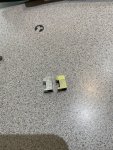
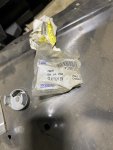
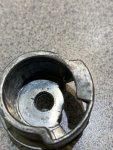
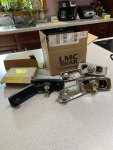
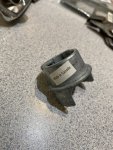
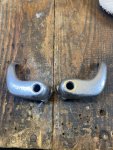
I am in the process of assembling 3 rear gate cranks and have hit a snag. The black OEM handle I found trapped / entombed under the seat of Little Red when I was disassembling it. With the radio rack in place from the factory the seat could never be folded forward so I assume it was entombed before it left the factory. IMG_2243.jpeg It has a bit of rub rash on it, and I used steel wool and 400 grit sandpaper to clean and smooth the area. I will touch it up with a spray of flat black. Since I don’t have any more lock cylinders, springs and pawls I ordered a set online my YOT Your Old Truck. Catchy. IMG_2244.jpeg IMG_2245.jpeg IMG_2246.jpeg I have yet to get it to assemble after spending an hour and a half on it. I suspect the spring has too much tension. I went and dug out another crank I had in my parts bin and was surprised to find a key that fit the cylinder and activated the pawl in and out. Fat chance that is the correct coded key, but it works, and I am happy for that. That was parted from a gate I bought at a Youpullit that had no key. It is an OEM GM part. I am going to add a clutch, paint it and use it on my last M1009 I build. IMG_2247.jpeg IMG_2248.jpeg IMG_2249.jpeg I keep keys and many other things that annoy others. But when people need things the come see me. Needful Things. IMG_2250.jpeg Strange the ignition key fits from an 84 Chevette I bought new. But the CUCV key will not go in the cylinder. I don’t like the old school octagon GM keys that come with the YOT kit, but I was thinking of taking them to a lock smith and getting the cylinder coded for the CUCV. I know some one out there had a bad crank or lock cylinder they are never going to use. IMG_2251.jpeg It locks and unlocks good enough.IMG_2252.jpeg I other same year style keys and they don’t work. What are the chances of that?
 
Last edited:

jmenende

Well-known member
468
400
63
Location
Puerto Rico
I am in the process of assembling 3 rear gate cranks and have hit a snag. The black OEM handle I found trapped / entombed under the seat of Little Red when I was disassembling it. With the radio rack in place from the factory the seat could never be folded forward so I assume it was entombed before it left the factory. View attachment 928223 It has a bit of rub rash on it and I used steel wool and 400 grit sand paper to clean and smooth the area. I will touch it up with a spray of flat black. Since I don’t have anymore lock cylinders, springs and pawls I ordered a set on line my MOT My Old Truck. Catchy. View attachment 928224 View attachment 928225 View attachment 928233 I have yet to get it to assemble after spending an hour and a half on it. I suspect the spring has to much tension. I went and dug out another crank I had in my parts bin and was surprised to find a key that fit the cylinder and activated the pawl in and out. Fat chance that is the correct coded key but it works and I am happy for that. That was parted from a gate I bought at a Youpullit that had no key. It is an OEM GM part. I am going to add a clutch, paint it and use it on my last M1009 I build. View attachment 928227 View attachment 928228 View attachment 928229 I keep keys and many other things that annoy others. But when people need things the come see me. Needful Things. View attachment 928230 Strange the ignition key fits from an 84 Chevette I bought new. But the CUCV key will not go in the cylinder. I don’t like the old school octagon GM keys that come with the MOT kit but I was thinking of taking them to a lock smith and getting the cylinder coded for the CUCV. I know some one out there had a bad crank or lock cylinder they are never going to use. View attachment 928231 It locks and unlocks good enough.View attachment 928232 I other same year style keys and they don’t work. What are the chances of that?
I think cucv are keyed alike. If you have one then you can open them all.
 

cucvrus

Well-known member
11,474
10,441
113
Location
Jonestown Pennsylvania
I think cucv are keyed alike. If you have one then you can open them all.
I know that. I don’t have a spare CUCV lock cylinder for the gate. If I did I wouldn’t be in this conundrum. I am going to go out and dig up some more parts and get the new crank and cylinder out for your Wild Weasel. I hope I have better luck with that one. That is a complete LMC set up. I think a stock spring and pawl no will fix my black handle. I know I have some,. My Wife always knew how to find stuff for me. Meanwhile if anyone had any broken cranks with a lock cylinder could you hook me up? Take Care. I guess it time to get dirty at 90 degrees today. Burning daylight.
 

cucvrus

Well-known member
11,474
10,441
113
Location
Jonestown Pennsylvania
I may end up taking these cranks to a lock smith. I cannot get the cylinders to stay in any of the cranks I have. Stock everything except the spring. I have spent a few hours on these 2 cranks and watched videos. I used to do this like brushing my teeth. Almost effortlessly. That was all stock parts. Not sure. I found lots of new GM pawls and clutches, but that little spring is the challenge.
 

cucvrus

Well-known member
11,474
10,441
113
Location
Jonestown Pennsylvania
I got it. Not sure what the issue was but I was determined and knew I could do it. So now I have 3 completely functional rear window cranks with cylinders installed and everything works on them. 2 of the 3 are brand new. I had to take the Genine GM clutch into the basement and Dremel grind a few burrs from the casting. The Chinese ones were a perfect fit. All is well. IMG_2257.jpeg IMG_2254.jpeg IMG_2259.jpeg IMG_2260.jpegIMG_2258.jpegIMG_2260.jpeg
 

cucvrus

Well-known member
11,474
10,441
113
Location
Jonestown Pennsylvania
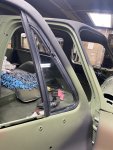
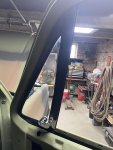
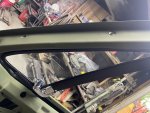
IMG_2655.jpegIMG_2654.jpegIMG_2653.jpeg
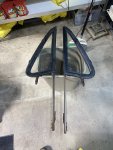
I rebuilt both of my vent windows. I was going to send them to Precision but at $564. plus, shipping both ways I passed. I bought the Precision seals from LMC and did it myself. It was NOT easy, but I was persistent. I used window cleaner as lube vs silicone. I didn't want silicone all over my shop and everything I touch. My M1009 was built 08/1983 and the chrome vent window handles were the OEM ones. I just used the new chrome ones to keep it OEM. I have the many black handles but figured it was unique. I seen a few oddities on this early built M1009. This was one of them tasks that I was procrastinating on for several months. Today was the day. very challenging and time consuming to get the rubbers in the track of the frames. But not $600. worth of aggravation. I would rebuild them for $300. if anyone is looking for that need. Take Care and Be Safe. I consider that light duty work while I am recovering. I am getting excited to put them back in the doors. That may be a simple step in the right direction.
 
Last edited:

CARC686

Well-known member
275
486
63
Location
Las Cruces, New Mexico
I have a wing window needs rebuilt, but would rather see you take it easy for awhile. Don't even know what's wrong with it. It has been sealed shut with RTV since before I got it. Sealed well enough. In the desert, dust collects on fingerprints, so I always know when the parking lot urchins have tried to push it open, which is basically every time I go to Walmart. Since it's keeping them out, I've been reluctant to mess with it.
 

cucvrus

Well-known member
11,474
10,441
113
Location
Jonestown Pennsylvania
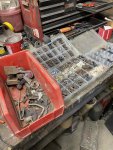
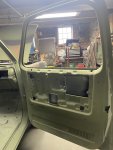
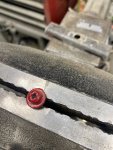
IMG_2657.jpegWhen one is prepping for surgery it is time to dig out all the tools and parts and carefully select which part is nice enough to be used. I have the right door in the raw. IMG_2656.jpeg I must select the right screws and ones that are in the best condition. I like to use OEM fasteners when possible. Top vent screw from Big Red the plow truck. KIA 2021. IMG_2658.jpeg A brass wire wheel in the drill makes it like new. Dont go wild and grind the coating off. IMG_2661.jpeg I was surprised that I had to use the mallet to beat the vent into place. All the holes lined up nicely and I used the OEM screws to install them. I gave every bolt and screw a ride on the brass brush. IMG_2663.jpeg IMG_2664.jpeg IMG_2665.jpeg I am now ready to move onto the left side and will post when complete. Not sure where to work next but think the latches will need refreshed, cleaned lubed and installed. One step at a time. I have lots to do here. and doing it correctly is time consuming. I have my XM and am ready to go. More Later. I also wanted to mention back in the day all GM vehicles were assembled with Posi Drive screws. a slight difference to the standard #2 Phillips screwdriver. No worries. I just wanted to mention it. I have my 45-year-old Posi-drive Snap On screwdriver that was always differentiated by the bright RED handle.
 
Last edited:
Top
AdBlock Detected

We get it, advertisements are annoying!

Sure, ad-blocking software does a great job at blocking ads, but it also blocks useful features of our website like our supporting vendors. Their ads help keep Steel Soldiers going. Please consider disabling your ad blockers for the site. Thanks!

I've Disabled AdBlock
No Thanks