• Steel Soldiers now has a few new forums, read more about it at: New Munitions Forums!

  • Microsoft MSN, Live, Hotmail, Outlook email users may not be receiving emails. We are working to resolve this issue. Please add support@steelsoldiers.com to your trusted contacts.

M35a2 ARB Air Locker Questions

WhoMe08721

Active member
191
123
43
Location
Bayville/NJ
Het guys,
So I finally decided to replace my leaking outer axle seals. But I have been pushing it off because when I replace them I all ways want to install (3) ARB Air Locker in too. Finally have time after the next (3) weeks to install them. My only questions about them are
1)I was not going use the solenoid and instead use (3) more air actuated transfer case lever mountain side by side under the dash. I would rather not have anything electric that can fail when off-roading.
2)I was going to tie them in to the on board air system. Would the air compressor and stock tank have enough air to run (Air over hydraulic brakes, transfer case for the front axles, and all (3) Air Locker) Or would I need to install more air storage tanks in the truck.
3)Also should the two rear axles be on there own air lever (Switch) or should they be tie together? What are the cons and pros of both ideas?
4)Final is there any go literature, books, video on installing them besides these one (https://www.steelsoldiers.com/showthread.php?87548-ARB-Air-Locker-RD145-Install-Thread-Pics-and-Tips , https://www.steelsoldiers.com/showthread.php?104894-ARB-install-in-the-rear-axle, http://www.powerblocktv.com/episodes/XT2011-01/diesel-buggy-part-four-suspension-steering, https://static.summitracing.com/global/images/instructions/ARB-RD145_i.pdf)
 
Last edited by a moderator:

WhoMe08721

Active member
191
123
43
Location
Bayville/NJ
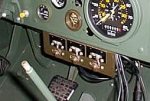
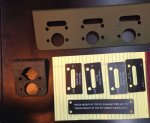
Also any one know where I could buy a Air lever bracket like this one or would I have to custom build it. All I need is the bracket I have all the air lever, light , and parts.

Air lever bracket.JPG
 

cattlerepairman

Well-known member
Steel Soldiers Supporter
3,256
3,353
113
Location
NORTH (Canada)
Wow. Three ARBs. Good for you!

The on-board air can handle switching the lockers. Air consumption is minimal. Remember that the "extra air compressor and tank" is for vehicles that do not have on-board air.
I cannot conceive a scenario where you want to lock one rear axle, but not the other. I think your question is very valid. With the lockers in you want to avoid turns anyway, so locking only one axle does not give you a real advantage for maneuverability. Personally, I think connecting the two rears to one switch and the front to another is all you really need. If the extra line and hardware does not make a difference, sure, have them all separate. I don't think you would use them all separately, though.
 

yolner

Active member
393
68
28
Location
Rockville, MD
Pretty much my dream too. Along with a nice 6BT to give it a little more muscle and one of those LMTV beds. Maybe in a few years.
 

gimpyrobb

dumpsterlandingfromorbit!
27,786
755
113
Location
Cincy Ohio
Are you planning on one switch to activate all of them, one front one rears, or one for each locker?

Imho I would do one front one rears. Less clutter on the dash, but I know some want the dash to look like mission control. I'd love to have 3 arbs.
 
Last edited:

WhoMe08721

Active member
191
123
43
Location
Bayville/NJ
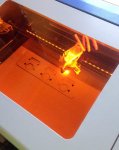
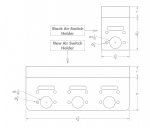
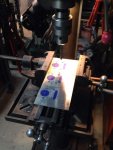
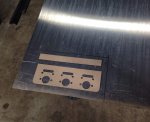
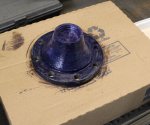
(Locker Update) So toady I stated to make a custom switch holder for the locker switch. I decided to measure the stock one and layout the design in the computer. From there I was able to use my laser cutter to make a cardboard template. Which I will use tomorrow to make it out of steel.

Cardboard Template.jpgCutting.jpgSwitch Layout.JPG
 

clinto

Moderator, wonderful human being & practicing Deuc
Staff member
Administrator
Super Moderator
Steel Soldiers Supporter
Supporting Vendor
12,596
1,132
113
Location
Athens, Ga.
That is awesome work.
 

WhoMe08721

Active member
191
123
43
Location
Bayville/NJ
Hey Guys,
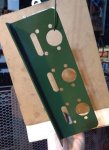
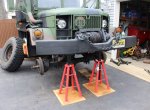
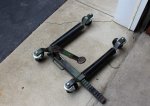
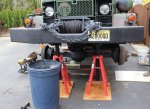
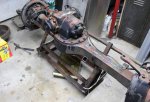
So today I finally got time to start working on my M35A2. I got to use my new jack stands today which worked out great. I also got to use my custom axle stand and tire lift which worked like a champ. The truck is now in the air and the front axle is in the garage ready to be broken down and rebuilt with new air locker inside:lol:. After spending 2hrs getting the front axle out I decided there was time today to even make the new custom name plates for the locker air switch. Will keep you guys posted on my progress.

Jack Stands.jpgCustom Tire Lift.jpgCustom Name Plates.JPGAxle Out And On Custom Stand.jpgPulling The Front Axle Out.jpgTruck On Jack Stands.jpg
 

WhoMe08721

Active member
191
123
43
Location
Bayville/NJ
Also I founded out to day my front shocks where bad. What should I replace them with??? Monroe 74416,Monroe 66903,Monroe 34787, Or two NOS off ebay???
 

clinto

Moderator, wonderful human being & practicing Deuc
Staff member
Administrator
Super Moderator
Steel Soldiers Supporter
Supporting Vendor
12,596
1,132
113
Location
Athens, Ga.
I am really impressed with all of this. The switch bracket and I love the dataplates. Very well done.

I guess since your axle is out and you have radials that you're going to modify the caster plates while you're doing all this?
 

WhoMe08721

Active member
191
123
43
Location
Bayville/NJ
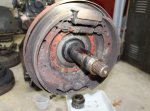
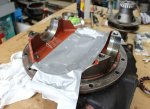
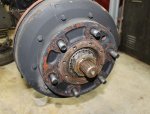
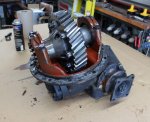
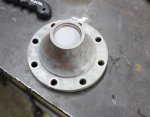
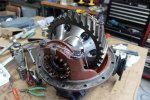
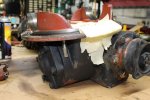
Long time since I have done a update. But here is where I am with the project so far. I have install the front locker and replace all the seals, bearing, and breaks. Painted the front axle and reinstalled it in the truck. I also had done the middle rear axle to and are currently painting the final rear axle. Attached are some picture of the project. So far every thing is going easy. The only big problem I ran in to was grinding the deferential house. Wish some one told me about that step. Cause the instruction didn't. besides that everything is going smooth.

Old Brakes.jpgMakeing Room For The Air Locker.jpgHub Nut.jpgFirst Try With Rust Prevention.JPGDraing Fluids.jpgDif Before Air Locker.jpgAll Cleaned Up.JPGAir Locker Installed In Dif.jpgAdding The Air Hole 2.jpgAdding The Air Hole.jpg
 
Top