cummins7
Member
- 64
- 5
- 8
- Location
- Spring Grove, Pa
M35A2 WINCH CONVERSION AND REBUILD.
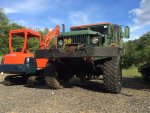
First step of converting a WO/W to a W/W is obvious, you need to find a winch "kit" or a parts truck. I opted to find a complete truck that way I know I got everything I need and I'd have some idea how it all goes back together. The truck I sourced my parts from was a 1953 m35a1 gasser, it was in rough shape but the guy didn't mind if I took all the winch related stuff. For $500 and me pulling it I thought it was a great deal!


I will give you some detail on how I removed everything but it's pretty basic.
Tools needed:
1/2" impact sockets 9/16-15/16
Wrenches 7/16-15/16
Impact or breaker bar
Grinder
Torch (or cut off wheel)
Various punches, chisels
Various hammers
Adjustable wrench
9/16 open end wrench (pto)
Crowbars
Engine lift or some way to lift
Safety glasses
Friend
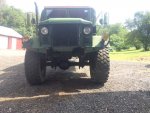
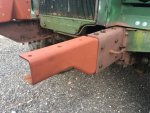
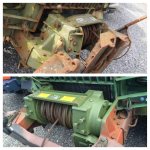
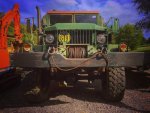
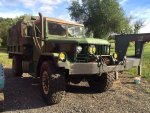
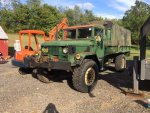
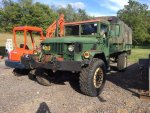
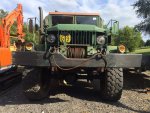
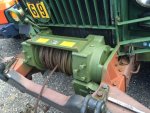
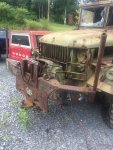
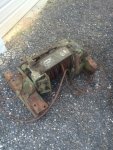
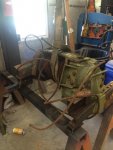
First thing I did was remove the bumper(it was junk and I didn't want it!) so after letting all the bolts soak with some kroil I began disassembly. There's 4 1/2"x 11" bolts (2 on each side) that hold the shackle mount. Plan on torching these off! Then there is 2 5/8"x 11" bolts (1 on each side) that hold the shackle on, once again plan on cutting them off. After that it's all pretty much your standard fine thread bolts. Once you get the bumper off you can begin taking the extension bracket bolts off. Then your pto drive shaft then your pto (if you can, grab the studs!) I pulled the winch assembly with brackets assembled out of the frame (luckily the guy had a forklift so after some crowbar work it slipped right out.) You can do it without removing the bumper but I chose not to take it (see pics).
Once you get it home it's up to you what you wanna do depending on condition of your parts.
I opted to clean, reseal, repair any worn or broken parts and repaint.
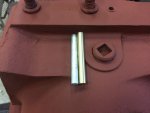
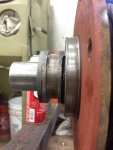
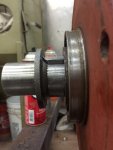
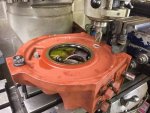
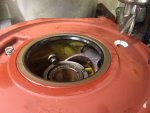
I'll go into detail about the disassembly of the winch. First your gonna wanna put it on a table or work area and make sure it's secure. Then you wanna take off your extension brackets. You'll notice 12 shouldered bolts (6 on each side) keep these!! They are hard to find and are required for proper and safe winch usage. Now is a good time to remove the gear cover and make sure you didn't get a useless winch. Remove the 2 remaining bolts and pull off the cover, look for broken teeth, pitting, excessive wear, rust and any kind of damage. If everything checks out it's off to removing the drum lock side of the winch. I would start with the 3/4" tie rod on the bottom and remove that. Then you can remove the back plate and top plate. After some turning and twisting the left case should just slip off. Clean, inspect and begin to install your new seals. The biggest seal can be replaced fairly easily. The clutch engagement shaft seal can be a pain but is possible with out removing the shaft. It's behind the plate so you'll have to remove the Woodrow key. My drum lock pin was bent and unusable so I had to machine a new one. It's 1/2" stock and turned down to 5/16" and threaded 5/16" 18. The brake "pad" was worn but I just flipped it upside down to the less worn side. I can't seem to find a new one. Put it in primer and your done(with that side). Then we'll start with the brake band housing. Pull the cover off and inside you'll most likely find a rusted mess. Start off by removing the brake band which is held on by the adjusting bolt. Then remove the brake "drum" (I used a harmonic balancer pulley remover) make sure you pay attention to the way it's facing. Depending on condition clean it up and if necessary chuck it up on a lathe and take a couple passes until it's smooth. The brake band right now doesn't seem to be available new so I reused mine until I can find a new one. Once the brake drum is off you should see 4 bolts, remove them and the housing should pull off. Clean, inspect and remove the old seal and add the new one. Use gasket maker and assemble everything back up. Next we'll go onto the input shaft, pretty straight forward. Remove the four bolts and the retaining plate should come off. Clean, inspect, install new seal and seal it up and reinstall. It's up to you if you wanna replace the winch drum seal on the input side, I did not just because I didn't wanna disassemble it that much more.
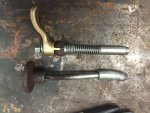
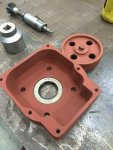
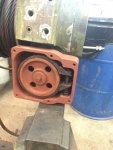
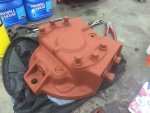
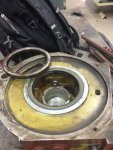
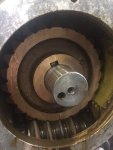
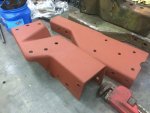
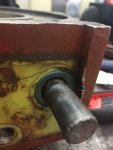
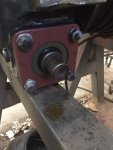
With that done we can move on to the pto. Your basic seal kit should come with 2 selector shaft seals, 2 boots and a output shaft seal. First take the inspection cover off by removing the 6 bolts. Then you should see a cup/nut on the out side of the pto, remove that and be careful it's under spring tension and has a small detent ball. Now you can begin to remove the selector shaft, cut the wire on the fork bolt and remove and using a brass punch and hammer you should be able to tap the shaft out. Pay attention to the way the shaft comes out and install in the same manner, be careful to not knock out the seal on the other end. Once out you can use a seal puller to pop out the boot retaining cups and seals. Clean everything up and install the new seals then the boots and then the retaining cups. Next move on to the output shaft seal, remove the four bolts and remove the Woodrow key then remover the retaining plate. Remove the old seal, clean, install the new seal, seal it up and reassemble. Install the fork bolt and wire then put gasket sealer or gasket on the inspection cover and your done.
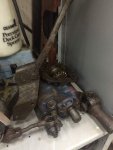
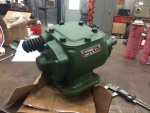
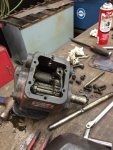
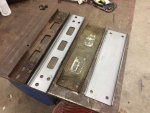
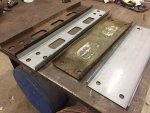
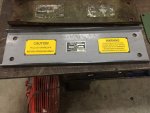
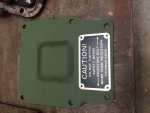
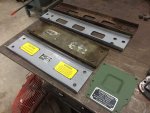
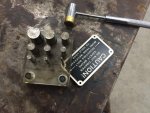
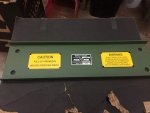
I'll add to this post as I continue, right now I'm waiting to make the new top and back plate to continue. If up to now I missed anything let me know... I'll go back an add about what parts to take and ect (data plates, latches) I do have pictures!! Just wanted to get a basic outline started.
First step of converting a WO/W to a W/W is obvious, you need to find a winch "kit" or a parts truck. I opted to find a complete truck that way I know I got everything I need and I'd have some idea how it all goes back together. The truck I sourced my parts from was a 1953 m35a1 gasser, it was in rough shape but the guy didn't mind if I took all the winch related stuff. For $500 and me pulling it I thought it was a great deal!


I will give you some detail on how I removed everything but it's pretty basic.
Tools needed:
1/2" impact sockets 9/16-15/16
Wrenches 7/16-15/16
Impact or breaker bar
Grinder
Torch (or cut off wheel)
Various punches, chisels
Various hammers
Adjustable wrench
9/16 open end wrench (pto)
Crowbars
Engine lift or some way to lift
Safety glasses
Friend
First thing I did was remove the bumper(it was junk and I didn't want it!) so after letting all the bolts soak with some kroil I began disassembly. There's 4 1/2"x 11" bolts (2 on each side) that hold the shackle mount. Plan on torching these off! Then there is 2 5/8"x 11" bolts (1 on each side) that hold the shackle on, once again plan on cutting them off. After that it's all pretty much your standard fine thread bolts. Once you get the bumper off you can begin taking the extension bracket bolts off. Then your pto drive shaft then your pto (if you can, grab the studs!) I pulled the winch assembly with brackets assembled out of the frame (luckily the guy had a forklift so after some crowbar work it slipped right out.) You can do it without removing the bumper but I chose not to take it (see pics).


Once you get it home it's up to you what you wanna do depending on condition of your parts.
I opted to clean, reseal, repair any worn or broken parts and repaint.
I'll go into detail about the disassembly of the winch. First your gonna wanna put it on a table or work area and make sure it's secure. Then you wanna take off your extension brackets. You'll notice 12 shouldered bolts (6 on each side) keep these!! They are hard to find and are required for proper and safe winch usage. Now is a good time to remove the gear cover and make sure you didn't get a useless winch. Remove the 2 remaining bolts and pull off the cover, look for broken teeth, pitting, excessive wear, rust and any kind of damage. If everything checks out it's off to removing the drum lock side of the winch. I would start with the 3/4" tie rod on the bottom and remove that. Then you can remove the back plate and top plate. After some turning and twisting the left case should just slip off. Clean, inspect and begin to install your new seals. The biggest seal can be replaced fairly easily. The clutch engagement shaft seal can be a pain but is possible with out removing the shaft. It's behind the plate so you'll have to remove the Woodrow key. My drum lock pin was bent and unusable so I had to machine a new one. It's 1/2" stock and turned down to 5/16" and threaded 5/16" 18. The brake "pad" was worn but I just flipped it upside down to the less worn side. I can't seem to find a new one. Put it in primer and your done(with that side). Then we'll start with the brake band housing. Pull the cover off and inside you'll most likely find a rusted mess. Start off by removing the brake band which is held on by the adjusting bolt. Then remove the brake "drum" (I used a harmonic balancer pulley remover) make sure you pay attention to the way it's facing. Depending on condition clean it up and if necessary chuck it up on a lathe and take a couple passes until it's smooth. The brake band right now doesn't seem to be available new so I reused mine until I can find a new one. Once the brake drum is off you should see 4 bolts, remove them and the housing should pull off. Clean, inspect and remove the old seal and add the new one. Use gasket maker and assemble everything back up. Next we'll go onto the input shaft, pretty straight forward. Remove the four bolts and the retaining plate should come off. Clean, inspect, install new seal and seal it up and reinstall. It's up to you if you wanna replace the winch drum seal on the input side, I did not just because I didn't wanna disassemble it that much more.


With that done we can move on to the pto. Your basic seal kit should come with 2 selector shaft seals, 2 boots and a output shaft seal. First take the inspection cover off by removing the 6 bolts. Then you should see a cup/nut on the out side of the pto, remove that and be careful it's under spring tension and has a small detent ball. Now you can begin to remove the selector shaft, cut the wire on the fork bolt and remove and using a brass punch and hammer you should be able to tap the shaft out. Pay attention to the way the shaft comes out and install in the same manner, be careful to not knock out the seal on the other end. Once out you can use a seal puller to pop out the boot retaining cups and seals. Clean everything up and install the new seals then the boots and then the retaining cups. Next move on to the output shaft seal, remove the four bolts and remove the Woodrow key then remover the retaining plate. Remove the old seal, clean, install the new seal, seal it up and reassemble. Install the fork bolt and wire then put gasket sealer or gasket on the inspection cover and your done.


I'll add to this post as I continue, right now I'm waiting to make the new top and back plate to continue. If up to now I missed anything let me know... I'll go back an add about what parts to take and ect (data plates, latches) I do have pictures!! Just wanted to get a basic outline started.
Last edited:


