- 1,957
- 418
- 68
- Location
- Culver City, CA
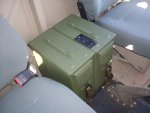
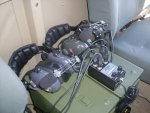
A while back I finally decided to get rid of my bench companion seat and install a HMMWV driver’s seat on the passenger side. I wanted a center jump seat set-up, but I just wasn’t finding anything I liked or would fit in between the two seats. Then I decided to I wanted some sort of center console, but not a cheesy civilian type set up. I wanted it to look like it was original issue.
I started looking at ammo boxes of different shapes and sizes. After much searching I found these extra tall (13” vs. 7”) .50 cal. ammo boxes.
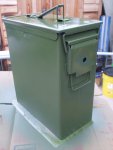
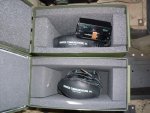
They are originally used to carry night vision goggles and are foam padded inside. The lids are exactly the same as the standard boxes. Here are a couple supply links…
http://west.loadup.com/military/surplus/13249.html,
http://www.airsoftmegastore.com/4387-us-military-ammo-night-vision-heavy-duty-storage-box.aspx
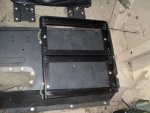
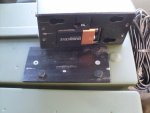
I didn’t want to mount the boxes directly to the cab tunnel and wanted them to be easily removed. I bought one of the GI vehicle ammo can storage racks with straps (NSN 2540-01-246-8292, p/n 12340170). I found mine on eBay and the same seller still has them (send PM for link). I also have seen them here in the classifieds. This rack would be mounted directly to the cab tunnel.
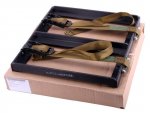
Now, the straps supplied with the rack are too short to go over the top of the tall ammo cans. I also wanted to be able to open the lids while the boxes are in mount. The strapping system would have to be modified and shortened.
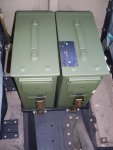
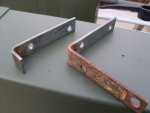
On one side of the rack are oblong holes where the adjusting/locking ends of the straps hook into. Using some old used l-brackets (new ones available at any hardware store); I cut off one leg to about ¾” to 1”. These would act as the rear catches inserted into the oblong holes. Placing the boxes in the rack, they were marked for mounting of the bracket catches. Boxes were drilled and the catches mounted with some machine screws and nuts. The boxes were both repainted 383 green.
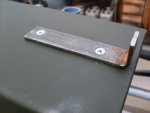
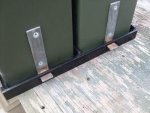
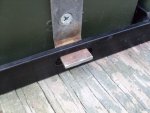
The boxes were test fitted using the new strapping system and all worked perfectly. I removed the straps from the rack and cut off 2 ft. of webbing from the leader. The strap hooks the heavy wire bale under the lid latch, so there is a lot of excess webbing hanging off. I heat sealed the tips and had a shoe repair shop stitch the new leader ends down.
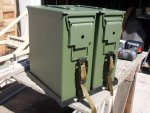
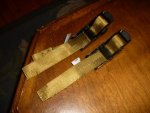
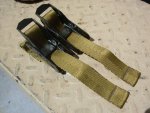
I started looking at ammo boxes of different shapes and sizes. After much searching I found these extra tall (13” vs. 7”) .50 cal. ammo boxes.

They are originally used to carry night vision goggles and are foam padded inside. The lids are exactly the same as the standard boxes. Here are a couple supply links…
http://west.loadup.com/military/surplus/13249.html,
http://www.airsoftmegastore.com/4387-us-military-ammo-night-vision-heavy-duty-storage-box.aspx
I didn’t want to mount the boxes directly to the cab tunnel and wanted them to be easily removed. I bought one of the GI vehicle ammo can storage racks with straps (NSN 2540-01-246-8292, p/n 12340170). I found mine on eBay and the same seller still has them (send PM for link). I also have seen them here in the classifieds. This rack would be mounted directly to the cab tunnel.

Now, the straps supplied with the rack are too short to go over the top of the tall ammo cans. I also wanted to be able to open the lids while the boxes are in mount. The strapping system would have to be modified and shortened.
On one side of the rack are oblong holes where the adjusting/locking ends of the straps hook into. Using some old used l-brackets (new ones available at any hardware store); I cut off one leg to about ¾” to 1”. These would act as the rear catches inserted into the oblong holes. Placing the boxes in the rack, they were marked for mounting of the bracket catches. Boxes were drilled and the catches mounted with some machine screws and nuts. The boxes were both repainted 383 green.


The boxes were test fitted using the new strapping system and all worked perfectly. I removed the straps from the rack and cut off 2 ft. of webbing from the leader. The strap hooks the heavy wire bale under the lid latch, so there is a lot of excess webbing hanging off. I heat sealed the tips and had a shoe repair shop stitch the new leader ends down.


