Current Status of Project:
Hello,
I totally forgot to post here, even with the weather things are busy etc. I'll share the latest (pics on monday, sorry you'll have to use your imaginations.) We last left off with everything taken apart and questioning what our next move should be with the drivetrain etc. Much has taken place:
-The old cab has been fully picked of everything, and the replacement cab & hardtop is being cleaned and worked on.
-The dual clutches have been re-faced with new material, pressure plate rebuilt, and the flywheels re-surfaced all for $250 instead of $900 for a brand new setup. New Pilot bearing and throughout bearing have been installed.
-12/26/08 Mating the 400 to the Fuller required a little bit more finnese than your average SB Chev and M21

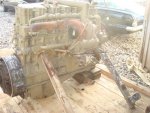
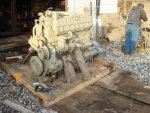
. The clutch housing was torqued on and the runout was checked with a dial indicator. (it was within tolerance just bolting it on) The Flywheel was torqued on and Pilot bearing installed. We used the plastic OTC input shaft tool to align the clutch discs and torqued the Pressure Plate on. We dragged the 400 on its pallet out of the barn and in front. We then righted it and secured it on the pallet with wood supports.

Never use a plastic alignment tool! That c-------ing m---------in' plastic tool is two pieces glued to each other....as soon as we tried to pull it out it came apart, leaving the splined part inside

We rammed it with a pointed stick to poke a hole in the platic tip and used a slide hammer to reach in their and bust it out.
It was easier to align the clutches by using crow bars to open the clutch and release it using steel shims. Then we just poked around and aligned the clutches by sight. It was dead on, on the first try Always get a real input from a scrap yard.
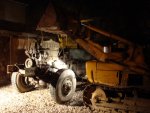
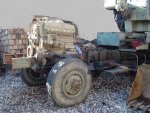
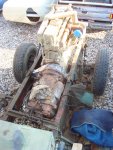
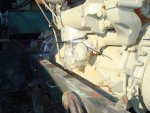
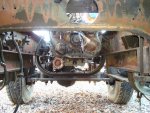
We used an engine hoist to finely tune the position of the 800lb. tranny and inserted it for mating with the engine. (beavis & butthead sd fx) After the bellhousing was torqued, the JD crawler loader was used again to install the combo in the frame. We were excited to see how it would fit.
It plopped right in there and fit like a glove....with the exception of three things:

1.) The front motor mount sits .25" too short, to sit on the centerline of the front crossmember. The crossmember will need to be boxed and two old holes filled & two new holes drilled. Not really a big deal.
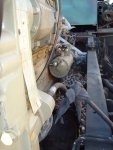
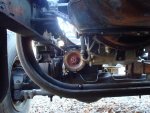
2.) Due to the 6x6 setup of MVs the entire drivetrain is offset to the passenger side to clear the front driveshaft. This creates a big problem if your putting a high hp small or big cam Cummins. The stock cartridge oil filter on the 250 is on the driver side. The small and big cams have vertical spin on bypass & full flow oil filters on the passenger side. This creates a major interference problem with the frame rail.

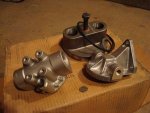
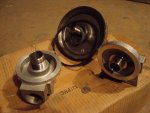
There are shorter filters out there but they still go 3-4" below the top of the framrail. The solution: oil filter relocation kit for a stationary/marine application (try finding one

)
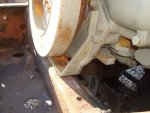
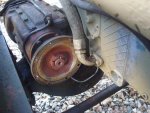
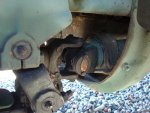
3.) It was dark when we put it in so we didn't notice this last one at first: Upon closer inspection, the driver side of the oil pan (right where the oil sump feed line exits) is about .125" from the front axle yoke flange

. Solution: remove oil pan, section & TIG weld a severe relief where interference exists. We contemplated putting the pan from the 250 on but the oil feed line outlet is about half the size etc. There are a few pans out there with large front sumps but that won't help. In terms of vertical travel, the axle will never be in danger of hitting the pan even if it was at the bumpstops.
We've already found the coveted filter relocation kit and re-did the front crossmember. The pan is next on the list.
-------------------------------------------------------------------------
Update Part II:
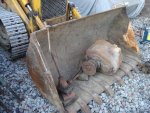
As if this combo couldn't get more complicated, we've sprinkled another ingredient onto this s--t sandwich Being inspired by fellow member Recht71's installation of an auxilliary transmission into his Deuce we had a brain fart: Why are we going through all this trouble and only saving a couple hundred RPMs by using a .73 over the stock .79? Why not install an aux. box. and cruise the highways at significantly lower RPMs?
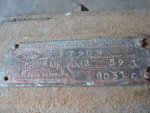
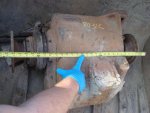
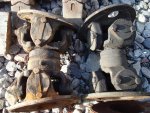
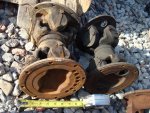
So we've found a really nice Spicer/Brown Lipe 8031C 3spd. Auxilliary.
Underdrive:--2.59:1
Direct:--------1.00:1
Overdrive:----.75:1
Multiplying the .73 OD from the Fuller RR and the .75 OD from the Aux. you get a final OD of .5475:stir pot: cutting the 6.44 axle ratio almost in half reducing engine wear and increasing fuel mileage
With 43.5"dia. tires RPMs would be:
1,362 @ 50mph
1,498 @ 55
1,634 @ 60
1,770 @ 65....etc.
Unlike Recht71's mod we're gonna put the aux. behind the tranny and move the transfer case another 2ft. backwards in addition to moving it back a foot for the tranny. The 215" wheel base is nice, there's plenty of room under there. We may have to relocate the hydraulic motor for the crane....
 Thanks for your continued interest in this project. Pics Monday.


 . The clutch housing was torqued on and the runout was checked with a dial indicator. (it was within tolerance just bolting it on) The Flywheel was torqued on and Pilot bearing installed. We used the plastic OTC input shaft tool to align the clutch discs and torqued the Pressure Plate on. We dragged the 400 on its pallet out of the barn and in front. We then righted it and secured it on the pallet with wood supports.
  Never use a plastic alignment tool! That c-------ing m---------in' plastic tool is two pieces glued to each other....as soon as we tried to pull it out it came apart, leaving the splined part inside
 We rammed it with a pointed stick to poke a hole in the platic tip and used a slide hammer to reach in their and bust it out.
