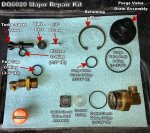
USE THE SUPPLIED GREASE TO LUBRICATE ALL O-RINGS BEFORE INSTALLATION!
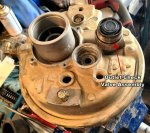
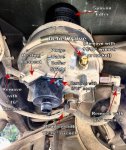
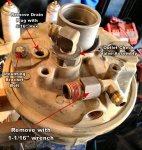
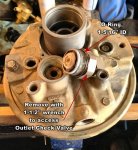
I started reassembly with the Outlet Check Valve. Make sure the rubber side of the Seal Assembly is facing down towards the air dryer housing. I found it easier to hold the Outlet Check Valve assembly with the Seal Assembly facing upwards, then lower the air dryer housing down to get the threads started...that way I didn't have to worry about the Seal Assembly falling out & getting pinched upon reassembly.
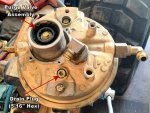
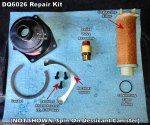
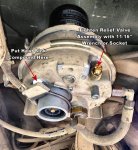
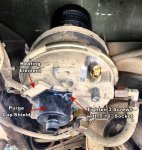
Install the new Purge Valve Body O-Ring (1-15/16" ID) on the new Purge Valve Body, install the new Purge Valve Piston O-Ring on the Purge Valve body (narrower end; 13/16" ID), and push the Purge Valve into its housing until you can install the Purge Valve Retaining Ring with snap-ring pliers.
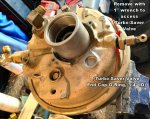
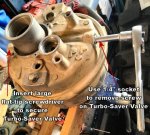
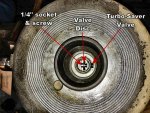
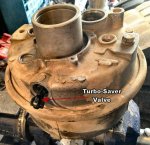
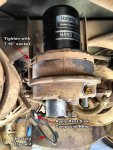
Then I installed the Turbo-Saver Valve assembly. I applied the supplied grease to the Turbo-Saver Valve Piston, the Valve Disc, and the head of the 1/4" hex screw...the grease kept the screw locked into the socket, and I lowered the Valve Disc in through the Coalescing Filter housing, using grease to keep it in place. I inserted the Turbo-Saver Valve Piston while also inserting the screw with my socket extensions, sort of the reverse of the steps outlined above. Snug the screw into place, and replace the air fitting end caps on both ends but don't tighten them yet to ensure that they will line up with the air lines (remember to replace the O-Ring on the smaller air fitting end cap!).
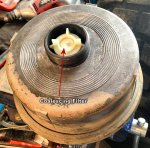
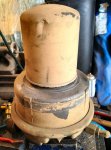
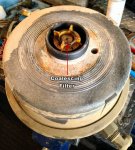
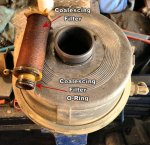
Flip the air dryer housing over, install the new Coalescing Filter O-Ring onto the new Coalescing Filter, and gently push the Coalescing Filter into its housing...make sure that it seats fully, and does not extend above its housing lip.
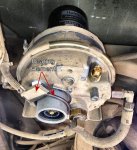
Reinstall the drain valve with a 5/16" hex-head Allen-type wrench.
