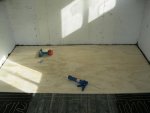
Time for some paint!
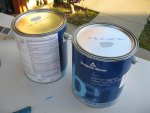
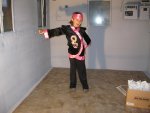
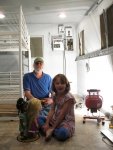
Indigo Sol (left) and Mari-Lu (right)
Greetings once more! Well, with the rust in the van body (which the German speaking overlanders call a 'koffer' unless I am mistaken) and getting the new floor in, I figured it was high time for some new paint. I have a Benjamin-Moore color wheel, and have used the paint in the past, so that's where I started. I decided I wanted something on the lighter side of the color spectrum, as the van body didn't get a ton of light, and I didn't want it to feel dark and oppressive. After knocking a couple of ideas around, I decided on a light grey with a hint of blue in it, taking the suggestion from my awesome partner Cricket. Decision in hand, I headed down to my local paint store, and had them make up two gallons of the stuff for me. I had a pair of awesome helpers at this point, my youngest daughter Indigo Sol, and our neighbor Mari-Lu, as well as all of their girls/princesses. Yes, the Imperial Car Destroyer had a serious infestation of girly cuteness. Such is my life.

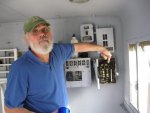
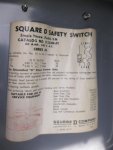
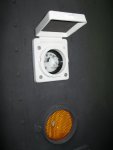
Paint in hand, and back from the store, I prepped the interior of the van body and started masking off the windows, the data plates, switches, and so on. This was the boring, but amazingly essential part of painting. I had selected eggshell finish paint, as to avoid that glossy "bathroom" look, but still have something that wouldn't instantly pick up and retain any dust that flew by it, which I expect to be a lot in the lifetime of the vehicle. I purchased an HVLP (High Velocity Low Pressure) automotive paint gun from Harbor-Freight, and I was dying to try it out. Pulling out my trusty air compressor, I got the gear ready. Air tanks full, neighborhood alerted "that crazy guy" was at it again, I decided to do a final inspection of the vehicle before painting.
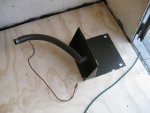
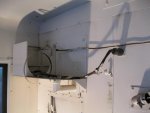
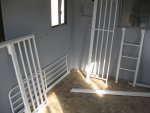
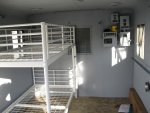
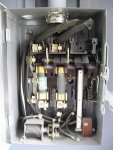
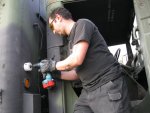
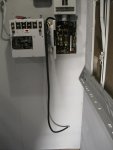
Walking back through the interior I noticed a few shelves I had missed mounted to the far wall (closest to the cabin and the front of the vehicle) that I had not removed. Sighing, I went and grabbed my screwdriver and proceeded to pry them loose from the wall. It looks like this vehicle had been outfitted for cold weather, and had a pair of multi-fuel diesel heaters mounted in them. That's right, a pair of them! Unfortunately, the heaters themselves were missing, but the mounts for them were present, along with the exterior breather tubes, and the electric box was wired up to support a pair of the units as well. There is even the external fuel pump mounted to the outside of the van body piped into the main fuel tank already. I plan on eventually tracking down one of these units and using it as my main source of heat, but they are hard to find. With luck I will find a lead on Steel Soldiers. I have saved all of the parts (of course), and hope to track down one of these heaters, hopefully used. I am still in the process of finding out, but I think I was lucky enough to stumble into a truck that has had the "arctic weather treatment" package upgrade performed on it. Don't quote me on the name though, I am still learning a lot about these old military trucks, much of it on the fly as I work on them!
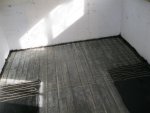
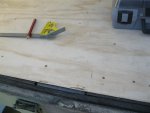
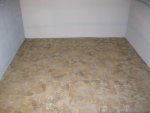
Task performed, I noticed I had failed to leave a cut out for the actual door latches in my shiny new floor. In other words, I could not currently close my rear doors! Oops! And of course, I had just finished gluing it to the floor, and screwing it in place with roughly 1.2 million deck screws. Thinking fast, I grabbed my Dremmel and a few cutting wheels, and corrected the problem. Over corrected in fact. Oh well, at least the doors could close now, and such is the nature of projects sometimes. Since I was there, I went and did some touch up sanding, hitting the sections of the wall that were previously covered by the diesel heater shelves and so on. This time for sure, I was ready to paint!
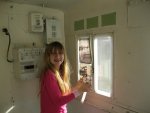
Ember helps with the last of the masking!
Windows covered in old magazine print (pages from one of those annoying free catalogs that seem to plague modern existence, the paper spam of a bygone age), walls sanded, outlets and switches masked off (mostly), it was time to begin. My oldest daughter Ember showed up to help with the final prep work, which was greatly appreciated. Clearing out all of the tools, the rolls of masking tape, and the children and lingering princesses, I fired up the air compressor and got to work. Now, some things you should know. First - I have never done this before. Second - I really need to get a dedicated outlet, preferably in 220V and exterior mounted on a dedicated high amperage fuse. Third - I have a mild form of insanity that causes me to buy old military trucks and not take no for answer. Add all of these together, and you have an air compressor that runs great until it hits its desired pressure load, turns off automatically, and then when it tries to turn back on, trips the circuit breaker and just sits there. It meant I had to try and constantly run the air gun, trying to keep the tank under load so that it wouldn't turn off and then try to start up again, and die. Plus side, I worked non-stop for hours and got the sucker done. Down side, way frustrating. I am going to call an electrician friend of mine and have him get that dedicated outlet done, I swear, but that wouldn't happen today, so there was nothing to it.
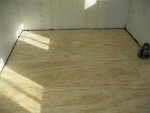
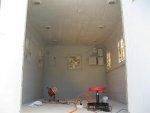
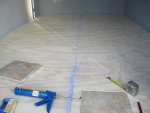
First coat is on, beginning of the second day of painting...
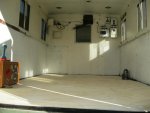
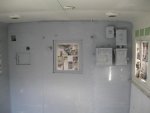
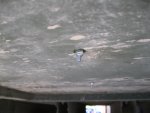
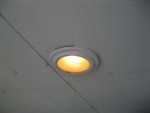
Finally, the ceiling is done!
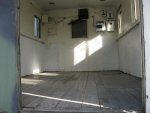
It took until hours after nightfall, but I got the deed done. As you can see in the images, more than one coat was going to be needed. I pushed on, rinsed out the HVLP paint gun, and buttoned up the truck for the night. The shower that night felt like paradise. New day, new coat of paint, and I got back to it. It should be mentioned that I spent some time that morning trying to fiddle with the various adjustments on the paint gun, attempting to get exactly the right mixture of air, paint, spray width, and pattern. I used a few card board boxes as test surfaces to paint on, since I couldn't really tell what was going on when I sprayed the walls proper. Firing up the air compressor once more (Ah, Sunday mornings wouldn't be the same without their dulcet tones), cranking up the small speakers playing Pandora from my phone, I worked my way through the second coat. The second coat seemed to go on much faster, but as usual, the ceiling seemed to take forever. Maybe it's just that you have to do the whole thing holding the paint gun over your head most of the time, or the fact that there aren't any windows to break up the space (and thus reduce the total area you need to paint), but the ceiling was a chore.
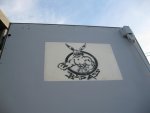
Now, something I should have mentioned before that is just too cool for words. This truck came with its own mascot. Not like some weird high-school dude wearing some plush velveteen suit or anything, but an actual painted by her original crew mascot stenciled on the inside of the van body door. It depicts, humorously with a violent macho angle to it, a muscle bound bunny rabbit flexing for us, wearing a military helmet of some sort, with, and I **** you not, the words "BAD ASS" custom stenciled below it. This, pretty much, was so bad ass it had to be saved. Not only saved, but revered and enshrined. Thus I made sure not to accidentally spray paint over it or anything stupid like that. It is my plan to buy a crazy metal frame and bolt it to the door over the muscle bound long ear. We decided his name was "Babs", which stands for Bad Ass Bunny Specialist, if you must know.
All hail BABS, Official Mascot of the Imperial Car Destroyer!
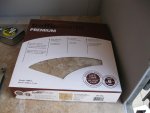
Well, I had intended to get to laying down the linoleum this post, but it looks like I waxed poetic for too long covering the paint job. Oh well, more for next time! Stay tuned for our next exciting episode, where in we discover we have not completely glued our new floor to the metal deck plates (the tops of the rear wheel guards), we look at a couple more ugly worts pertaining to the floor, and then we say "**** it" and cover the whole thing in linoleum anyway and make it look beautiful.


