• Steel Soldiers now has a few new forums, read more about it at: New Munitions Forums!

  • Microsoft MSN, Live, Hotmail, Outlook email users may not be receiving emails. We are working to resolve this issue. Please add support@steelsoldiers.com to your trusted contacts.

Santa Brought a Convoy Warning Light Kit

M35A2-AZ

Well-known member
Steel Soldiers Supporter
3,220
390
83
Location
Tonopah, AZ
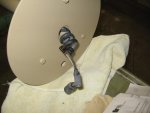
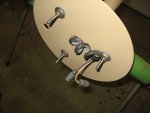
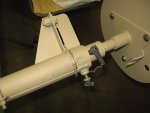
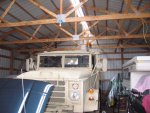
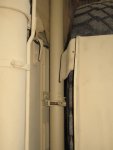
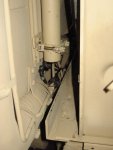
I checked this morning and my lights are 11' to the top of the lights. But I lowered the mounts 4".
See my pics of the mounts.
I just tied into the power that was already run for the wrecker warning lights.
 

Attachments

jonesal

Mission Specialist
Steel Soldiers Supporter
413
69
28
Location
Brookings, SD
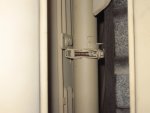
So those "nubs" I'm seeing on your pipe posts, did you weld those one? They look stock so well done. What are they? Were they a custom fab? I'll test fit mine tonight and see if I need to lower them. I'm thinking its a good idea - would be a shame to rake them off.

Thanks.
 

M35A2-AZ

Well-known member
Steel Soldiers Supporter
3,220
390
83
Location
Tonopah, AZ
So those "nubs" I'm seeing on your pipe posts, did you weld those one? They look stock so well done. What are they? Were they a custom fab? I'll test fit mine tonight and see if I need to lower them. I'm thinking its a good idea - would be a shame to rake them off.

Thanks.
Yes I made up the new "nubs" and welded them on.
The wrecker do not need the lights as high as or trucks.

Good luck with your install.
 

emr

New member
3,209
25
0
Location
landing , new jersey
Just an idea, but it is Military correct to run parts of the truck green if it is tan, And to me at least it looks cool, and more realistic, but to each his own, I left the Windshield frames and other replaced items on my tan deuse green like they would be in theater. Most in service trucks are not perfect matches on all parts... GREAT GIFT SANTA WAS AWESOME TO YOU !!!!!!!!!!!!!!!!
 

jonesal

Mission Specialist
Steel Soldiers Supporter
413
69
28
Location
Brookings, SD
Yes, I had them made by a friend of a friend.
If you want I can ask about making some?
Yes, can you please ask? I think that's a great idea.

gunboy1656 said:
Did you get a part list in the box? I want to make sure what all parts I get and what I need to pick up when mine comes in.
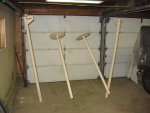
Yes, there is a parts list, drawings, instructions, etc. I'm working on finding the right scanner as the page sizes are an odd size.
 

jonesal

Mission Specialist
Steel Soldiers Supporter
413
69
28
Location
Brookings, SD
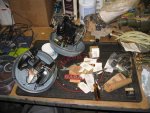
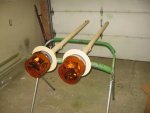
Here is yesterday's progress. I decided to go "depot rebuild". Assembled and then painted. The rebuild on my M923 was too nice to let some green part slip in.

IMG_4413.jpg

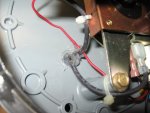
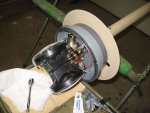
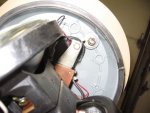
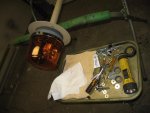
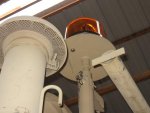
The silicone in the lights was pretty punky so I hogged it out and replaced it.

IMG_4414.jpgIMG_4415.jpg

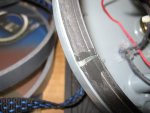
I was also disappointed with how the dome seal was made so I added a dollup of sillycone there too.

IMG_4416.jpg

Al Jones
 

jonesal

Mission Specialist
Steel Soldiers Supporter
413
69
28
Location
Brookings, SD
Here is tonights progress.

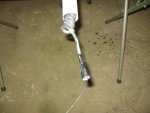
Fishing the wires up through the tubes.

IMG_4417.jpgIMG_4418.jpg

The kit came with cheese ball toggle bolts. I switched to full threaded bolts that I think works wayyy better. The kits supplies the strain relief.

IMG_4419.JPG

Time for the dome lights. I added some of the washers and neoprene washers for weather-proof-ness.

IMG_4420.jpgIMG_4421.jpg

Here are pictuers of one completed mast.

IMG_4422.jpgIMG_4423.JPG

The next reply will present some problems I ran into.

Al Jones
 
Last edited:

jonesal

Mission Specialist
Steel Soldiers Supporter
413
69
28
Location
Brookings, SD
I really goofed and only test fitted one pair of inner and outter masts. And of course the pair I tested fit great. So I went to insert the "second" inner mast into the "second" outter mast and trouble. I missed that the outter mast was slightly bent and the inner mast would not fully insert for the lowered position. Trying to stuff the two together really messed up my new paint job but thats ok. I think when they inserted the mast into the jig to weld the "nubs" on, it bent.

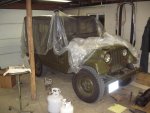
What to do? I need an M38A1! (Please ignore the tires, this is a project in progress...)

IMG_4427.jpg

This is how you straighten the mast.

IMG_4425.jpg

And now we have two assembled masts ready for installation.

IMG_4426.jpg

Al Jones
84' M923
'55 M38A1
 
Last edited:

jonesal

Mission Specialist
Steel Soldiers Supporter
413
69
28
Location
Brookings, SD
Here's an update of the convoy light project. It's been dang cold so the going has been slow.

This first one shows one of the lights mounted.
IMG_4459.jpg

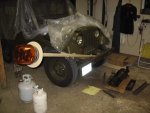
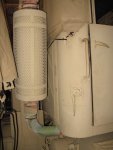
The next few pics show how I made custom mounts to get the mast away from the soft top. The top one does not fit perfect as I used the gun mount brace holes instead of rewelding the stops on the mast or drilling holes in the cab. It's very solid. The mast has about 1/2 to 3/4" clearance from the spare tire carrier vertically and 4 to 6 inches at the top. I set the mast as low as possible so it would clear my shop door. If I ever build another shop, I install higher doors and put the masts in the intended positions (higher).
IMG_4471.JPG IMG_4470.jpg

IMG_4464.JPG IMG_4462.jpg

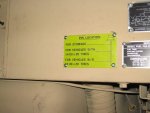
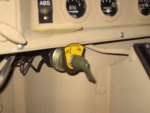
Here is the data plate and switch. The data plate is supposed to be mounted to the chain at the top of the mast but I didn't want it beating around in the wind.
IMG_4469.jpg IMG_4465.jpg

Shop dog.
IMG_4468.jpg

Here's the passenger side. I will have to move the muffler heat shield back about 1/2 to 3/4" to have it clear the other convoy light. I could have pinched the soft top in the light mast, but the top looks too new to be macking it up.
IMG_4466.jpg

I also added European lights in the front just for fun.
IMG_4472.JPG

I may get the other light up this weekend and if I do, I take a video and post it. The one light by itself sure is bright in the shop.

Al Jones
'84 M923
 

jonesal

Mission Specialist
Steel Soldiers Supporter
413
69
28
Location
Brookings, SD
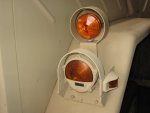
:-D Indeed! I figured I'd have a gazillion replies by now. I tried it both ways and settled on the reverse configuration. I like it better. At least I didn't point the red lens forward.:-?
 

RAYZER

Well-known member
3,380
59
48
Location
sanford/florida
:-D Indeed! I figured I'd have a gazillion replies by now. I tried it both ways and settled on the reverse configuration. I like it better. At least I didn't point the red lens forward.:-?
Ah! I couldn't tell that the other side was red, mine are one sided and face to the rear.
Carry on sir!
 

juanprado

Well-known member
Steel Soldiers Supporter
5,606
2,898
113
Location
Metairie/La (N'awlins)
The ones made by arrow for the military are double faced and cast metal. the military also uses plastic one way. The lens are real easy to find and switch out. They fit either style. I changed mine to amber both sides as I believe DOT regs do not allow red front turn signals. The lens are available also at your friendly tractor supply.

I have extras if interested and can easily pick them up if you don't have a close by tractor supply. Send me a Pm.
 
Top
AdBlock Detected

We get it, advertisements are annoying!

Sure, ad-blocking software does a great job at blocking ads, but it also blocks useful features of our website like our supporting vendors. Their ads help keep Steel Soldiers going. Please consider disabling your ad blockers for the site. Thanks!

I've Disabled AdBlock
No Thanks