- 1,172
- 24
- 38
- Location
- Clifton, TN
Yes sir! My carpentry skills are great unless you get more accurate than "chainsaw" level.Used the field-expedient BFL for a cab spacer, huh?
Steel Soldiers now has a few new forums, read more about it at: New Munitions Forums!

Yes sir! My carpentry skills are great unless you get more accurate than "chainsaw" level.Used the field-expedient BFL for a cab spacer, huh?
Yes, cab air ride went back together flawlessly. It certainly improved the CTIS issues. Occasionally, I will still get 5 flashing lights, but if I hit x country and dump a bit of air, it seems to reset when coming back up to 55 psi. I may still have a slight air leak in the hose fittings at the cab level sensor. It's really running and working pretty well overall. I probably drove 100-120 miles this weekend hauling stone and retaining wall block.I've been waiting on a update! Did you get cab lift back in and working? Did it help with the air issue.
I wish it WAS a lift gate. It is only a fold down platform to stand on. I believe this truck had a shelter on the bed it's entire life.Ooh nice lift gate on rear. How do I get the part number?
Sent from my SAMSUNG-SM-G930A using Tapatalk
Also, I finally received my air bag rebuild kit from powerpacker via Ohio Hydraulic. While waiting for parts I had to support one side of the cab where air bag was removed. My bottle jack was the perfect size.
View attachment 696829
Then I needed the bottle jack for tire swapping detailed above, so I got out the chainsaw and made a suitable replacement...
View attachment 696830
Yes, a bit redneck, but it worked!
The power packer rebuild kit was really easier to install than it looked. I disassembled too much of the spring/shock unit. The airbag just slips on and off once you remove the "E" clips and pin. My shock-end bushings were also disintegrating, so needed replacing. There were two required at $22.50 each which was pricey, but I had them ship with the new airbag.
View attachment 696822View attachment 696823View attachment 696824
You do do not need to remove this bolt to take apart the bottom mount.
View attachment 696825
The new unit slips right over the internal shock and the pin slips through the black end cap through the new bushings.
View attachment 696826View attachment 696827View attachment 696828


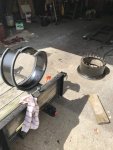
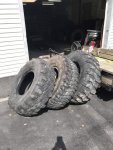
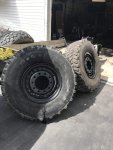
The first photo above is the bead lock insert. There was no run flat.do you have any photos if the inserts that make the tires run flats?
