• Steel Soldiers now has a few new forums, read more about it at: New Munitions Forums!

  • Microsoft MSN, Live, Hotmail, Outlook email users may not be receiving emails. We are working to resolve this issue. Please add support@steelsoldiers.com to your trusted contacts.

White M2A1 Halftrack

67tank

New member
5
0
0
Location
Novato/Ca
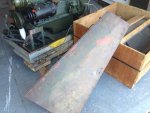
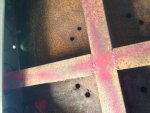
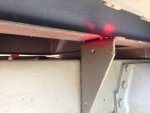
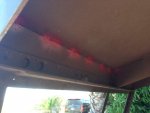
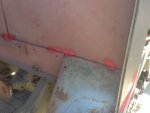
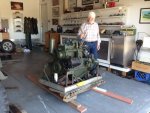
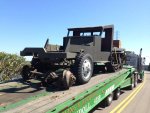
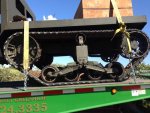
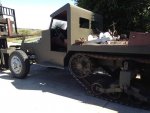
First post to SS. IMG_0530.JPG.jpgIMG_0533.JPG.jpgIMG_0536.JPG.jpgIMG_0554.jpg20140814_100917.jpgIMG_0694.jpgIMG_0697.jpgP


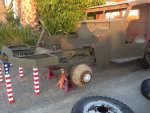
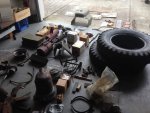
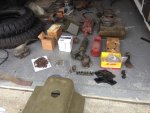
Picked this project up from the previous owner in Southern California. Arrived to my house on Friday. Plan is to restore to it's original WW2 condition and mark it up as a half-track assigned to the 67th Armored Regiment (I was a tank platoon leader/XO in 3rd BN/67th Armor, 2AD in the early 90's). Half-track came with crate motor, radiator, 2 transmission, spare front and rear axle, winch, all front armor, etc... Dash plate says the half-track was converted to M2A1 from M2 in Feb 1945.

Not sure who welded on the bed and driver overhead cab but will be removing first thing. Lots of work ahead and will be posting plenty of questions on SS.
 
Last edited:

Warthog

Moderator
Super Moderator
Steel Soldiers Supporter
13,774
232
63
Location
OKC, OK
Welcome to the site. looking forward to your progress pictures.
 

67tank

New member
5
0
0
Location
Novato/Ca
IMG_0737.jpgIMG_0735.jpgIMG_0734.jpgIMG_0733.jpgIMG_0732.jpgIMG_0731.jpgIMG_0729.jpgIMG_0728.jpg

First - thanks for all your comments and pointing me to halftrackinfo.com
Spent the day crawling underneath and marking what needs to be cut and removed, removing armor and gathering up what I have to be taken to the sandblaster. Anyone have a trick or special tool to remove the slotted screws? May have to grind down a "drag link socket" to fit
 

steve6x6x6

Well-known member
Steel Soldiers Supporter
1,425
37
48
Location
Winter Haven, florida
For those bad slot headed screws that will not give up the nut, clean the head off and plug weld a 1/2 nut to the head. The heat runs down to the nut and it will come apart. I know you want to save all of them, but.
 

M215

Member
478
3
18
Location
Spotsylvania, Virginia
I used a modified drag link socket on our halftrack, usually a little heat on the stubburn nuts works great. let me know if you need any detailed pictures of an M2A1, ours is 95% complete.
 

AZDeuce

Active member
484
38
28
Location
Tonopah, AZ
On the slotted bolts/nuts it takes 2 people, I used a 1/2" breaker bar with a BIG screw driver socket/attachment, and my son used the airgun with I believe 9/16" socket. On a lot of the bolts I had to tap the screw driver blade into the slot with a hammer due to old paint and/or dirt and rust. My secret to success was that I soaked everything in Kroil penetrating oil the day before and then right when we did the work. Since then I've found 50% Acetone, and 50% Automatic transmission fluid works just as well and is a lot cheaper.......however be careful as Acetone is a carcinagetic.
 

67tank

New member
5
0
0
Location
Novato/Ca
I used a modified drag link socket on our halftrack, usually a little heat on the stubburn nuts works great. let me know if you need any detailed pictures of an M2A1, ours is 95% complete.

M215 - Am doing the same. Have to grind down the drag link socket a tad bit to fit the slotted screws. I could use some detailed photos of the armored Radiator louvers and Operating mechanism as well as the winch mounting from both top and a view from underneath (whatever life the HT had farm/logging/whatever) - 'they' did some interesting cutting and modifying and i want to make sure I am going in the right direction. Will post some photos below.
 

67tank

New member
5
0
0
Location
Novato/Ca
Got to have a plan, son.....

IMG_0742.jpgIMG_0743.jpgIMG_0744.jpg

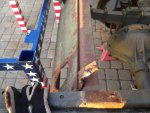
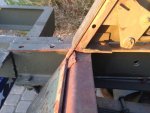
As you can see the PTO hole was torched (as well as the frame behind it. Have another piece of armor with the PTO hole intact. Will have to remove the old, fix the frame and mount the new. As you can see from my post above, i need some photos of a restored section to get a better idea -

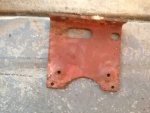
Second I have two of the below and have no idea of what they are for?

IMG_0741.jpg

Plan is too start front and work way back.
Goal for next couple of months. Strip armor off, sandblast, primer paint. Mount engine (need my garage back), have trans and transfer case rebuilt, redo front brakes/front axle and get the civilian added cab/bed off. Anyone see it different please chime in.
 

woodwalker

Member
71
7
8
Location
boone colorado
They are the mounting brackets for the hydrovac
they mount underneath driver seat area on frame that puts them close to master cyl
 
Last edited:
Top
AdBlock Detected

We get it, advertisements are annoying!

Sure, ad-blocking software does a great job at blocking ads, but it also blocks useful features of our website like our supporting vendors. Their ads help keep Steel Soldiers going. Please consider disabling your ad blockers for the site. Thanks!

I've Disabled AdBlock
No Thanks