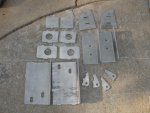
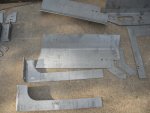
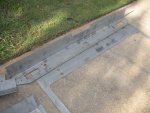
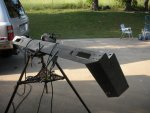
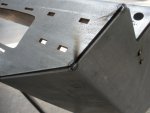
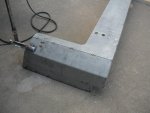
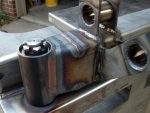
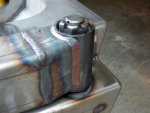
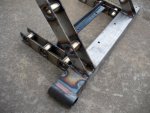
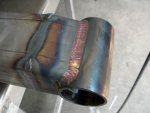
There seems to be a lot of interest in the models, so I thought I'd toss up an example of how the model gets transformed into an actual, useable, part.
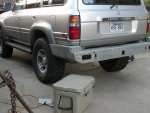
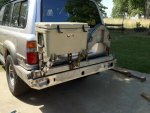
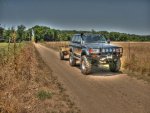
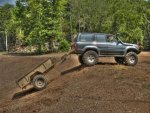
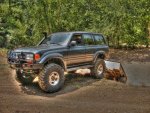
This example is of a bumper that a friend and I are building for our landcruisers.
First thing you have to do, is take LOTS of measurements from the rear of that cruiser, and create an accurate model of the frame. You'll be building off of this frame model, so making sure that it's 100% accurate is very important. If it's not, you'll find out when you have the pieces waterjet cut/formed and welded together!
If it doesn't fit, then you're model was not accurate, and you get to scrap all of that steel/waterjet cut time. With the high price of good quality steel sheets, and $150/hr waterjet cutting.... it doesn't take too many times before you learn to triple check all of those measurements!
Anyway, after you have the frame model complete (or whatever you're building off of), you can start to dream up designs/ideas for the part that you're actually wanting to make. That's where the countless hours come into play...
Just in this bumper design/model alone, I'd estimate 200-300+ hrs of my time. Once you cut/form the parts, you want them to come together like a puzzle. To do that, every little detail has to be thought through, and incorporated into the design.
Once you have your design finalized, you can then cut the pieces, and form them. I use a CNC waterjet and a CNC press brake to do the work. From the model, I'll create tool paths for the waterjet. This requires detailed knowledge of how the waterjet operates, so that you're not just creating parts that look good on paper but can't be manufactured. Same goes for the press brake. You have to know what each die set will actually bend (radius, material stretch, ect).
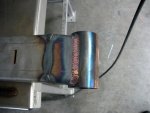
After all of that, and you have your parts in hand, you can start sticking everything together!
I've attached some pics (hopefully in order), to show the progress of that build.
Sorry about the thread-jack, but some people may find it interesting.
Attachments
-
76.1 KB Views: 55
-
82.1 KB Views: 53
-
78 KB Views: 52
-
67.3 KB Views: 44
-
85.4 KB Views: 44
-
67.4 KB Views: 47
-
46.1 KB Views: 44
-
54.6 KB Views: 44
-
65.4 KB Views: 69
-
61.6 KB Views: 52
Last edited:


