• Steel Soldiers now has a few new forums, read more about it at: New Munitions Forums!

  • Microsoft MSN, Live, Hotmail, Outlook email users may not be receiving emails. We are working to resolve this issue. Please add support@steelsoldiers.com to your trusted contacts.

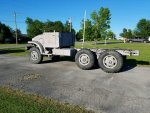
1952 M135 W/Winch

m1010plowboy

Well-known member
Steel Soldiers Supporter
3,912
2,725
83
Location
Edmonton, Canada
OkieM1008morrison picked up a set of mirrors for me for the M135. I have never seen this type before. The mirrors themselves are replacements but the arms are definitely military. Has anyone seen this type before? The bolt holes line up perfectly on the M135. I really like them and they seem more sturdy than the single mirror arm that most of these trucks have.

View attachment 640077
One of the boys was saying that the single arm vibrates almost making the mirrors useless. Cool upgrade. It's too wet to work so maybe I get a chance to flip through some old photos and find a truck with the double bracket for us.

How was that pinion seal R&R for you? I need to do the rear diff. so Goose stops stinking like rear end fluid.
 

USMC 00-08

Well-known member
1,183
180
63
Location
Skiatook, OK
Ok what page are you on in the manual. I am a GM tranny guy so I have lots of odd ball tools so I may have something that works and could ship to you for use. I am pulling the cab apart after I get my brakes in order so it may be a month or so. If you do not mind waiting I am sure I can find something that works.
It is page 357 in TM 9-8024. I don't mind the wait at all. If you find something that will work, I would be just as happy with a part number so I can order whatever it is to keep on hand. I plan to keep these trucks a while and will probably need it more than once.

How was that pinion seal R&R for you?
It was not very bad at all. De-greasing everything and beating the old seal out was probably the worst of it. The part number we have in the list worked well. The flange sleeve was difficult to get off, but I only changed it because it had a big groove in it from when the old pinion seal failed. Pressing the new sleeve on with the brass tool made life very easy.

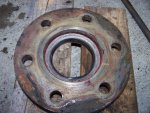
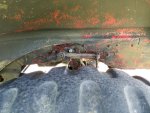
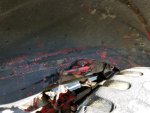
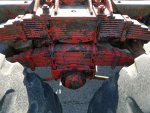
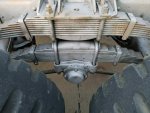
To save you some time, the Pinion Oil Seal Retainer has to be removed to get the seal out. I did not know this before I started. Here is what it looks like. You'll probably have to cut a gasket unless you have some NOS laying around.

100_2917.jpg100_2916.jpg100_2903.jpg100_2911.jpg100_2910.jpg

After I removed the drive line, I used a pipe wrench to hold the flange to loosen the nut. I did not have to use a puller to get the flange off, just a few light taps with a hammer and it came right off.
 

restlessrobie

New member
63
0
0
Location
Puget Sound
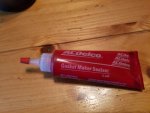
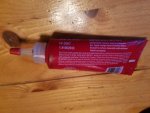
FOR ANYTHING Differential or gear oil related you can use GM gasket maker sealant GM part# 1052943
This stuff is great I use it on almost all my differential rebuilds for years with out problems. Works on all aluminum oil pans as well.
Does not work with fuels or anything with high pressure behind it I would say anything more than 5-10PSI. But for gear oil and grease works like a champ.
I have used it to reseal all the axle to flange seals on my M211 without any issues for far. Stuff is a little expensive but I do have a few extra tubes if you need let me know.
20160823_193004.jpg20160823_193016.jpg
 

USMC 00-08

Well-known member
1,183
180
63
Location
Skiatook, OK
A little more work done to truck #5314. The added parts were missing from this truck, but thanks to truck #3194, things are becoming more complete.

Before/After
0815161822.jpg0911161348.jpg
 

USMC 00-08

Well-known member
1,183
180
63
Location
Skiatook, OK
Not a whole lot of progress on this truck lately, due to work schedule and weather not cooperating, but I am looking at putting a heater in it at some point and found this.
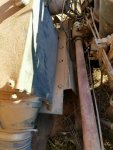
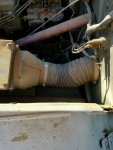
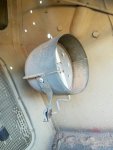
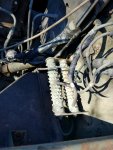
20170107_150737.jpg20170107_150725.jpg20170107_150853.jpg20170107_150751.jpg20170107_151020.jpg20170107_150920_001.jpg20170107_151734.jpg


It is a driver side mounted heater in an old parts M35. None of the cab interior heater parts are in the truck, so would still need to hunt that down. Need to find things like hoses, heater switch, the cables that control the diverter and elbow and the heater hoses.

I do have the M135 heat deflector pieces for defrost.

Anyone see why this wouldn't work in an M135?
 

USMC 00-08

Well-known member
1,183
180
63
Location
Skiatook, OK
No sir. The deflector pieces for the defrost I was talking about are mounted on top of the dash and direct heat toward the windshield. You can kind of see them in this pic.
100_1968.jpg
 

USMC 00-08

Well-known member
1,183
180
63
Location
Skiatook, OK
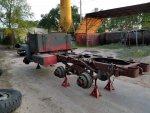
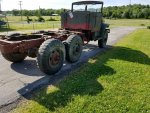
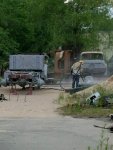
I am finally ready to get the frame, axles, wheels, etc., sandblasted on my truck and am scheduled to do it next Friday morning. NE Oklahoma is very humid, so the guy that is doing the sandblasting recommended that I bring my paint sprayer and prime immediately after he finishes.

I've never had anything sandblasted before. Is there anything on these trucks that should not be blasted or anything I need to look out for? The cab, hood and fenders will not get sandblasted.

The plan is to use Rustoleum Rusty Metal Primer. Any advice or suggestions from you guys that have done this already would be appreciated.
 

hambone

Well-known member
288
508
93
Location
El Dorado, Ar
There will be sand or glass in every nook and cranny, make sure you blow it down good, if you are priming it with rattle cans, make sure you buy a $4 spray can adapter, your finger will wear out pushing the button.:lol::lol:
 

m1010plowboy

Well-known member
Steel Soldiers Supporter
3,912
2,725
83
Location
Edmonton, Canada
Humidity sucks. Do it on a dry day.:whistle:

There is a ton of info online about prep after blasting including everything from 'just get er coated quick' to steel temperature shall always be at least 3 degrees C higher than calculated dew point temperature....bla bla bla. One of the key things is this " """"If longer storage is planned, the parts should be primed with a non lacquer-based primer. A lacquer-based primer allows moisture to penetrate the metal’s surface, causing re-rusting"""....that comes from the same page that also says this, """" parts should be washed with metal prep — a dilute phosphoric acid solution available from auto parts stores....yada yada buda boom"""". It's all great info and there is always a 'good, better and best' way to do things so its probably 'good' enough if you hit it with the 'best' primer you can afford. http://www.americandrystripping.com/protect-metal-abrasive-blasting/ We DID NOT do that last part.

I like the "just get er coated" attitude but check type of primer you're using and the lacquer. non-lacquer issue. After blasting and lots of blowing, we did wipe ....nearly everything.... down with a degreaser then used TAC clothes to pull the lint, dust and poplar fuzz off just before priming. If you're just doing your frame and not much on the body, just get er' coated.

Hambone is so right about the sand. Even after hitting every spot with an air nozzle, the pressure from the paint gun would find the odd pocket of sand which only adds texture. Years later I'd hit a bump on the road and sand would fall out of the window frames in the cab so it's a good thing to do limited blasting.

You're really going to enjoy working on a spotless truck.
 

USMC 00-08

Well-known member
1,183
180
63
Location
Skiatook, OK
Advice taken on the spray cans. I'm going to use a sprayer.

The humidity here this time of year is impossible to avoid. I will have to use the "just get er coated" approach and since it appears that Rusty Metal Primer is oil based, yet compatible with latex paint and a bunch of others, I think it will keep things from rusting up while I prep the cab afterwards. My cab should be fine with just using an orbital sander.

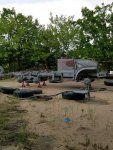
I'm rounding up parts today that need blasted and also need to find out which of my 4 cargo beds I like best and want to put on this truck. The cargo bed will be done another week since I probably need 3 more of me just to do what is planned for next week.
 

USMC 00-08

Well-known member
1,183
180
63
Location
Skiatook, OK
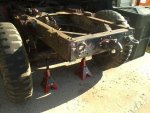
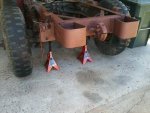
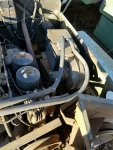
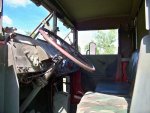
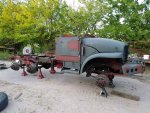
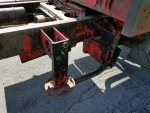
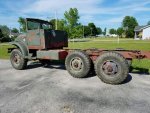
Over the Memorial Day weekend, I spent Friday through Monday working on my truck. What was supposed to take 2 days turned into 4, but we made a lot of progress toward getting this truck done. I'll let the pictures tell the story.
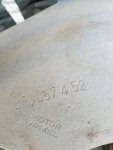
Before:
20170525_201718.jpg20170525_172807.jpg20170525_172813.jpg20170525_172820.jpg20170525_201703.jpg20170525_172759.jpg20170525_172744.jpg20170525_172804.jpg
 
Top
AdBlock Detected

We get it, advertisements are annoying!

Sure, ad-blocking software does a great job at blocking ads, but it also blocks useful features of our website like our supporting vendors. Their ads help keep Steel Soldiers going. Please consider disabling your ad blockers for the site. Thanks!

I've Disabled AdBlock
No Thanks