firefox
General
- 1,844
- 51
- 48
- Location
- Berkeley CA
You did good! Enjoy the kids while you still can! And,yes, you can have a break from time to time...
Steel Soldiers now has a few new forums, read more about it at: New Munitions Forums!

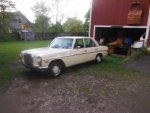 1971 Mercedes 220D is all completed again.
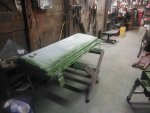
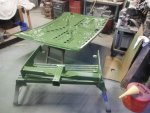
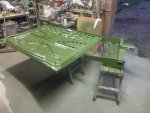
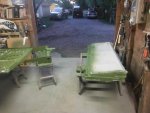 Had the time to paint the inside of my hood and gate. Also I painted the class 3 receiver I removed from Big Red. I have a busy weekend planned. No CUCV work on the schedule. I would like to install the gate and hood back on the M1009 next Tuesday after work. That will get me in alignment with getting the M1009 roof in and getting it edge painted.
 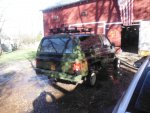 I have decided against using this roof. I do not want a cargo rack or dark tinted windows on this build. I am making it bone stock to retain it's value. Everywhere I look I see hacked up jacked up CUCV's it is the original ones that are going to be sought after. Like anything the true original ones are not this one 100%. I think it works out better to sell and trade as unhacked good original runners. Have a Great Holiday weekend and enjoy Family and Friends. Be Safe.
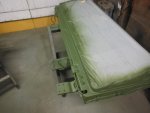
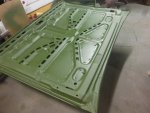 While I didn't stay up all night watching the paint dry. I did check in on it this AM right before I departed for a weekend of work and entertainment at the Pennsylvania Renaissance Faire. https://lancasterpa.com/event/heroes-of-the-realm-pa-ren-faire/
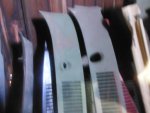
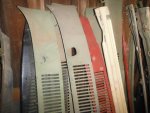
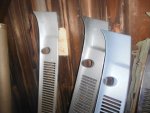
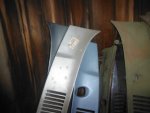 As I was browsing thru my cowl screen collection I wanted to point out that the 1984 cowl screen was different than all the other years. The 1984 had the closed stem design at the wiper connection. In 1985 they offered wet arm wipers nozzles and they changed the design of the cowl screen to the larger openings to accommodate the washer hose and the connections required to plumb the washer tubing to the wiper arms. I prefer the open style. Most of the CUCV's I see people used screwdrivers and pry bars to get the wiper arms off. I choose a CARC camo one over the civilian ones I had. It had nice smooth paint and was in excellent condition. The new one did not interest me because it was galvanized and looked like a lot of work to prep. I also pulled out a lower grille bumper filler panel. They are all sanded and ready for sealer and paint. I cleaned up a rear hood weather strip cleaned it up and painted a pair of hood hinge springs. I must get some weather strip adhesive and get the gate weather strip on. Youi may ask why I put the under hood rubber on before painting it. It makes it 10X easier and I run a piece of yellow 2" wide painters tape over it during the overall paint job. Same as the gate rubber and all the door, gate, hood jams. I do not like over sprayed jams. Seems I am having trouble loading some more pictures. The painted dried very nice and flat green. I like it better than the CARC because I can touch it and not make marks in it with a finger nail or just your skin makes a mark. The message said the site is too busy to load pictures now. All is well. Be Safe and Have a Great Day.
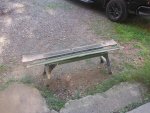
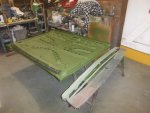 OK. Not sure what is going on with the site but it kicked my pictures and I reloaded them. My clean, rust free, undamaged original GM CUCV parts are all ready for paint. I like being able to select what I want to use and what I want to store. I really like the green it is dry and flat. I think my choice of painting the underside of the hood green was the right decision. Beats the old under coat black look. Clean and detailed. Thanks for looking. I hope to get more done this short week. But it is all good. No rush. Slow and steady wins the race. What Race?
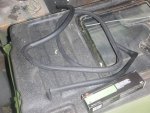 Tonight I wanted to get the new GM rear gate weather-strip on the inside of the tailgate. I had bought this back in2005 when I originally restored the M1009 for it's short lived jaunt. I bought a tube of 3M weather-strip adhesive and followed the instructions to the letter. Following the instruction when using this product is the only way to get satisfactory results. I seen guys glue it and tape it and it still looked bad and did not stick.
 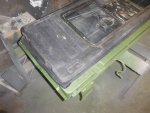 It is always easier to install the gate rubber with the gate off and the surface clean and dust free. Same goes for the seal. I have removed the rubbers and re-glued them back on with satisfactory results. As I waited for the glue to dry I looked for a few more parts and planned my next move.
 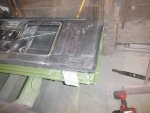 And the results were great. I also serviced my push mower and readied my snow blower/pusher. I am getting ahead of schedule. But things went so well I was on a roll. Everyone has days like that I am sure. Tomorrow night I will be sanding some grille trim and the brush guard. If I get real energetic I need to get a set of bumpers ready also. I think I have a front bumper that I painted 20 years ago and did not like the finished results. I will have to look. Take Care. Be Safe and Have a Great Day. No worries I will clean the dust and dirt from my Line X. That is just from handling it and the glue edges on the bottom will be invisible when the gate is installed.
The search comes up with a lot of potential options. Do you have a manufacturer or a part number that your using? The color looks good.Mil Spec Alkyd Enamel. Luster-less.
If you go to the Pratt and Lambert site they have Aquanamel® Waterborne Alkyd EnamelThe labels are just white paper and in very bad shape. I (Wife) sorted out the paint a few years back by using the bar codes. I have a few different greens, a brown and a black. All lusterless alkyd enamel. They were turned in as waste paint at the local chemical collection station. I picked them up there when a friend tipped me off. Pratt and Lambert Gold Seal was on a few of the cans. The labels were wet at one time and I had to make quick work of identifying and marking the colors. My Wife handled that and marked them by using the numbers on the cans. That's about all I can tell you about it. I have members here that have the paint on the CUCV vehicles I sold them. I also have water base CARC. But prefer the alkyd enamel for ease of painting and cleaning. Flat paints by nature have a very porous surface and not the best longevity. That can be seen in the original GM camouflage paint. Have a Great Weekend. I have a few hours work lined up tonight in my barn. CUCV work. Stay Tuned and Be Safe.
 Yes I get the color code. But I do not have that information. The labels were in bad shape and my Wife spent a considerable amount of time deciphering the numbers and comparing the labels and numbers. So far they have been accurate. I did have 2 gallons of that flat lime green like M880's had but gave that to a guy to paint an Oliver tractor. I did paint it in an M1009 camo scheme and was unhappy with the results. That color on the 1966 K5 Blazer pictured is a close match.
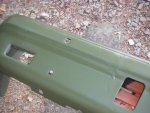
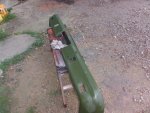 This M1009 rear bumper had a big bracket welded to it. I ground it all out and had it blasted powder coated with primer and I CARC painted it. Not good enough for my current build. Could be easily repaired with finish putty but NOT today. Back in storage. Nice CARC green. It looks glossy because I washed it down with prep sol.
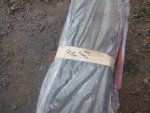
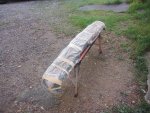
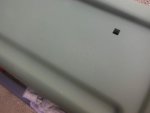
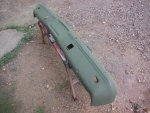 This front bumper was in storage for 12 years. Looks good but has a few imperfections in it from rust pitting. It was blasted coated and CARC painted. I will hand sand and use finish putty on this front bumper. It made the cut.
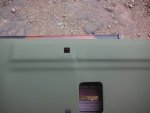
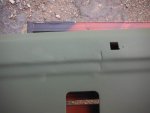
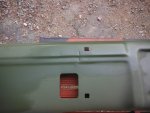
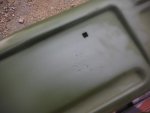 The front bumper has few wear marks on the mounts from a loose brush guard. I checked it out it will get covered anyway. I don't like being so picky but the detail is what nails it every time. Have a Great Weekend. I have another bumper post.
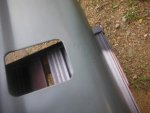
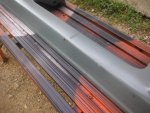
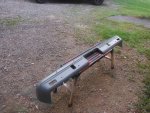
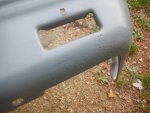 This is the rear bumper I have chosen to use. For the simple fact that it has been blasted and has the powder coated primer on it. I will hand sand and work finish putty out in the few pits it has. This was the worst CUCV bumper I had ever seen for rust. So I feel like I am preserving a part that would have otherwise been wasted and scrapped. I had this stored any years. It came from a Fort Drum M1009 that was involved in an accident at FITG back in about 1999. I had it powder coated back then just to preserve it when my parts were scarce. I hand sanded the entire rear bumper the grille trim and started sanding the CARC green front bumper. I am completed for the weekend. I have my other gig to attend. Week 6.
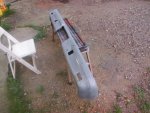
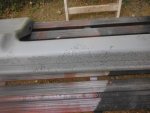 Maybe I can get some sanding done when I get home tomorrow evening. The grille and brush guard are the most time consuming. I never get a bush guard sand blasted. It is asking for a rust farm. I did have a very rusty one sand blasted and powder coated in flat tan. The local powder coater was doing a contract on some tan mil parts when I had it done. Enjoy your Weekend and Be Safe.
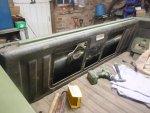
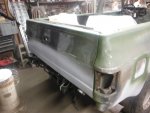 Tonight was another night that may seem like not a lot was completed. If I would not have taken this gate off of this M1009 I would say it was never on it before. That rear gate can be a task to get properly adjusted and all the body lines aligned. I had to add shims to the side latches and spent a considerable amount of time getting it to open and close to my satisfaction. I also put the spring loaded hood hinges in place. I want to work on getting more parts sanded but seem to be short on time these last few weeks. I do need to fabricate a few torsion rod bolts for the rear gate rods on the frame. I made them before the factory ones are hokey and brittle at this point. Moving right along I must also gather some of the rear bumper attachment plates and get them cleaned up and painted. I thought I had all that stuff powder coated. I will have to take a look see. Have a Great Day. Be Safe. I will report more progress as it happens.
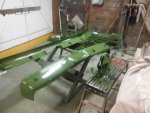
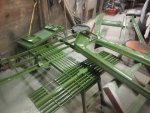
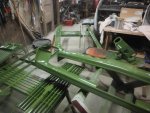 Success. It was threatening rain but the parts are painted on one side. It was paint and run. All parts are back in the barn till tomorrow. I have to paint a few parts on the other side. This paint takes a minimum of 48 hours to thoroughly dry. But that is fine with me. No hurry. I like it that I am making progress. I was even able to get a pintle hook sanded and painted. That is farther ahead than I expected to be at this point. Of course finished would be nice. No point rushing the project. Have a Great Day. Be Safe. I will post more progress as it happens.