• Steel Soldiers now has a few new forums, read more about it at: New Munitions Forums!

  • Microsoft MSN, Live, Hotmail, Outlook email users may not be receiving emails. We are working to resolve this issue. Please add support@steelsoldiers.com to your trusted contacts.

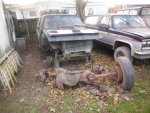
1986 CUCV M1009 Decade after being wrecked.

cucvrus

Well-known member
11,473
10,427
113
Location
Jonestown Pennsylvania
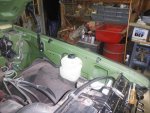
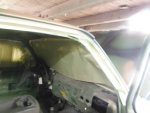
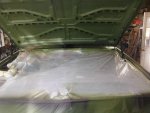
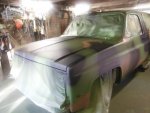
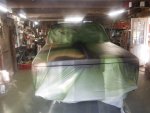
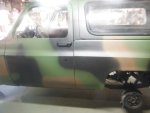
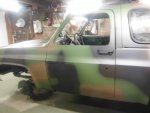
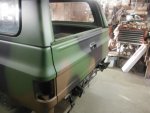
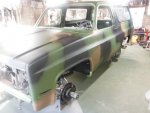
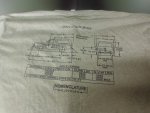
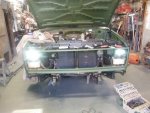
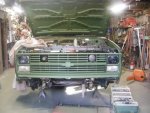
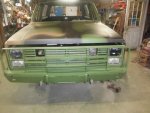
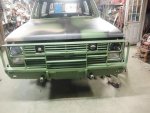
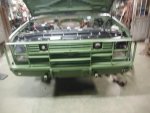
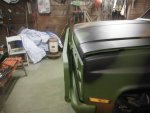
DSCF6579.jpgDSCF6578.jpgDSCF6577.jpgDSCF6576.jpgBeing Wednesday and 3 days after the paint I got to thinking how I hate tape removal after the paint sets a few days. The solvents in the paint always mess with the adhesives. But Lucky me. I was able to remove all the tape and only had 1 foul up on the front inner edge of the hood. It pulled paint from the inner edge down to the safety yellow factory hood color. No worries I can touch that up in a jiffy. I liked the results of taping off the entire under carriage and all the door and hood jams. I always do what ever I can to avoid over spray in the jams.DSCF6581.jpgDSCF6584.jpgDSCF6582.jpgDSCF6580.jpgI had a friend that lives near by drop off a gift for me. It was Mr. Rusty's owner. He follows my work all the time. Thank you for looking and Have a Great Day. Be Safe.DSCF6583.jpgNice shirt.
 

rtk

Well-known member
Steel Soldiers Supporter
1,190
446
83
Location
Lockport N.Y.
Outstanding job !!!!! it was a long haul , but worth the results . Congrats , all the best Bob k:goodjob:
 

cucvrus

Well-known member
11,473
10,427
113
Location
Jonestown Pennsylvania
Having 3 of something always beats a pair. I 81 South Exit 90. Due to deliver Spring 2020. Hope Easter Find and yourself are well. The brown and black paint on this build came from the same cans as the M1008.
 

dougco1

Well-known member
Steel Soldiers Supporter
867
647
93
Location
Cooperstown NY
Having 3 of something always beats a pair. I 81 South Exit 90. Due to deliver Spring 2020. Hope Easter Find and yourself are well. The brown and black paint on this build came from the same cans as the M1008.
Just passed by your LZ last Friday: picked up a pristine Pioneer Tool Trailer through the Federal Surplus program at Mechanicsburg. So when you say having three of something always beats a pair; Look at my signature, I can say I'm closer to a full house.

Easter Find is doing fine, we will both be on the road soon. Thanks for asking.
 

cucvrus

Well-known member
11,473
10,427
113
Location
Jonestown Pennsylvania
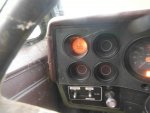
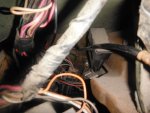
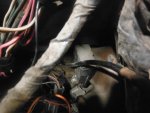
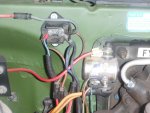
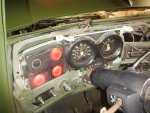
DSCF4137.jpgDSCF4145.jpgDSCF4146.jpgWell let's just say all is well at base camp. I was in the process of getting the grille trim ready to install when I thought. Wait a moment. I need to make sure everything is operational. The horn and all the lights work. But the horn works then it fdon't work. I checked the connection. I checked the relay. I changed the relay. Still intermittent horn issue.
I cleaned the contacts under the horn button. They were not really dirty but I cleaned them anyway. I reasssembled and no horn. I grounded it out, no horn. I checked the fuse snug and clean. I check the horn again and it blows. Next moment no blow. I start the truck. No Gen 2 light.
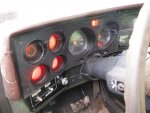
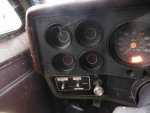
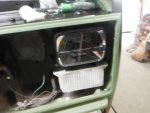
OK. 1 step backwards. I decided to remove the entire instrument cluster and go at it. Something I really hate messing with. Even after setting wrecked 10 years all the lights worked and the horn. I will figure it out. The pictures above are how the lights were when I resurrected the M1009 from it's glumly grave. DSCF4109.jpg You've come a long way baby.
 

cucvrus

Well-known member
11,473
10,427
113
Location
Jonestown Pennsylvania
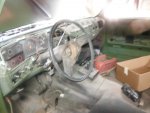
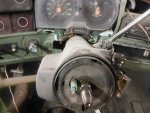
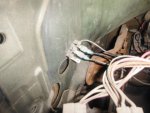
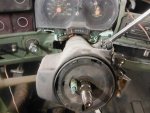
DSCF6585.jpgIntermittent horn operation. I removed the steering wheel and the steering wheel will need a good scrubbing so it needed to be removed anyway. DSCF6586.jpgThe issue is the steering shaft has an intermittent ground issue. If I clip the ground of the test light on the shaft threads it will not light the light when the probe is touched to positive. Must be painted somewhere or something. Any ideas? I will work on that Friday. DSCF6588.jpgDSCF6587.jpgI also would like to note that the glow plug card and box are still attached to the correct area under the dash. Not bad for 24 years of ownership. I will be using compressed air and a vacuum to clean out under the dash. DSCF6591.jpgIt still has the stock setup and nice clean original fusible links. DSCF6590.jpgAfter a little work and checking everything out under the dash I found a corroded 10 amp fuse. DSCF6589.jpgI replaced these spade ends back when the stereo was installed. The stereo sort of went bye bye tonight. The speakers went bye bye also. The CUCV is about the worst sounding cab in history. No acoustics at all. Besides this truck is cool enough. I don't need music. Well that is about all I completed tonight. I must figure out where the steering shaft picks up ground. I am also going to move the 4WD wires to the outside and get them off the cab floor. Poor planning there on GM's part. Also disassembling the cluster completely and cleaning everything is on the menu. Have a Great Day. Thank you for looking. Be Safe.
 

cucvrus

Well-known member
11,473
10,427
113
Location
Jonestown Pennsylvania
DSCF6586.jpgI was on the underside of the body looking for the Dephi Packard plug that fits the 4WD switch in the transfer care. I found it cut off. I cut it while I had the body hanging from the ceiling. I managed to find another plug to fit the switch. I had to cut it from a complete wiring harness but you gotta do what you gotta do sometimes. That is a male plug with male contacts. The Black out lights have the male plug with the female contacts on the harness side. Opposite of what I needed. I am going to give my project a break for a few days and spend some Family time. It all works out. Still have to look into the grounding issue with the steering shaft. I had a 61 VW beetle that had a bolt to long on the steering column and grounded out the horn all the time. I did not have this column out so I will side with painted parts as being the intermittent problem. Today it worked for 10 minutes on and off again and then nothing. What gives? I ground my test light from the steering shaft to the horn contact and it blows 10 times then nothing.
 

cucvrus

Well-known member
11,473
10,427
113
Location
Jonestown Pennsylvania
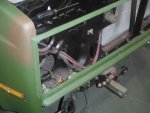
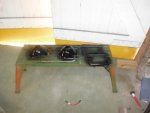
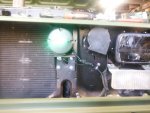
I did venture out in the barn yesterday after work and cleaned and prepped my upper radiator support area for a finish coat of paint. I taped off the areas I didn't want painted and paid close attention to retaining a nice even edge where the fenders meet the radiator support. inside fender edges green and core support semi flat black. Just like new. No pictures and didn't want to risk touching or stirring up dirt so I called it goal met for the day. I did pick up 2 1157 NA bulbs. New headlamp adjustment screws and a new set of Trucklite LED headlamps. Why NOT? Do it right the first time. I did stray from stock on the headlamps but so be it. I have many halogen headlamps in stock. Have a Great Day. Be Safe. Horn still blow on demand. That's a good thing.
 

cucvrus

Well-known member
11,473
10,427
113
Location
Jonestown Pennsylvania
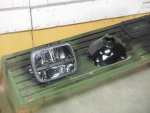
DSCF6596.jpgDSCF6597.jpgI am not in a rush. Today I went out in the barn and installed the grille trim. I always liked the detail when the trim is painted separate from the body. I scrubbed up the side marker lights and installed them. I removed them from a 1991 K5 Blazer I parted out. I peeled the chrome trim from them and sort of like the black on the border. I have other new GM side markers but want to use things that I have or they are not worth saving. I sanded and painted a set of head lamp buckets and trim rings for the head lamps. Slowly done will get it done. Just not as quickly. It's not going anywhere anymore this year. I don't need the garage for anything else. Thank you for looking. Have a Great Day and Be Safe.
 
Last edited:

cucvrus

Well-known member
11,473
10,427
113
Location
Jonestown Pennsylvania
DSCF6598.jpgI already mentioned I sanded and painted a pair of headlamp buckets and a pair of trim rings for the head lamps. I pick up every single rectangular head lamp bucket I see at the YOUPULLIT. These were from a 1992 Astro van. DSCF6600.jpgThe new Trucklite LED's are the hot setup. Direct installation. DSCF6599.jpgI scrubbed up a pair of park lamps and installed them. DSCF6602.jpgThe engine compartment is a bit dusty and I am OK with that. It is all original. I scrubbed an overflow bottle and have it hanging out drying. I need to install that next. No rush. I figure if I can get 1 or 2 things completed every week. It will all work out. New tires are next. That is a big chunk on change. I am going to put Goodyear Wrangler MTR 31x10.5x15 tires on it. I think 5 new tires would be the way to go. DSCF6601.jpg Next I need to wire the B/O drive lamp. That is a Truck Lite green LED one. Have a Great Day. Be Safe. Thank you for looking and all the positive support.
 

cucvrus

Well-known member
11,473
10,427
113
Location
Jonestown Pennsylvania
WOW. I am saddened to see no activity on the CUCV forum in over 24 hours. I hope to make up for that this evening and tomorrow. I have been wondering off task for a while again. I hope to get to it tomorrow. I have lots of very simple things I can do to move my project along in great leaps and bounds. I have been logging and cleaning a lot for a new home hat a friend is building. Been using my new truck as a wood hauler. Does well. It is a long trip and traveling in a 1987 M1028 vs the 2019 Silverado is in no way the same. I was pleased with the 16.2 MPG round trip in the new truck. Gas is .60 cheaper a gallon. I will get hard on my project until something else comes along with more priority. A Grand Son's birthday party. Have a Great Day. Be Safe.
 

cucvrus

Well-known member
11,473
10,427
113
Location
Jonestown Pennsylvania
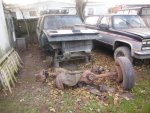
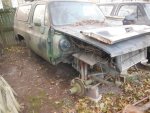
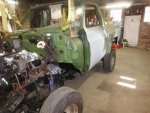
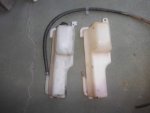
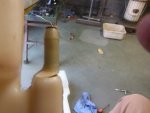
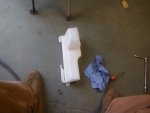
DSCF4109.jpgDSCF4110.jpgThis is where I started 2 years ago November 17, 2017 . After sitting around wrecked for 10 years the time had come to fix it or junk it. DSCF5683 (1).jpgThis was is where I was at last November 2018. Today I went out at 0730 and just came back in to scrub some rubber parts and get a snack. It is coming along well. Today I learned don't mess with plastic overflow bottles in cold weather. DSCF6607.jpgThe left bottle is a NAPA knock off. The right is the Genuine GM bottle that I scrubbed and bleached. Well that was a waste of my time. I was attempting to push the 3/8" hose on the fitting and SNAP.DSCF6609.jpg I can fix it but opted for a new GM one I had stashed away. DSCF6610.jpgDSCF6611.jpgWired up and loomed the harness for the LED Trucklite B/O light. Nice modern touch. DSCF6612.jpgI installed the right head lamp and moved onto getting the grille and headlamp bezels installed. DSCF6614.jpgAll that and it is before lunch. I wanted to post a picture of new headlamp adjustment screws for the CUCV. I did have OEM ones so I just used them. Why just store stuff. Use it when the time comes along. Be Safe. I will report back later. I am going back out. My Fuji camera flashed the battery was low. So as it charges up I have work to complete. The Dorman headlamp adjusting screws. DSCF6613.jpgHave a Great Day. Thank you for looking. I hope you find it inspiring and helpful.
 

D6T

Well-known member
228
532
93
Location
Vermont
Have a Great Day. Thank you for looking. I hope you find it inspiring and helpful.
Rick, with this particular thread, and all the work I do on my wife’s M1009, that’s the understatement of the year! Much appreciated!
 

cucvrus

Well-known member
11,473
10,427
113
Location
Jonestown Pennsylvania
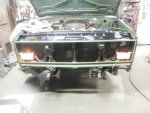
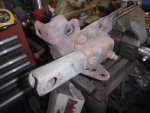
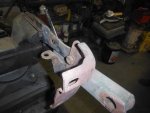
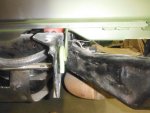
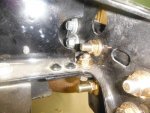
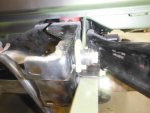
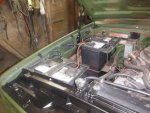
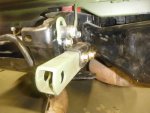
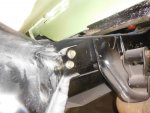
DSCF6615.jpgDSCF6616.jpgThe rear bumper brackets and D ring bracket area can be a very complicated puzzle putting it back together without any to look at. I was fortunate and found a set still partially assembled. I think I would have been lost without for a while. DSCF6617.jpgI had the side braces already mounted when I discovered that I was missing all the other brackets. DSCF6618.jpgThat is a very busy area with all the bolts and nuts. I used the Energy Suspension body mounts and they discard the bumper side brace nuts, I used some nuts that had the wrenches welded to them. Very handy and nice in that tight spot. I also had a large assortment of 1/2" grade 8 flange bolts, flange lock nuts and SAE grade 8 flat washers. A few were a bit longer than needed but it all worked out. I also wanted to do some design of a striker for the tailgate torsion rods to rest on. I came up with a grade 5 1/2" bolt a steel sleeve and a shock bushing. I spent a lot of time on this right side rear bumper bracket. I am happy with the results. DSCF6619.jpgDSCF6620.jpgDSCF6621.jpgThe frame and brackets are a bit dusty but all in all it is coming along well. I do like new fasteners. I was also able to install the oil cooler line inner fender tie down, washer bottle, wiper motor, battery hold downs, fender to hood rubbers, hood adjustment rubbers, and the battery cover hold downs. I am happy with the progress. I did manage to rack , blow and bag 24 bags of leaves, sharpen the chain saw, cut fire wood, and repair the broken vise. Not bad for a day on the farm by myself. Have a Great Weekend and Be Safe. Thank you for looking. More coming you can count on it. DSCF6622.jpgDSCF6623.jpg
 

cucvrus

Well-known member
11,473
10,427
113
Location
Jonestown Pennsylvania
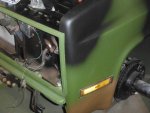
DSCF6624.jpgDSCF6625.jpgTonight the weather was fair outside. Not warm but not freezing. I had the Wife and a friend help me get the front bumper and brush guard back on the M1009. I used grade 8 1/2" carriage bolt. I scuffed them, cleaned them and painted them flat black. About 45 minutes and complete. Next I want to move to the rear and get the taillamps, rear bumper, and hitch installed. I am procrastinating on the instrument cluster and interior. I also need to get a hood latch and hood release cable installed. A little at a time. No RUSH. DSCF6627.jpgDSCF6626.jpg The brush guard fit easily and with new 1/2" carriage bolts and serrated flange nuts I was able to basically tighten it up by hand then use a 3/8" long handle ratchet to tighten then up. The spacing is near perfect on the front. This is the brush guard that was outside on a frame for 20 years. I hand sanded it sealed it and painted it. Very happy with the results. Have a Great Day. Be Safe and Thank You for looking and offering the support.
 

nyoffroad

Well-known member
940
687
93
Location
Rochester NY
"I also wanted to do some design of a striker for the tailgate torsion rods to rest on. I came up with a grade 5 1/2" bolt a steel sleeve and a shock bushing".
What an exelent idea! I hope you don't mind if I 'borrow' it.
 

cucvrus

Well-known member
11,473
10,427
113
Location
Jonestown Pennsylvania
Last night was a night for gathering parts and evaluating/comparing which ones I should use on my current build. I was working on the tail lights. I had a set of taillight housings that were on the truck. They were knock offs and looked like scrap. I scrapped them and looked for another OEM set. I found a few that were broken and quite a few that were salvageable. I scrubbed up a useable pair in the wash sink and painted the inside of the housings bright aluminum. I also located a hood latch and hood safety catch. I scrubbed them up as well and painted them. It may be a few days till I get to install them but letting paint dry before handling the parts always ends up a better idea with more favorable results. Still procrastinating on the cluster. I have accepted that this project will not be completed till Spring 2020. I never painted a set of outside mirrors and really I don't want to launch a new truck when the ground is covered in snow and ice. Spring is the time for new things to emerge. I do want to get the 5 tires so I can move the truck back in the corner. Not really helping keep 2 years of barn dust off the project. But Spring will bring out the pressure washer and everything will be clean again. Have a Great Day. Be Safe. And nyoffroad feel free to use any of my techniques. I hope you have favorable results.
 

cucvrus

Well-known member
11,473
10,427
113
Location
Jonestown Pennsylvania
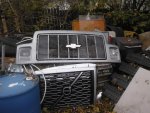
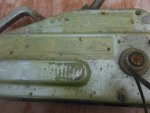
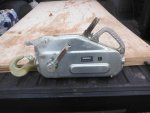
DSCF6637.jpgToday I went out with all good itentions of working on my CUCV project. About as far as I got was the barn. I looked at the driveway and thought it is going to snow soon and the leaves are knee deep at the doors and in the cormers. I did all the leaf clean up and went to a sale at 1100 AM. My kind of sale. I was told Chevy truck parts. Never told big Chevy truck parts. I bought the face panel from a big Chevy Top Kick. I liked it and it was not bringing much. Nice barn hanger. Get the lights working and hang it up. Also some strange cable lift piece. New in a tattered box. DSCF6636.jpgThe cable was not with it and I was unaware of that. Not sure if it is worthy. Anyone ever use one of these? Have a Great Day. Be Safe.
 

Attachments

Top
AdBlock Detected

We get it, advertisements are annoying!

Sure, ad-blocking software does a great job at blocking ads, but it also blocks useful features of our website like our supporting vendors. Their ads help keep Steel Soldiers going. Please consider disabling your ad blockers for the site. Thanks!

I've Disabled AdBlock
No Thanks