Wow, thank you! Timely info as I keep going back to my headlight adjustment and keep getting frustrated without solving the problems. I've tried many suggestions but just never can get the hardware to work and stay in place correctly. I am going to try this for sure.(Entire post)
-
Steel Soldiers now has a few new forums, read more about it at: New Munitions Forums!
Another M1010 owner
- Thread starter Mad Texan
- Start date

More options
Who Replied?- 657
- 1,150
- 93
- Location
- Chester County, PA
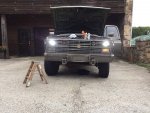
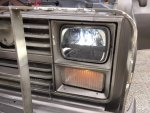
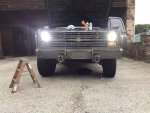
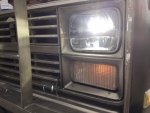
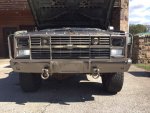
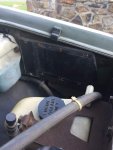
I haven't gotten more for the other two but I think they will work well! I still haven't attached them to the rad support but was able to hold them in place while I adjusted the headlight.Wow, thank you! Timely info as I keep going back to my headlight adjustment and keep getting frustrated without solving the problems. I've tried many suggestions but just never can get the hardware to work and stay in place correctly. I am going to try this for sure.
- 657
- 1,150
- 93
- Location
- Chester County, PA
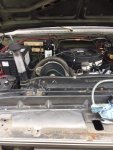
Since I can adjust the lights much better now I decided to install some improvements. Had to disassemble the sockets and tighten up the wire connectors some but got everything working. Cleaned the rad support and the back of the bulb housing, assembled with some lube. And all new screws for the lens ring. Buttoned most everything up on the motor. Broke one of the vacuum lines off of the transmission vacuum valve...eBay to the rescue, $33.70 shipped. Need to bleed fuel system... added coolant. Crap... found a drip at the thermostat...tried snugging the bolts up some more but it wouldn't stop. Siphoned coolant out and will get new gaskets tomorrow...
Attachments
-
118.5 KB Views: 42
-
98.7 KB Views: 43
-
123 KB Views: 41
-
66.4 KB Views: 43
-
71.9 KB Views: 57
- 657
- 1,150
- 93
- Location
- Chester County, PA
Thanks for the advice! I did use a gasket sealing compound when I put it together. Maybe I missed a spot! It was an annoying one that just produced a drip every 30 or so seconds. It slowed but wouldn't stop. I'll regroup on it tomorrow.You might be better off using RTV on the thermostat and thread sealer on the bolts. I went through three gaskets before I gave in and sealed it up. Not a drip since.
- 657
- 1,150
- 93
- Location
- Chester County, PA
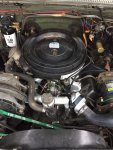
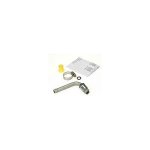
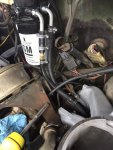
My coolant leak issue was somewhat self induced. The thermostat must have shifted while assembling and I ended up tearing the gasket a little. Fixed and no longer leaking. The next leak has been at the fittings on the new fuel filter. I tracked down proper fitting for the housing and those leaks seem fixed as I started the bleeding procedure again. Batteries started getting a little weak while trying to bleed the hard lines, so out they came and back on the charger they went. Haven't finished that yet. I moved the voltmeter, made an extension with Packard connectors for it, and installed it in a new bracket. I've been running other wires for the passenger side fuel tank sender and cleaning things up...
Fitting Part #'s
Fitting Part #'s
| GATES | 350290 |
| Edelmann | 39114 |
| ACDelco | 36-350290 |
| GATES | 35029 |
| CONTINENTAL | 11937 |
| CARQUEST | 35029 |
Attachments
-
4.9 KB Views: 54
-
64.3 KB Views: 59
-
58.7 KB Views: 66
- 657
- 1,150
- 93
- Location
- Chester County, PA
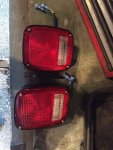
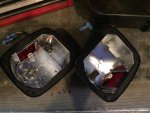
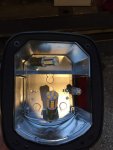
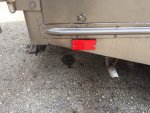
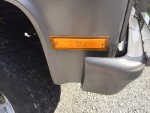
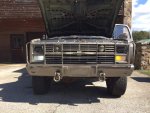
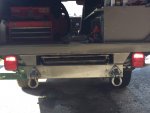
Good: I finally got the fuel system bled and low and behold she runs again! Idled up briefly while cold and then idled down fairly smooth for a diesel. I topped off the coolant and checked for any leaks. Nothing dripping in the valley or below the truck. I put her in F and R, both engaged. I set off for a very short ride around on my friends farm. All seems ok! Need to adjust the vacuum switch for the transmission but no issues. Brakes don't feel half bad at all. I installed some new tail lights after discovering that under all the dirt duct tape was holding the one together and the other internally was rusted pretty bad. I got new ones with the proper connectors, scuffed and painted the inside with chrome paint, installed LED's and put them on the truck. Very bright now. I also installed some new marker lights.
Bad: I noticed some bubbles in the coolant when I first started the first time. I wrote it off to draining and refilling the cooling system and air bleeding through the system. I started her up a second time and as the motor warmed up took notice to the upper hose. She's building pressure so I have a feeling the head gasket's have most likely succumbed to age. I'm picking up a coolant tester to verify what I am already pretty sure of. But I might be looking for some heads to hurry the process along.
Bad: I noticed some bubbles in the coolant when I first started the first time. I wrote it off to draining and refilling the cooling system and air bleeding through the system. I started her up a second time and as the motor warmed up took notice to the upper hose. She's building pressure so I have a feeling the head gasket's have most likely succumbed to age. I'm picking up a coolant tester to verify what I am already pretty sure of. But I might be looking for some heads to hurry the process along.
Attachments
-
64.2 KB Views: 34
-
82.8 KB Views: 37
-
41.3 KB Views: 39
-
146 KB Views: 39
-
82.4 KB Views: 36
Last edited:
- 657
- 1,150
- 93
- Location
- Chester County, PA
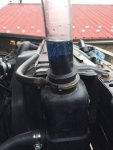
Well, 25 minutes of testing resulted this...Started blue and ended blue
Attachments
-
64.4 KB Views: 51
-
38.6 KB Views: 49
joshuak
Active member
- 747
- 215
- 43
- Location
- Slower shore, DE
Wanted to like the previous post, on account of you getting her running and moving, but hard to do so with the possibility of a blown HG. Good to read that appears to be negative.
Solid progress,![Thumbs Up [thumbzup] [thumbzup]](https://www.steelsoldiers.com/images/smilies/icon_smile_thumzup.gif)
Solid progress,
- 657
- 1,150
- 93
- Location
- Chester County, PA
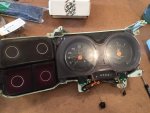
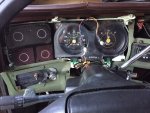
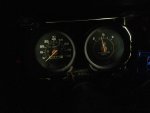
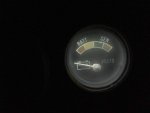
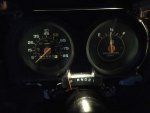
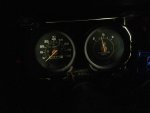
I got a few more things done today... New turn signals came in today, I installed them and verified my LED's are working properly. New ones seem twice a bright as the old ones. I had never checked my reverse lights and when I did they didn't work. After adjusting the backup switch, all good! When I checked the dash light I think only one worked. So I finally pulled the cluster, cleaned it up some, and replaced all the bulbs with LED's. I'll have to check it at night to see how it looks.
Attachments
-
116.2 KB Views: 36
-
109.4 KB Views: 40
-
66.3 KB Views: 41
-
81.9 KB Views: 43
-
92.8 KB Views: 45
- 657
- 1,150
- 93
- Location
- Chester County, PA
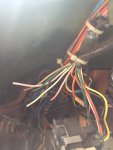
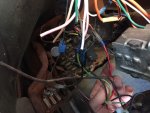
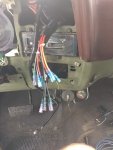
While the cluster was out I looked more closely at some wiring I had seen from under the dash. I don't think my BO lights will be running soon, rear ones are gone. But when I want them to work... I know where to start!
Attachments
-
41.3 KB Views: 46
-
74.6 KB Views: 45
- 657
- 1,150
- 93
- Location
- Chester County, PA
To protect the innocent
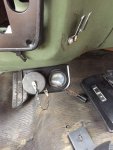
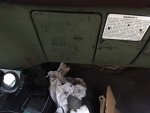
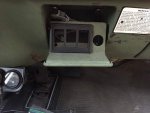
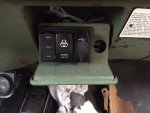
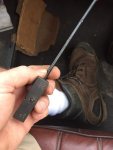
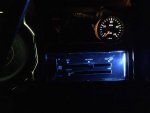
I was away working this weekend but a few things came in... I started a test fit for a dual voltmeter, a light switch, and a usb location. The cigarette lighter I got doesn't fit without some serious modification so I will get a basic on from the auto parts store for power. I found the tool on EBay for less than $20 so I added it to my tool box. I need it anyways since I replaced the vacuum switch on the injection pump.
I will be looking for some headlight buckets for the 'Zombie Light' switch...
Attachments
-
63.6 KB Views: 58
-
61 KB Views: 66
-
62.4 KB Views: 77
-
35.7 KB Views: 75
Last edited:
- 1,694
- 1,757
- 113
- Location
- Nova Laboratories, WA
Did you mean to upload that last pic of Mainsail's rig?I was away working this weekend but a few things came in... I started a test fit for a dual voltmeter, a light switch, and a usb location. The cigarette lighter I got doesn't fit without some serious modification so I will get a basic on from the auto parts store for power. I found the tool on EBay for less than $20 so I added it to my tool box. I need it anyways since I replaced the vacuum switch on the injection pump.
I will be looking for some headlight buckets from a deuce for the 'Zombie Light' switch...
- 657
- 1,150
- 93
- Location
- Chester County, PA
Finally finishing some wiring for gauges in the dash. I picked up some Tuff Country HD springs that still have the stickers on them for a great price on CL this week. I also started replacing wire loom that was disintegrating from the firewall to the ambulance box. Did an oil change and was reminded that GM puts the filter right over the exhaust. Checked the brake fluid and was happy to find DOT5 still in the master cylinder! Need to continue through the brakes...
Attachments
-
47.2 KB Views: 42
- 657
- 1,150
- 93
- Location
- Chester County, PA
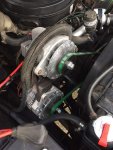
A few updates... I think the cluster needs to come out again. The right of the speedo looks a little dim, hopefully just polarity on the led. Otherwise much better. Some shiny new additions under the hood to eliminate a big blue M1010 gremlin!
Attachments
-
62.4 KB Views: 65
-
29.4 KB Views: 62
-
32.8 KB Views: 60
-
27.7 KB Views: 51
Last edited:
joshuak
Active member
- 747
- 215
- 43
- Location
- Slower shore, DE
Charging forward! Bonus points for finding and using the the Tach. signal, good call ![Thumbs Up [thumbzup] [thumbzup]](https://www.steelsoldiers.com/images/smilies/icon_smile_thumzup.gif) .
.
- 657
- 1,150
- 93
- Location
- Chester County, PA
I pulled the cluster again and was able to get the center bulb working. I think it was the polarity on the led. Gauges look bright now! Also some further progress on removing the blue gremlin from the truck... the bundles of wires is bothering me... I've ordered the cables that I'm doing from Bestboatwire.com, the Blue Sea products I'm going to use, and I am waiting on a few more led bulbs for the new gauges.
Attachments
-
39.3 KB Views: 46
-
42.2 KB Views: 40
-
29.4 KB Views: 37
Last edited:
cruzer747
Active member
- 218
- 145
- 43
- Location
- California
Nice to see the dash again! Did you go through the trouble of hooking up a reference tach to tune the vdo? Also the dual voltmeter looks like the same one as mine, the first on I got was off but the second one was good, might want to double check with a dvm to save for some headaches.
- 657
- 1,150
- 93
- Location
- Chester County, PA
Dash lights are great! I think there were only one or two good bulbs left. I didn't hook up a reference tach to tune the VDO. I just went off of others experience here and have it at 650 rpms for idle basically. If it seems like it's way off, I'll look further into fine tuning it. I saw that you had some issues with your first voltmeter. Mine is suppose to be from Mictuning so hopefully ok. When I first got it I tested on a 9 volt battery which read 9.1 and so far it has matched what my multimeter has said.Nice to see the dash again! Did you go through the trouble of hooking up a reference tach to tune the vdo? Also the dual voltmeter looks like the same one as mine, the first on I got was off but the second one was good, might want to double check with a dvm to save for some headaches.
- 657
- 1,150
- 93
- Location
- Chester County, PA
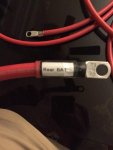
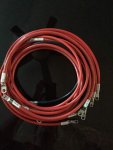
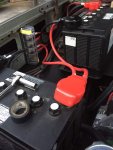
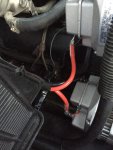
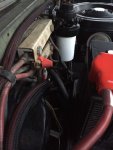
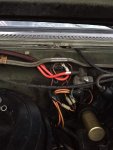
Well, bestboatwire.com and some EBay purchases came through with some wiring updates. I ordered clear heat shrink with the wire and made labels for the ends. While I upgraded some of the wiring, I stayed with the 2 gauge battery cables. I used 6 gauge for the glow plugs, 12v bus, and the smaller ground wires (battery to rad. support, rad. support to frame). I used 4 gauge from the alternators to the batteries or ground. Installed a terminal fuse block for the 12v needs and a individual terminal fuse for the 24v bus. I also installed military battery clamps to get rid of the crimped lead ends. I'm happy with the results. Still need batteries and hold downs but electrically we are getting there. I also pulled a 12v wire into the cab to feed the voltmeter, switch, usb's and cigarette lighter I added in the ashtray spot. Need to gut DUVAC wiring but it can wait!
Attachments
-
27.8 KB Views: 46
-
40.6 KB Views: 49
-
53.7 KB Views: 54
-
52.3 KB Views: 51
-
45.2 KB Views: 49
-
51.1 KB Views: 46
Last edited:
- 112,579members
- 166,184threads
- 2,340,611posts
- 875online users

