Thank you CB for clarifications.
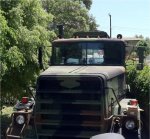
As you know, I started installing the RD-2-4530-0P A/C unit in my
M916, I HAVE THE CAT 7155 Transmission so this may apply or may not to you.
If you have an Allison the Evap unit will probably install per plan.
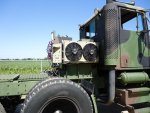
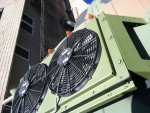
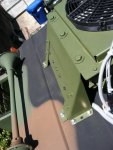
The condenser on the roof was pretty straight forward except I threw
away the silicone and used rubber washers between the roof and the
mount, then on top under a flanged head bolt, I used a SS backed
rubber sealing washer, all from McMaster. I first pulled the fans
and their control boxes and painted the condenser super-structure
383 green, then reinstalled the fans and bolted it down using my own
flange head hex bolts and nyloc nuts w/ a SS Fender washer underneath.
I have a canvas type of cover being made as we speak that will cover
the fans in the off season or if bad conditions. Leaves and pine needles
will play helm w/ that unit if not kept clear. Plus you do not want
snow getting in there, and then a freeze come, it will blow things apart.
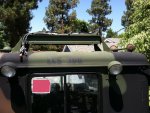
When you drill for the 4 rearmost bolts BE CAREFUL because the air horn
hose was right there. Speaking of air horn you have to remove the valve
to pull the headliner, good time to fix those leaks. After I bolted it down
I flooded my bolts w/ a pressurized hose, refit the headliner and all is well up top.
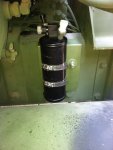
I went over the dryer already.
The evaporator WILL NOT FIT per plans. So what I did is I simply moved
the evap unit towards the PS door and used the next circuit box bolts.
No muss, no fuss.
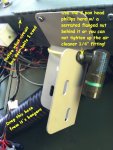
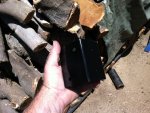
The drains, I added 2- 1.75" OD x 1" ID x THIN rubber
washers, super gluing them to the bottom of the evap unit around the drain
outlets so there is a seal. After all holes were drilled I painted the cuts as well.
The drain hoses they supply, well I ended up cutting one in half and using
two 1/2 as long pieces, you will see why. I have not installed them from
under the truck yet, it will be fun I am sure.
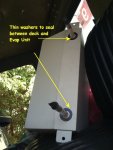
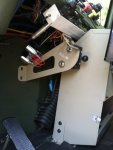
The M916 w/ CAT 7155 has an access panel on the floor directly under the ratio
selector box on the floor. BE SURE to remove the screws 1-2? that the Evap
unit will make impossible to remove in the future!
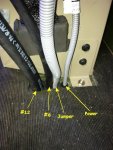
The part where you are suppose to cram the #6 Hose and the JUMPER wire assembly
and the power feed assembly through one of those cone shaped grommets is
a cruel joke. I got the Jumper and #6 hose through and decided to simply
pop a new hole in line w/ the two conical grommet holes and called it
better than good. Now the power lines are not SQUEEZED so tight. Just
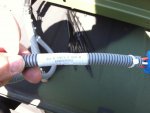
grab a 3/4" x 3/8" rubber grommet good for and 1/8" thick deck and drill
a .55" hole, then cut the grommet so you can spread it around the convoluted
tubing and install it. The eye connectors for the battery need to be squeezed
gently to a smaller diameter to go thru the .55" hole.
