• Steel Soldiers now has a few new forums, read more about it at: New Munitions Forums!

  • Microsoft MSN, Live, Hotmail, Outlook email users may not be receiving emails. We are working to resolve this issue. Please add support@steelsoldiers.com to your trusted contacts.

G749 preservation

m1010plowboy

Well-known member
Steel Soldiers Supporter
3,903
2,698
83
Location
Edmonton, Canada
Mr. AA you have the kindest way with words. We Thank You. The great thing about hooking in with the MVPA folks was enjoying all the experience they had to offer.

From the Dennis B's to the 350 M37 kids, the dog-tag maker, to the hosts of the Whitecourt Airshow that filled the fuel tanks of around 100 vehicles in 2012, to the families that are the hope to carry the hobby forward.......MV collectors and preservationists are some fine folk. Fine folk are fun to be around and when they're not around anymore, they can be absolutely sure, we think of them and are better because of them. From Johnny M who taught me how to convoy, New Yorker Gary Zito, Hap B., to Robert G, each one of them made life better. Robert was part of the 70's and 80's gang that hit the auctions, brought home the gold and saved it for another generation. The Cliff Carbols, Hank and Andy Lopo gang and a few others are still around doing it so we can still tell them how much we appreciate their collection efforts.


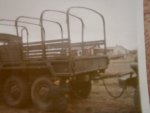
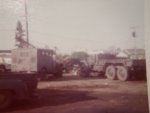
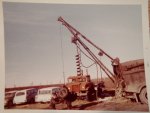
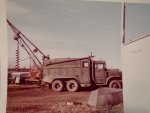
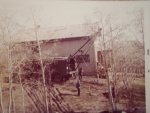
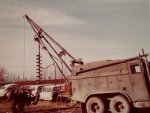
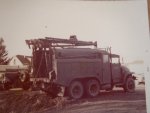
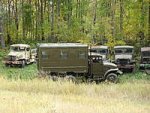
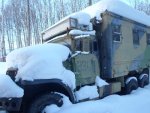
I guess this is the Early Deuce forum so saving some pics here makes perfect sense. Robert got to hang around the largest of the large, the pole truck. Whether pulling parts, drilling holes or picking up deuces with deuces, these people had some fun. We salute the pioneers of Early Deuce Preservation.
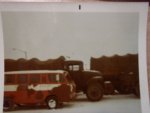
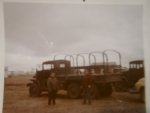
P4172168.JPGP4172169.JPGP4172170.JPGP4172171.JPGP4172173.JPGP4172172.JPGP4172174.JPGP4172175.JPGP4172176.JPG

Thanks to others who hustle to save some history in museums and DM over at CMV for the pics, we can still see a museum piece.
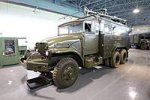
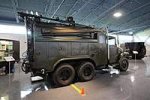
Pole truck.jpgpoletruckrr.jpg
 

m1010plowboy

Well-known member
Steel Soldiers Supporter
3,903
2,698
83
Location
Edmonton, Canada
G749 Tire Tear off Tech Tips from Mattech.

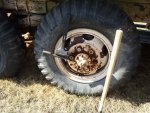
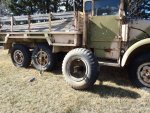
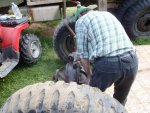
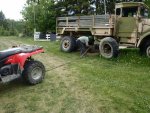
The diff swap got a start and I had to pull tires. Mattech said I should try his hammer wrench and a tiny blow hammer with some magic sand inside. The big sledge got pulled out just in case but I didn't need it. We highly recommend a magic filled blow hammer for those big psi removals. Didn't even break a sweat. For those novice tire removers, The letter 'L' on the driver side studs does not mean lefty loosey. It stands for Left hand thread and means lefty tighty, righty loosey.

P4222186.JPG

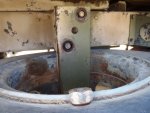
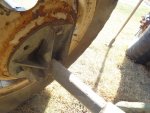
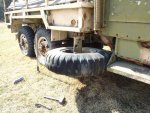
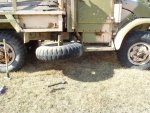
I had to move the spare out of the way and have never checked out how the carrier works. At first I was puzzled how I'd lift the tire over the mounting bracket but it turns out there's this cool swivel underneath that stands the tire up. Easy offloading, easy loading.....kinda brilliant.

P4222183.JPGP4222189.JPGP4222184.JPGP4222185.JPGP4222187.JPG

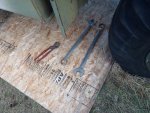
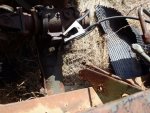
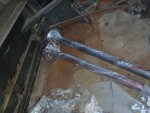
The torque rod bolts have 1 7/16" nuts....... All it takes to loosen the torque rod nuts is 4' of wrenches and 200lbs of short, fat, balding guy. Easy peasy. The nuts are loose and we're ready for a diff pull.

P4222190.JPG
 

m1010plowboy

Well-known member
Steel Soldiers Supporter
3,903
2,698
83
Location
Edmonton, Canada
"G749 Pillow Block Removal" from unit 113501174 to George the BATUS 135.

Removing coarse studs installed 70 years ago could be tough but for a fella with teeth, it's no problem. If I didn't have teeth, I'd be grinding my gums.

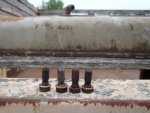
All you need to do this job are wrenches, hammers, punches, new vice grips, pipe wrench, benzene torch, fire extinguisher, penetrating oil, wax....and a white flag because all that stuff doesn't work. It helps because the two top studs can be grabbed with a pipe wrench but the bottom studs won the battle against a conventional attack.

P4202180.JPG

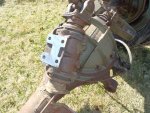
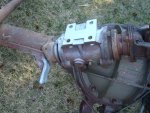
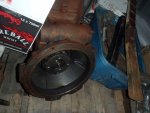
The pillow is too tight to the pumpkin to cut the studs then slide the pillow block off so the studs must come out. There was a thought to cut the studs between the bracket and block but there was no guarantee that would work. I can slightly understand why the pillow block bracket on George was cut in half........slightly.

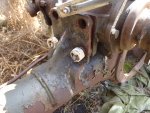
The stud has cone washers with coarse thread into the block and a fine threaded nut.

P4202182.JPG

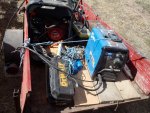
If a person is off grid, the 4400 generator, the Miller mig welder, clean nuts and appropriate wrench to fit your clean nuts is the fastest way to go. After fighting with double nutting and no access to the bottom studs with a pipe wrench, the welded nut solution took just a few minutes. After putting out the grass fire started by welding, I was able to get the studs removed using a welded 15/16 nut. Had time to clean up the matting surfaces, prime, chase the stud holes to clean em' out and think about remounting.

P5032206.JPGP5032207.JPGP5032208.JPG

Does it really need a stud or will a bolt and lock washer work as a replacement?

P5032215.JPGP5032214.JPGP5032224.JPG
 

Another Ahab

Well-known member
17,991
4,536
113
Location
Alexandria, VA
All you need to do this job are wrenches, hammers, punches, new vice grips, pipe wrench, benzene torch, fire extinguisher, penetrating oil, wax....and a white flag because all that stuff doesn't work. I

After fighting with double nutting and no access to the bottom studs with a pipe wrench, the welded nut solution took just a few minutes. After putting out the grass fire started by welding, I was able to get the studs removed using a welded 15/16 nut. Had time to clean up the matting surfaces, prime, chase the stud holes to clean em' out and think about remounting.
Plowboy, you are ONE funny hombre, is what you are.

:naner: :beer::naner:
 

m1010plowboy

Well-known member
Steel Soldiers Supporter
3,903
2,698
83
Location
Edmonton, Canada
This would not be as funny if I was a skilled mechanic so you're welcome.

Not many pics from the day with a good ground guy keeping me busy but we got a powerplant pulled.

P5052228.JPGP5052230.JPGP5052232.JPGP5052233.JPG

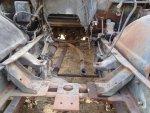
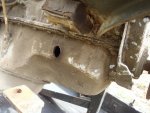
There's the problem. Either something was outside and wanted to get in...or something was inside and wanted to get out.


P5052231.JPG
 

m1010plowboy

Well-known member
Steel Soldiers Supporter
3,903
2,698
83
Location
Edmonton, Canada
G749 Torque Rod Removal

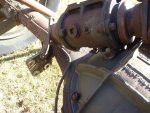
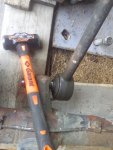
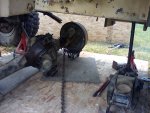
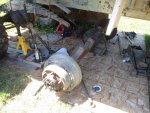
There's George without his front rear. With the right hammer and knowing the target is the housing the bolts sit in, 4 lbs of blow is all it takes to pop out the torque rods and remove a rear.

IMG_20240512_195310.jpeg hammer.jpeg

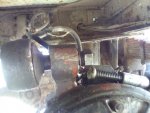
We cheated on the top torque rod finding a hydraulic jack that fit between the pin end and spring mount. I don't think the jack is needed. Putting some pressure on the bolt didn't hurt and when a 4 ton jack doesn't push them out, it's time for a beating. I had to smack the housing a dozen times but I think all it took was 'one right smack'. The taper on the bolt and the right hammer hit pops that bolt outta that hole like a bullet train comin' out of the fog. BAM

torgueoff.jpeg

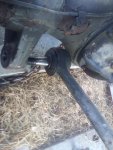
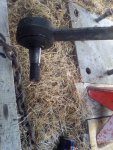
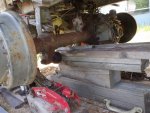
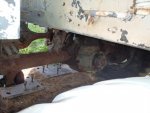
Made the decision to pull the top torque rod then roll the diff off the springs onto the ground. It made access to the bottom mounts easier for a better swing. Got lucky with pins in pretty decent shape. 70 year old torque rod removal can be done.

torqueout.jpeg torqtaper.jpeg

Used a small dolly under the diff for the pull out and a 650 Polaris to do the dragging. The diff rolls around fairly easy so not a bad job to do with plywood on grass. Ready for the replacement.

pulldiff.jpeg georgleft.jpeg
 

Another Ahab

Well-known member
17,991
4,536
113
Location
Alexandria, VA
G749 Torque Rod Removal

There's George without his front rear. With the right hammer and knowing the target is the housing the bolts sit in, 4 lbs of blow is all it takes to pop out the torque rods and remove a rear.

View attachment 923267
View attachment 923268
Plowboy, you might be fearless for starting a major project like that.

That's some real work there, Brother!:driver::beer::driver:
 

rustystud

Well-known member
9,259
2,945
113
Location
Woodinville, Washington
Last edited by a moderator:

m1010plowboy

Well-known member
Steel Soldiers Supporter
3,903
2,698
83
Location
Edmonton, Canada
There we go. George with the new differential all bolted up and rolling. It wasn't too early either with the dark clouds and hail chasing us out.

P6042369.JPGP6042367.JPGP6042368.JPGP6042371.JPG

Another Ahab, I appreciate the word 'fearless'. We can also use the word 'slow'. I found if I moved slow under the truck it hurt less when I hit the tap on the air tank, corner of the mud flap, fuel tank and corner of the box. Safety first! The rest of the job went kinda smooth. Most of the problem isn't the work it's getting the 60, 70 and 80 year olds away from facebook and out to the trucks to help. Mechanic cousin Dale stepped in, checking my work, tapping the broken brake line and guiding the diff back under the truck. It's mostly a 1 man job because only one fella can fit underneath or ride the quad.

P6022346.JPGP6022347.JPG


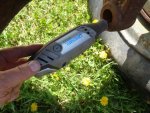
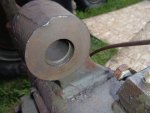
The big toys came out on this diff. The dremel is real handy with a copper wheel to clean inside the torque housing and Rod bolt.

P6022343.JPGP6022345.JPGP6042354.JPGP6022342.JPG

Once the diff is under the truck the two bottom rods get plugged in. After cleaning I hit the rods with Kopper Cote.....leave your comments below if we should hit our torque rod ends with Kopper Cote. A bit of jacking, blocking and a ''come-along" to pull the diff towards the top torque rod, it went together like butter on corn.

P6042353.JPGP6042355.JPG

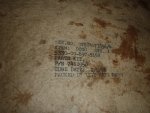
That's what it's supposed to look like when you look on top of a forward/ rear diff on an Early Deuce.
P6042361.JPG
 

m1010plowboy

Well-known member
Steel Soldiers Supporter
3,903
2,698
83
Location
Edmonton, Canada
By George I think we've got it. Welcome aboard trucker. Can't just call you a jeeper anymore.
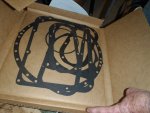
P6092416.JPG

Hey everyone, meet Georges New Owner ( NO ). Welcome to Steel Soldiers and we apologize to the family for the spare time you'll be spending here.
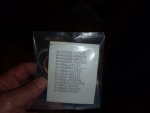
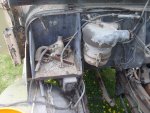
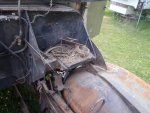
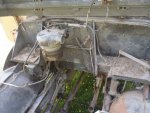
Make sure you throw in a few extra straps when you're loading for the haul. I almost bolted the rad support in to hold the fenders and inner fenders in transport but I think an extra strap will keep anything from bouncing. I did strip the spare parts......and your birds nest.....out from under the hood and put it all in a pail in the cab. We appear ready for transport Captain!

P6092406.JPGP6092441.JPGP6072392.JPGP6072393.JPGP6072395.JPG

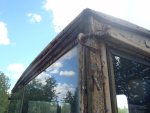
I threw in a window frame that was less fungi infested than Georges. That top window channel is always a problem and the spare frame should help out. You'll need a few straps for drive-shafts, the rad support, TC parts and maybe strap up the cargo seats. Other than the nice drivers seat in the barn, a few engine parts, maybe a spare tire/rim......by George I think we've got it.

P6072391.JPG P6072389.JPG P6072388.JPG

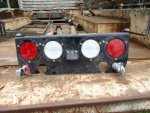
The Penhold truck stopped by this weekend and had a spare, fancy light assembly. Is this something you'd run on George??????

P6092428.JPG

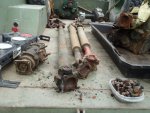
George was missing some TC parts and Betty the M211 wanted some internal TC parts so we stripped a parts truck and should have everything George needs. The rear brake assembly and front shift rod support are wrapped up with bolts in a container labelled TC bolts.

P6092423.JPGP5282305.JPGP6092418.JPG

We gave you a spare e-brake drum that's been turned but it really should be balanced before assembly. Axles are wrapped and in the cab with the bolts that we took off the truck......and I can't wait to hear it run too....

P6092429.JPGP6072397.JPGP6072396.JPG
 

m1010plowboy

Well-known member
Steel Soldiers Supporter
3,903
2,698
83
Location
Edmonton, Canada
Blown Engine Stripping.

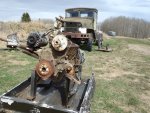
There wasn't much left on Georges engine but it's a good opportunity to show the internals of decades old parts.

IMG_20240610_155534[1].jpeg

The long water pump bolt comes out of the top, passenger side hole. That is important because if it's shoved in the wrong hole it can poke a hole in a cylinder wall. The pump is seized and has a rusty hole.

IMG_20240610_161819[1].jpeg IMG_20240610_162358[1].jpegIMG_20240610_162413[1].jpeg

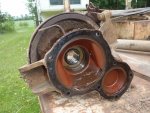
The starter casing looks rough and thin so not sure what the guts look like. The gear looks good.

IMG_20240610_164026[1].jpegIMG_20240610_164645[1].jpeg

Always good to have a spare oil pressure sending unit to trouble-shoot gauge, oil pressure or sending unit problems.

IMG_20240610_164807[1].jpegIMG_20240610_165215[1].jpeg

Distributor was a little tight coming out. The tip is there and doesn't look like it took any abuse when the hole happened. Had some interest in doing forensics on the detonation so still might get a chance to pull the pan and see how the 302 went from no holes to two holes. The preservation continues.

IMG_20240610_163142[1].jpeg
 

m1010plowboy

Well-known member
Steel Soldiers Supporter
3,903
2,698
83
Location
Edmonton, Canada
Differential venting G749 axle.

How does the diff vent? Has anyone stuck their finger in the rear end to find their vent hole? I did! I can't find it.

P6010609.JPG P4012020.JPG

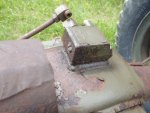
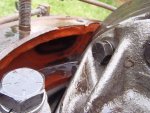
The block on the rears has four holes....One in for the brake fluid, two out to the wheel cylinder/ brakes.....and one hole that's supposed to be a vent. I took off the cover and felt inside the rear for a hole that should be under the block, inside the rear end. A plugged vent hole could cause some of those leaky diff problems we've seen with pinion seals but one would think he should feel a hole. If the hole is supposed to be there and I can't feel it with a finger........do I just need a longer finger? What does a vent hole in your rear end feel like?

P5242275.JPG P5282311.JPG

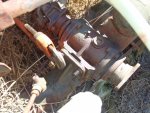
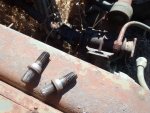
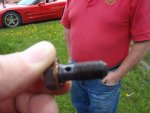
Also check those bolts that break easily when you try to remove them. Three of these things belong together and one has a plugged hole. It always seems to be the bolt going into the vent side of the diff and I'm guessing someone needed to drain their air systems more frequently. ...... As I type I realize that if I blow air into that block hole and put my finger back inside my rear end, I might feel air or even feel a plug pop out. ........Meanwhile if someone knows where their blow hole is just let me know so I can tell Georges new owner to check again before sealing up the diff.

P5242277.JPGP5282314.JPG
 

Another Ahab

Well-known member
17,991
4,536
113
Location
Alexandria, VA
View attachment 925765
A plugged vent hole could cause some of those leaky diff problems we've seen with pinion seals but one would think he should feel a hole. If the hole is supposed to be there and I can't feel it with a finger........do I just need a longer finger? What does a vent hole in your rear end feel like?
Plowboy.

You are funny.

What you do in the privacy of your own home, of course, is entirely your business.

The End (so to speak)
 

USMC 00-08

Well-known member
1,182
179
63
Location
Skiatook, OK
Differential venting G749 axle.

How does the diff vent? Has anyone stuck their finger in the rear end to find their vent hole? I did! I can't find it.
It's been several years since I messed with the vent hole, but as I recall, there were several things plugged. The middle axle had a pinion seal that failed, possibly because of a plugged vent hole. I used an air compressor and cleared out all the obstructions that may have been present in all three axles and the transfer case, possibly the transmission, but I'm a bit hazy on that one. I think everything vented out up on the firewall. Pretty sure the airpak vents out up there as well.

I'd get an air compressor and blast out all of the lines and the holes where they hook up.
 

m1010plowboy

Well-known member
Steel Soldiers Supporter
3,903
2,698
83
Location
Edmonton, Canada
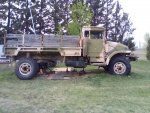
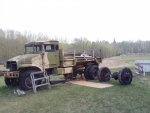
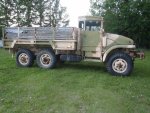
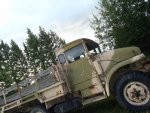
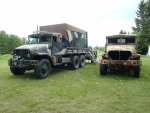
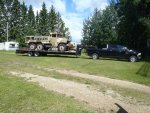
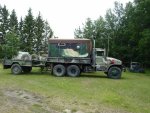
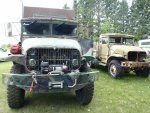
Well there he is......going, going, gone. Everyone enjoys a love story. George and Gracie are going to be seeing each other again real soon. The plot adds a twist when we discover Gracie has been in a tri-truck relationship with what could have been a pole truck. We do have pics coming but for now, George the BATUS truck is headed towards Diefenbaker Lake where Gracie has been shacked up with a new fella.

P6162450.JPGP6162453.JPG2443126530_689d114a5e.jpggraflet.jpgP8040398.jpg

We could not continue to preserve these trucks without modern innovation. The fuel consumption with the torus and 302 alone is a walk away for most people. The Duramax Deuce can only travel around the Country and tell her history because of the upgrades that force us out of the purist realm, into the realist realm.

P6092412.JPG

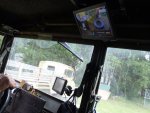
Here's a peak at George, out the window of Betsy Moore, while looking through the camera at George or the rear mounted hitch camera. Modern innovation.

P6092434.JPGP6092437.JPG

The Preservation Continues.

P6092415.JPG2443126530_689d114a5e.jpgP1080128.jpggraflet.jpg
 
Top