• Steel Soldiers now has a few new forums, read more about it at: New Munitions Forums!

  • Microsoft MSN, Live, Hotmail, Outlook email users may not be receiving emails. We are working to resolve this issue. Please add support@steelsoldiers.com to your trusted contacts.

M1010 fire rig to camper conversion

cruzer747

Active member
218
145
43
Location
California
I changed the post title to something more accurate.

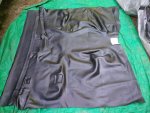
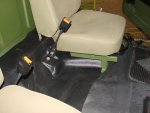
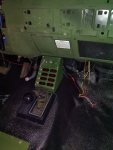
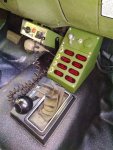
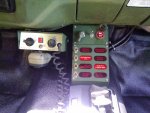
I have also been hard at work slowly approaching the manual lockup switch. Which meant I needed a switch. Which meant I needed a console. Which meant I needed to work near the floor so might as well sort out some forever details.... seats are out, console is in, halfway wired up and working. Materials to finish are en route. Also ordered was enough OD canvas to sew up some custom seat covers. I am not ashamed to say that I can hack stitch... my machine is a husqvarna at least :D

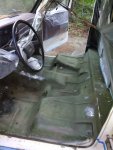
Decided to delete the brackets welded to the floor and tunnel to allow fit for the floor covering. Olive Green raptor liner for the floor beneath the llc polyvinyl and maybe some insulation (thanks stimulus check)... Managed to snap off the drivers side seat belt grade 8 bolt at the head... of course the only big one not accessible due to fuel tank location/ after a few angles of approach it was removed just by drilling it out in steps.

Anyways, just checking in, will have some pics soon, REALLY stoked how the console came out. Out of curiosity anyone know what the plates in the passenger floor and trans tunnel were for? Could not find good info in TMs pr pics on google of stock interior.
 

joshuak

Active member
747
215
43
Location
Slower shore, DE
Kudos to you for knowing your way around a sewing machine. Are you using your olds ones as a pattern or starting fresh? My mrs. made some out of cordura and after a few years, they're still in real good shape.

On the plates, thinking radio tray and/or foot ramp, could not confirm with the TM, here's a couple threads about them.

https://www.steelsoldiers.com/threads/cucv-m1010-radio-tray.130765/

https://www.steelsoldiers.com/threads/our-newest-project-m1010-ambulance.136579/page-4#post-1692064
 

ehuppert

Active member
281
138
43
Location
Upstate NY
I changed the post title to something more accurate.

I have also been hard at work slowly approaching the manual lockup switch. Which meant I needed a switch. Which meant I needed a console. Which meant I needed to work near the floor so might as well sort out some forever details.... seats are out, console is in, halfway wired up and working. Materials to finish are en route. Also ordered was enough OD canvas to sew up some custom seat covers. I am not ashamed to say that I can hack stitch... my machine is a husqvarna at least :D

Decided to delete the brackets welded to the floor and tunnel to allow fit for the floor covering. Olive Green raptor liner for the floor beneath the llc polyvinyl and maybe some insulation (thanks stimulus check)... Managed to snap off the drivers side seat belt grade 8 bolt at the head... of course the only big one not accessible due to fuel tank location/ after a few angles of approach it was removed just by drilling it out in steps.

Anyways, just checking in, will have some pics soon, REALLY stoked how the console came out. Out of curiosity anyone know what the plates in the passenger floor and trans tunnel were for? Could not find good info in TMs pr pics on google of stock interior.
Believe the floor brackets were for the M8 chemical alarms.
 

cruzer747

Active member
218
145
43
Location
California
Kudos to you for knowing your way around a sewing machine. Are you using your olds ones as a pattern or starting fresh? My mrs. made some out of cordura and after a few years, they're still in real good shape.
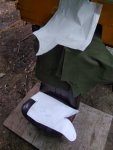
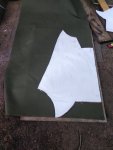
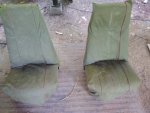
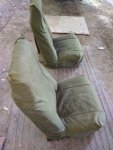
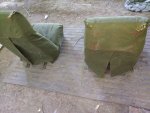
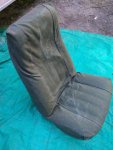
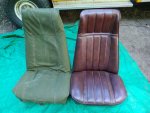
Just finished making patterns and cutting out the parts. I just want something to go over the originals as the off the shelf ones I had fit horrible and I always have my dog who is copilot and takes the command chair when I leave the truck. The originals are in great shape so something to protect em and look halfway decent is the aim.

Patterns went through 3 phases of fine tuning, seats are slightly asymetrical due to age but I averaged everything and think it will be at least better than anything off the shelf. The material was "GOVERNMENT ISSUE HEAVY DUTY CANVAS" and smelled like it had been treated with some water repellent so they are in the wash before I go for stitching em up. Only 4 pieces but the back will have pleats letting in to the seat crack and at the middle height by the shoulders. I still am not sure the exact shape/lap the outer corners will end up being as paper only gets you so far with making the patterns... at least at my skill level :)
IMG_20200517_182724.jpgIMG_20200517_174224.jpgIMG_20200517_182800.jpg
the raptor liner came in the mail yesterday but I dont have any more time and have a few days of work ahead of me before I can prep and spray the floor.
Believe the floor brackets were for the M8 chemical alarms.
Thanks! good to know.
 

cruzer747

Active member
218
145
43
Location
California
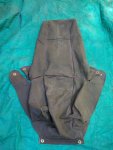
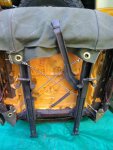
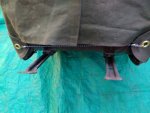
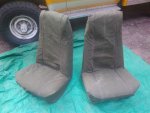
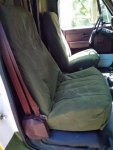
I got the bulk of the hard work done on the seat covers. Also I should have rough cut the fabric as it shrunk in one direction and really had me wondering if I would make it or need to change the design... all worked out well. I still need to make some adjustments as well as stitch the back seam up and add some grommets for bungees but they really do fit well enough that the likely 25 hours I have dumped into them is starting to seem worth it at this point :sneaky: I am going to have to hand sew all of the seams I could not hit with the machine and use some tougher stuff in the corners and it should be good for many miles. The red crayon should come out with a little bit of love from alcohol and soapy water/microfiber. I got them far enough that I am comfortable continuing with the floor but wanted to do all the major fitting while the seats were out. Will take a few more finished pics when it is all said and done.
IMG_20200524_135857.jpgIMG_20200525_145821.jpgIMG_20200525_145847.jpgIMG_20200525_145859.jpg
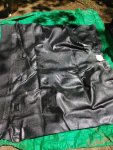
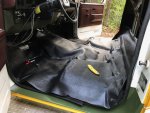
Also the LMC floor covering came and it seemed to have been folded a bit tighter than need be (I mean the box was big enough to have folded it only twice but they doubled that... the directions said to lay flat for 48 hours out of the sun at room temp... did not really do much so in todays 100' weather I laid it flat on a tarp and covered it with a black tarp and it mellowed out nicely. I was getting concerned it would not fit well.

IMG_20200525_122547.jpgIMG_20200525_150036.jpg

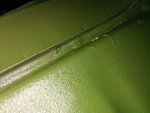
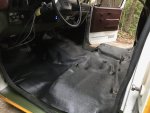
The raptor liner went down really easy once all the prep was done. With most things the prep was the bulk of the work but it came out well. They are not being conservative with their coverage numbers. I wish I had another can (used 2 cans for the floor plus ramp) to get a full "wet coat" on what I wanted to hit but I got it really good on the more import and areas and covered most of it somewhat evenly
IMG_20200525_194355.jpg.IMG_20200525_200110.jpgIMG_20200525_195854.jpg

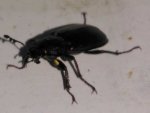
One funny thing was when I sprayed the adhesion promoter a few hundred horny beetles showed up as I guess it was their pheramone or something close enough. I felt bad but the vacuum dealt with some of em and after about 30 or 40 minutes they went away.
IMG_20200525_191156.jpg
 
Last edited:

cruzer747

Active member
218
145
43
Location
California
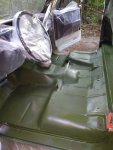
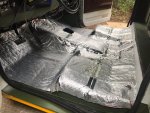
just a flooring update, I got the insulation down and the floor liner roughed in. really not an easy job and cutting for the bucket seat bracket was pretty dicey but I think I got everything where it wants to be but left some extra along the kick panel edges for when it mellows out a bit more. I had to use a propane heater and heat gun to massage areas and I will repeat that process as needed to get the stuff how it should be. Time consuming but I only want to do it once. I did run a strip of insulation over the back surface after that pic was taken and will someday work on the back wall but not anytime soon.
Attach19916_20200531_114635.jpg
before and after heat work.
Attach19918_20200531_114635.jpgAttach19919_20200531_114635.jpg
 
Last edited:

Sharecropper

Well-known member
Steel Soldiers Supporter
1,840
994
113
Location
Paris KY
just a flooring update, I got the insulation down and the floor liner roughed in. really not an easy job and cutting for the bucket seat bracket was pretty dicey but I think I got everything where it wants to be but left some extra along the kick panel edges for when it mellows out a bit more. I had to use a propane heater and heat gun to massage areas and I will repeat that process as needed to get the stuff how it should be. Time consuming but I only want to do it once. I did run a strip of insulation over the back surface after that pic was taken and will someday work on the back wall but not anytime soon.
Attach19916_20200531_114635.jpg
before and after heat work.
Attach19918_20200531_114635.jpg Attach19919_20200531_114635.jpg
What floor insulation did you use? I plan on adding it to my floor when I install my P400 / 700R4 / NP241.

Looks great, by the way. I used the same floor liner and that heat gun will be your friend.

I wish I had some of those seat covers.
DSC04087.JPG
 
Last edited:

cruzer747

Active member
218
145
43
Location
California
What floor insulation did you use? I plan on adding it to my floor when I install my P400 / 700R4 / NP241.
I used the LMC multi-purpose roll, the tape (I thought it would be hvac tape but it was thinner and worked well, not sure if any better than hvac tape though) Also used the spray adhesive. One can was perfect. Two rolls of insulation (1.5 reqd), one roll of tape (30')

About the insulation, I started with what they send you to go under the floor liner (included with liner) as a starting template which fit OK but was not wide enough to reach wall to wall which the roll was perfect. Also I wanted the insulation to go up the firewall about another 1.5" from what the liner pad was cut for... basically I now have it so that it overlaps the firewall insulation. Where you see the green under where the chairs sit is uncut at the width. It was perfect at the foot area. Also this stuff was insane to cut! I had to sharpen some large shears to VERY sharp and even then it was still a challenge. Cant wait to see the change in sound/temp once its all back together.

Also, all of the seams are butt joints and nice and tight. I did not want overlaps anywhere so the liner had a nice smooth surface to lay on.
 
Last edited:

cruzer747

Active member
218
145
43
Location
California
More progress! I will have it back together finally within one more good chunk of work. The seat covers are done, stitched up all the seams, grommets installed, a little adhesive at the ends of stitches to keep em from unraveling any time soon. spent a few minutes removing some of the crayon and viola.

Moved on to putting back the transfer case shifter, realized I made a mistake, all of the mounting bracketry needed to be UNDER the insulation! There was a huge gap from the trim to the flooring, even when I remounted it there was still a 3.8"+ gap so I added a piece of insulation below and things are nice and flush now.

Tcase indicator wire is run to the tcase and the new tranny overheat dummy light wire along with it. Also installed a dash fed light in the tcase shifter as I noticed it was not there at all and might as well.

Console is in and need to do some wiring and throw it in split loom and secure it... throw the seats back in and on to the next camping trip with hopefully my new manual lockup switch for the torque converter.
IMG_20200604_141717.jpgIMG_20200604_142307.jpgIMG_20200604_142409.jpgIMG_20200604_142438.jpgIMG_20200604_142633.jpgIMG_20200604_163955.jpgIMG_20200604_211734.jpg
 

cruzer747

Active member
218
145
43
Location
California
So it is just about done with the interior facelift... remaining is to wire the relay for feeding the TC lockup.
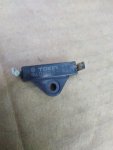
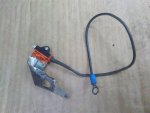
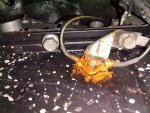
Here are some pics of the mount for the overheat dummy light. Many of the bimetal switches I was looking had had he difference between trip and reset temps too out of whack (ie on at 194, reset at 160) And the buzzer is constant and loud for this so I need it to have the same threshold each way which this one is the only one that does. I did not want to add a programmable one but I will if this does not work out Last thing I want is even more electronics than what is already going on now. This one is 194F and It bench tested ok but the proof will be in the pudding as to when it actually switches. It is held on by a bent stainless starter shim with a hole that has a screw fastening the sensor and the big hole for the trans pan bolt. High temp silicone to keep the tension fit from vibrating loose.
IMG_20200607_143328.jpgIMG_20200607_152431.jpgIMG_20200607_154548.jpg

Next I want to point out a mistake I made should anyone else install this liner, I do not think cutting around the seat mount is at all necasarry. I could fix it but the work required would be too much, just drill a hole and leave the material there.
IMG_20200610_194552.jpg
Lastly I got the PA back in with some fresh green paint and I am a bit beside myself how nice and clean it feels in there now! The seat covers breath great, cant wait to get her back on the road! It has been a while.
IMG_20200610_111109.jpgIMG_20200611_124436.jpgIMG_20200611_124517.jpgIMG_20200611_124644.jpg

The trans fan light is on only when main ground switch is on and ign is off as it is I think backfeeding feeding through the coil in the relay. Turns off (when fan is off) when ign is on. As will all of the other relay switches...EDIT- the trans fan switch was lit because when the other side of the relay coil that was running to IGN to only allow it to run when ign is on, turns to ground when ign is off, not open. I just fed it to fused power so fan can be operated whenever wanted now and the light goes out when off.
 
Last edited:

cruzer747

Active member
218
145
43
Location
California
Just got back from a 5 day trip out in the sierras that included a bit of 4wd use to get out to some of the better camp spots. My first post I will focus on the 700r4 from BO and OD lockup switch.

The switch is in, ground wire at switch feeds a relay that sends a dedicated 12v run to the manual lockup on the trans. Works flawlessly, might be nicer if the switch was easier to reach for a surprise event while engaged but it is not that bad where it is. Also the beep noise it makes is too loud and I will add some glue to it to muffle it down to about 1/2 of what it is at or try and find a god resistor value). As far as how much heat does it save from the t.c. slippage dumping into he system? LOTS. Very noticeable. I was worried about taking it out in the summer with temps hovering around 100 and climbing grades.

That said, in my setup anyways, a lot is not enough for all conditions. When you are in second gear for example and you lock it up, the rpms drop as expected but it also makes something of a higher ratio gear not being allowed to slip. That means on those steeper grades my 6.2 just couldn't cut the mustard and I would be forced to climb without lockup or use 1st. Basically while climbing in lockup 1st was 10mph, 2nd was 20mph, and 3rd was... well, very rarely used on climbs. Freeway grades were avoided during the day. On my way out I even dropped the cover on the TC to get some better cooling.

The steeper grades my trans still was building heat over what BO wants it to run at (180) even while climbing locked up. My transmission overheat alarm does work as intended (on/off at 194). The hot daytime temps were a huge factor. I also noticed something that I think is playing into things in a huge way. The fan that is pushing through the trans cooler that is mounted to the AC condenser/radiator is seemingly pushing more air back along and away from the face of the truck rather than through the radiator.

Bottom line is the trans needs to be able to cool better. I can add another cooler underneath the vehicle. I can remove the AC condenser being that the factory ac is no longer there allowing more air to pass through unobstructed (I doubt I will ever go back to using a factory style AC (. I can relocate the current cooler to below to have better airflow.

I am leaning towards the latter at this point as I am not sure removing the AC condenser will improve airflow as dramatically as I need. While I am underneath I will scope out places to fit a second cooler/fan assembly.

I did have to take some breaks to let it cool down but less than compared to my last trip in the middle of winter... in spite of all of this the thing shifts awesome and I am determined to get the setup nailed so it has a long life of camping and climbing in all seasons.
 

Sharecropper

Well-known member
Steel Soldiers Supporter
1,840
994
113
Location
Paris KY
Have you considered a Derale cooling pan? https://derale.com/product-footer/transmission-pans/cooling-pans/14204-detail Derale also offers some great looking heat sinks which mounts on the frame rails. I've installed the cooling pan on my 700R4 however the engine/transmission/transfer case is not in the truck yet so I don't know if it helps the cooling. I wish somebody would invent a special cooling dust cover for the torque converter. Here's a photo of my Derale cooling pan

DSC_0418 (2).JPG -
 

chevymike

Well-known member
604
471
63
Location
San Diego, CA
So.... I don't think you have a condenser in front of the radiator unless you added it. I was surprised when I pulled the radiator and I was like "WTH?" Then I remembers, all of the condensers are up in the overhead A/C unit. That's why the A/C line run from the compressor to the box and no lines run forward to the radiator core.

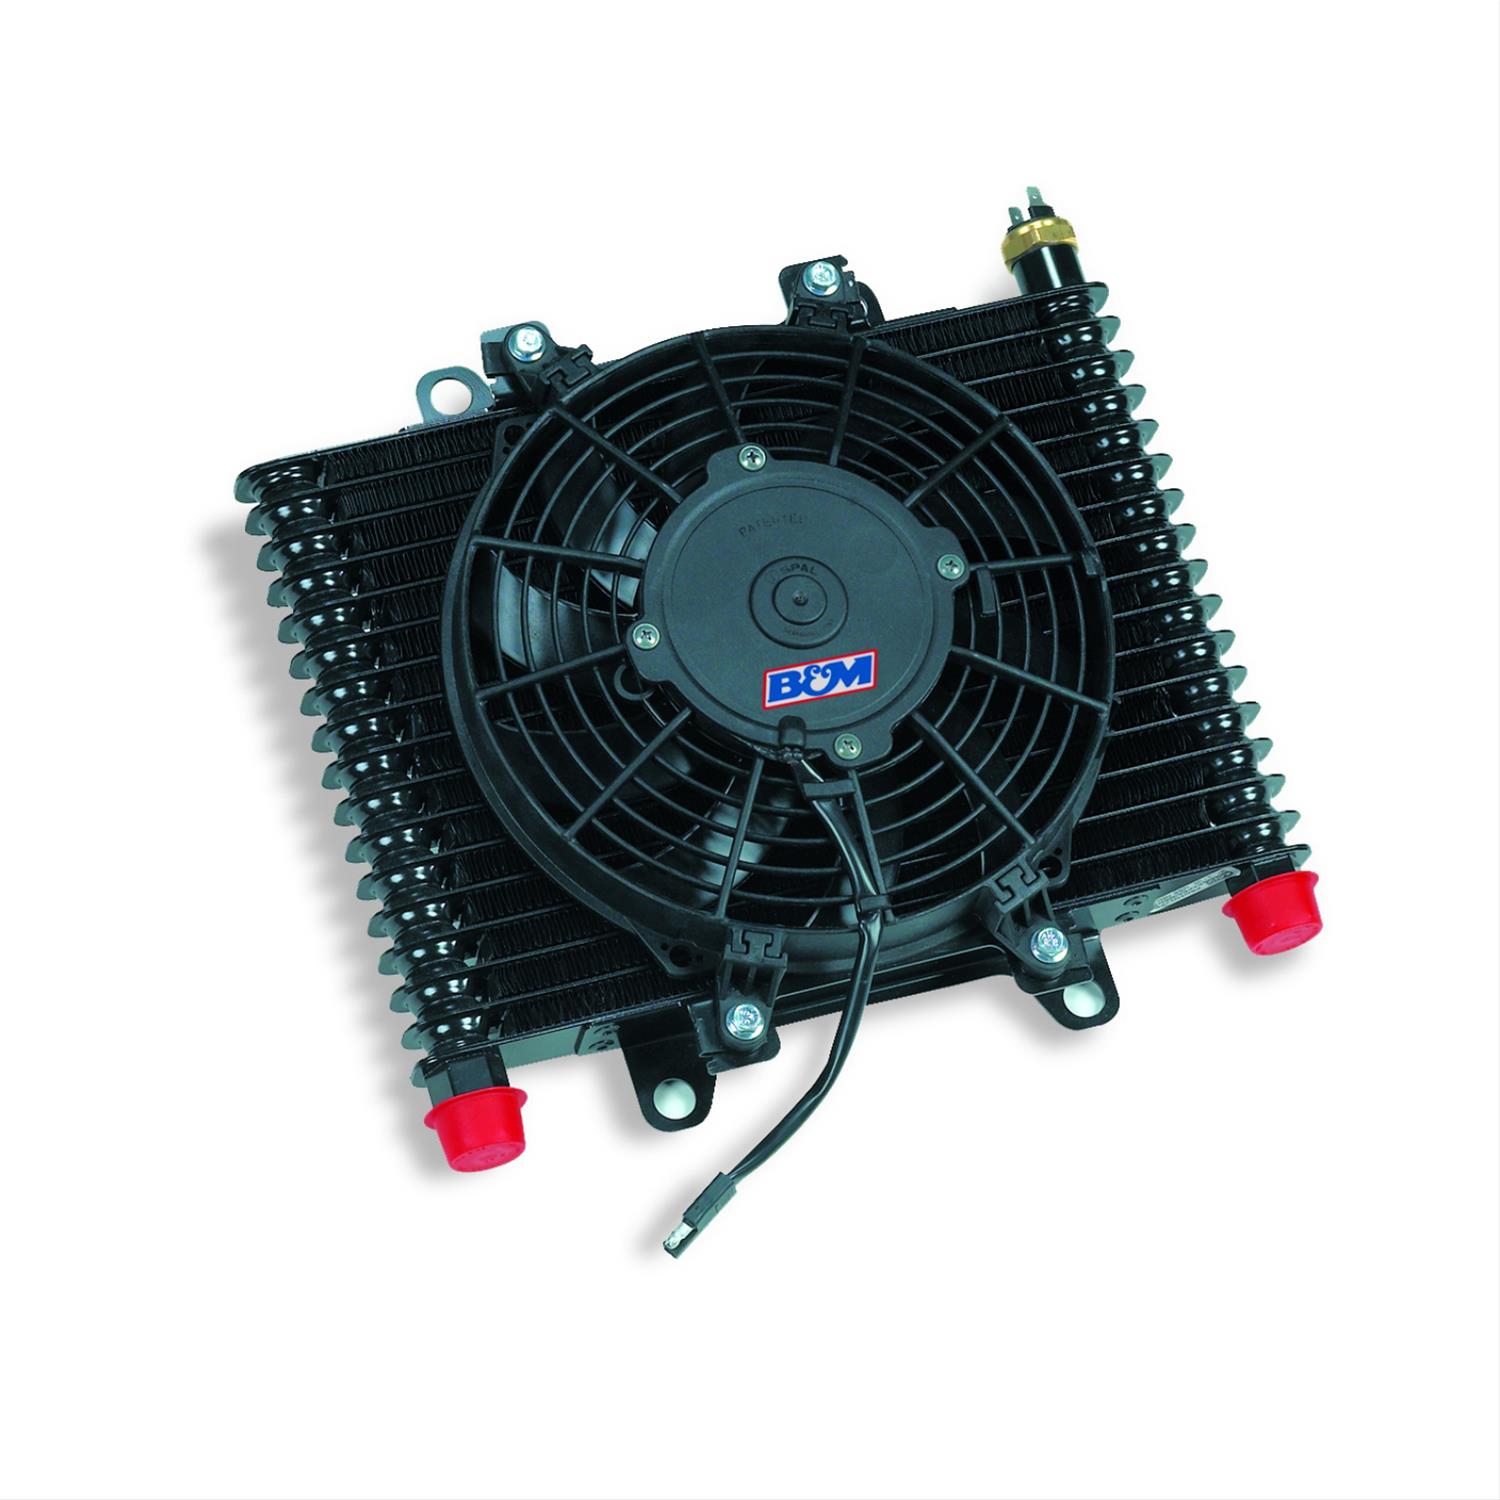
You might need to install something like this, which has it's own fan system.


cruzer747

Active member
218
145
43
Location
California
So.... I don't think you have a condenser in front of the radiator unless you added it. I was surprised when I pulled the radiator and I was like "WTH?" Then I remembers, all of the condensers are up in the overhead A/C unit. That's why the A/C line run from the compressor to the box and no lines run forward to the radiator core.

You might need to install something like this, which has it's own fan system.

You are totally correct.... brain is on autopilot and used to my other truck. Anyhow, I looked and I have about a 1" air gap between the back of the trans cooler and the radiator. I just took a minute and realized that I made an assumption that the fan was pushing through the cooler in the same direction as the airflow with the radiator. This is not the case. The fan is pulling it out and throwing it towards the front of the vehicle.

Now I understand why I was feeling so much hot air coming out the front. Do I have things backwards? Is this an extremely inefficient orientation? I am now leaning towards needing a second cooler as I would imagine while moving slowly (25mph and under) that the cooler is likely operating OK... maybe not the greatest compared to pulling outside air but still moving plenty of air unobstructed through the cooler at that low speed. I could be wrong here.

Thoughts? It would be great to solve this in one operation.

also it is a trans fan/cooler so it does have its own system. details here https://www.steelsoldiers.com/threads/m1010-fire-rig-to-camper-conversion.180367/post-2259856 and https://www.steelsoldiers.com/threads/m1010-fire-rig-to-camper-conversion.180367/post-2257226
 
Last edited:

cruzer747

Active member
218
145
43
Location
California
I am not sure if I read the instructions for the cooler or if it was not included but it seems I would be able to change the fan from pull to push by flipping the blade and switching the polarity of the wires to it if this might be more efficient (seems easy enough) but I would hate to get out there again only to see a minimal improvement.

I will start with this but am pretty sure it will need some more cooling beyond this fix.
 

Mad Texan

Well-known member
Steel Soldiers Supporter
657
1,150
93
Location
Chester County, PA
You are totally correct.... brain is on autopilot and used to my other truck. Anyhow, I looked and I have about a 1" air gap between the back of the trans cooler and the radiator. I just took a minute and realized that I made an assumption that the fan was pushing through the cooler in the same direction as the airflow with the radiator. This is not the case. The fan is pulling it out and throwing it towards the front of the vehicle.

Now I understand why I was feeling so much hot air coming out the front. Do I have things backwards? Is this an extremely inefficient orientation? I am now leaning towards needing a second cooler as I would imagine while moving slowly (25mph and under) that the cooler is likely operating OK... maybe not the greatest compared to pulling outside air but still moving plenty of air unobstructed through the cooler at that low speed. I could be wrong here.

Thoughts? It would be great to solve this in one operation.

also it is a trans fan/cooler so it does have its own system. details here https://www.steelsoldiers.com/threads/m1010-fire-rig-to-camper-conversion.180367/post-2259856 and https://www.steelsoldiers.com/threads/m1010-fire-rig-to-camper-conversion.180367/post-2257226
A guess is that fan was made to mount remotely underneath along the frame rail. Common on hotrods where there isn't a lot of radiator room to spare for extra coolers. It sounds like you have created a tug of war with airflow which would almost negate the cooler. It would do better without the fan then the current setup.

Also, you can't always just reverse the fan, some blades are more efficient in one direction that the other. You would need to check with the manufacturer if it can be done or if a pusher fan will be needed.
 

cruzer747

Active member
218
145
43
Location
California
A guess is that fan was made to mount remotely underneath along the frame rail. Common on hotrods where there isn't a lot of radiator room to spare for extra coolers. It sounds like you have created a tug of war with airflow which would almost negate the cooler. It would do better without the fan then the current setup.

Also, you can't always just reverse the fan, some blades are more efficient in one direction that the other. You would need to check with the manufacturer if it can be done or if a pusher fan will be needed.
it looks exactly like the Derale kit as far as the fan goes. Probably a branding difference, I will have to review my item numbers as "speedco" does not turn up much on the net it is virtually identicle to Derale. The swapping of push/pull is per Derale's instruction pdf. I will dig into this a little more. Thanks!
 

chevymike

Well-known member
604
471
63
Location
San Diego, CA
Yeah, that's your problem. If mounted in front of the radiator, you must have the fan moving air the same direction as air flows through the radiator. It needs to go from the front side to the engine side. If you are "pulling" forward, not only are you fighting airflow when you are driving but you are also only pulling hot air from the radiator. As noted above, this style of cooler would typically not be mounted in front of the radiator but up by the frame rail under the car/truck, as hot rods don't have a lot of room up front. In your case, you must change the rotation direction of the fan so it pulls from the front and pushes it through the radiator.
 

cruzer747

Active member
218
145
43
Location
California
Yeah, that's your problem. If mounted in front of the radiator, you must have the fan moving air the same direction as air flows through the radiator. It needs to go from the front side to the engine side. If you are "pulling" forward, not only are you fighting airflow when you are driving but you are also only pulling hot air from the radiator. As noted above, this style of cooler would typically not be mounted in front of the radiator but up by the frame rail under the car/truck, as hot rods don't have a lot of room up front. In your case, you must change the rotation direction of the fan so it pulls from the front and pushes it through the radiator.

I hope it is my problem entirely, blade is now flipped and polarity is reversed and it now pushes air the proper direction. given the fact that there was some clearance between the cooler and radiator and the low speeds involved I am not entirely sure that I will be able to call this one done but it is still hot out these days and I have some good hills around here to test it out with.

I could not find any more documentation on the cooler fan combo that I have but I do know that it was not made to be "reversible" (the depth offset required a small shim to clear the housing) so as Mad Texan said "some blades are more efficient in one direction that the other"...I may never know as it seems to be a no-name product. I am sure however having it go in the proper direction working with the engine fan etc is better than fighting it :) (It does however look identical to Derale's kit.)

I will report back within the next week or so with the results.
 
Top
AdBlock Detected

We get it, advertisements are annoying!

Sure, ad-blocking software does a great job at blocking ads, but it also blocks useful features of our website like our supporting vendors. Their ads help keep Steel Soldiers going. Please consider disabling your ad blockers for the site. Thanks!

I've Disabled AdBlock
No Thanks