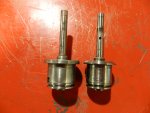
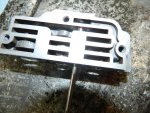
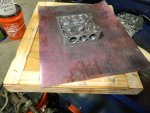
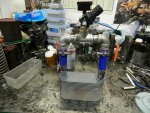
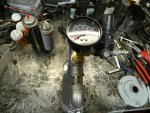
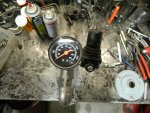
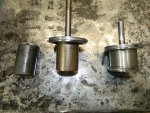
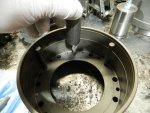
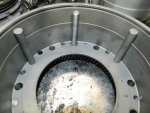
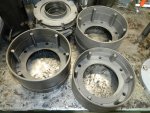
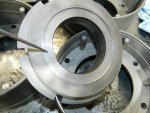
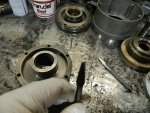
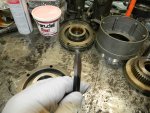
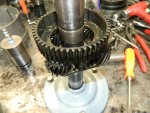
So now we're on to the Rear Servo. This little guy can be a real pain to rebuild.
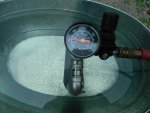
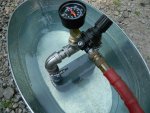
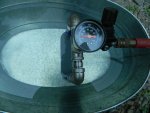
This is one item I would pass on rebuilding if I didn't have the special tool. As long as it passes the air test and the apply rod retracts just leave it alone.
Since I do have the special tool it would be a dick move not to show you how to take this servo apart and put it back together.
Actually it comes apart really fast ! Those springs want to be free ! That is a problem all in itself.
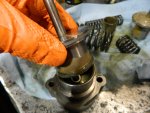
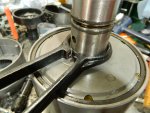
If you have an "Arbor" press you can apply pressure to the spring retainer and remove the two bolts (1/2" wrench) . Now watch out as it will try and get away from you. Once you have it apart. Clean it and check the bores. There are three that need close inspection. I just use a brake hone on all three and clean them up. There almost always scored and slightly out of round. Once all the parts are cleaned and honed then apply your assembly lube and start putting it back together.
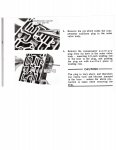
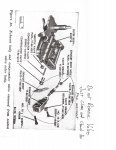
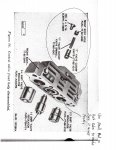
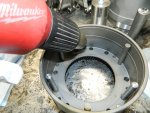
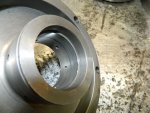
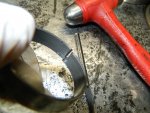
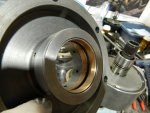
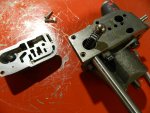
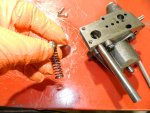
Here's some pictures to help you out.
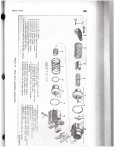
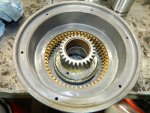
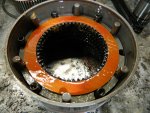
First we must clean up the bores in the "Accumulator Body" (H) , the main Body (Q) , and the bore in the "Accumulator Piston" . After honing these bores, thoroughly clean them out and dry them.
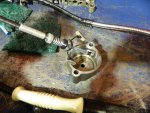
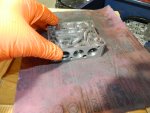
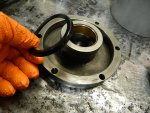
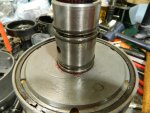
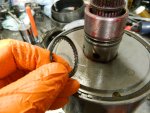
There are three sealing rings that need replacing or buffing out. To buff the ring's take some "green scotch pads" and really go after those rings. You need a rough surface to help it seal against the cast iron housings.
Check the "Accumulator Body Check Valve" , making sure it is in place and working.
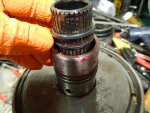
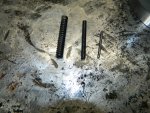
Now the first item to go together is the "booster piston". You will need to be careful as you compress the seal ring. Once it is all the way in it's bore install the inner booster spring and the outer spring. The seal ring on the end of the piston should be "centered" as best you can before installing the "Accumulator Body" . You can twist the accumulator body as you slide it in to help the seal ring go into its bore. Your pressing against those two springs so remember to hold constant pressure against the accumulator body.
Once the body is all the way down and in contact with the Main Body, loosely install one bolt to hold it in place. Make sure one side of the bolt is parallel with the bore to allow the "Accumulator Piston" to be installed. Once the "Accumulator Piston" is in place, install the "compensator spring" and then the "accumulator spring" . Now the real fun begins.
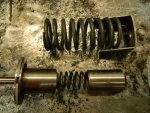
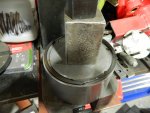
You will need to compress the "compensator piston" into the "accumulator piston bore" at the same time the large "accumulator piston spring" is in place. This is why the special tool is so handy.
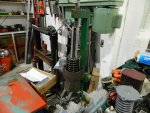
The compensator piston can easily cock in the bore so you must be very careful here.
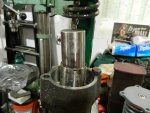
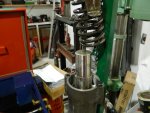
Once the compensator piston is sliding into it's bore, remove the holding bolt and you can fully compress the springs. Now install the two bolts into the retainer and your done. Pressure test the servo and if you didn't break any seal rings it should retract the apply rod.
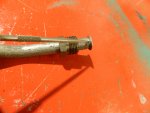
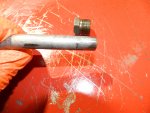
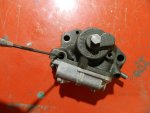
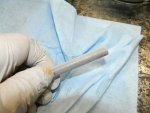
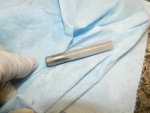
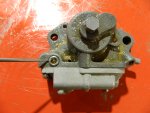 I installed a stainless steel 1/8" plug here.


 I installed a stainless steel 1/8" plug here.


