• Steel Soldiers now has a few new forums, read more about it at: New Munitions Forums!

  • Microsoft MSN, Live, Hotmail, Outlook email users may not be receiving emails. We are working to resolve this issue. Please add support@steelsoldiers.com to your trusted contacts.

M1078A1 "Pandora" Build | 2024-??? | ***Picture Heavy***

Ronmar

Well-known member
3,859
7,496
113
Location
Port angeles wa
Over cooling is why I am guessing they incorporated the thermostatic bypass. When cold, it just doesn’t send any heat to the air/oil cooler.

the oil to coolant heat exchanger works both ways. On the A0, they sent all the bypass coolant to the heat exchanger. On a cool day, the engine will never get to full op temp until the transmission becomes a heat source/loaded. Below ~65F, The trans, via that cooler will absorb and dissipate all the heat an idling and moderately exhaust loaded engine will produce. Slightly elevated Idling in gear(cold wx warmup procedure), it still takes >10 minutes for the trans to turn from a heat sync to a heat source…

They fixed this “feature“ on the A1 trucks and kept the engine cooling system the way cat designed it(Bypass coolant sent back to engine block till properly warm). Probably a necessity for proper operation with ECU control…
 

InvictusDecretum

Active member
108
210
43
Location
NC
Never heard of or seen a single report of that type of failure. Every one of these trucks I have dealt with has had amazingly clean coolant with little to no corrosion despite probably never being changed - My guess on this is that the cooling system being double the normal size (they basically sized it for a C15 - 15 liter engine) the coolant just naturally has more volume and thus the dissolved zinc anode and corrosion inhibitors don't get "used up" nearly as quickly as they would in other OEM applications with cast iron blocks. Thus the transmission heat exchangers (which are themselves very heavy duty all-metal fabricated units, not the plastic shite found in consumer and commercial applications) don't fail internally due to corrosion. I haven't seen any develop cracks or other issues and have not seen one report of such a failure either. It's not on my radar at all.
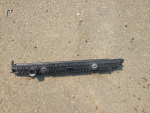
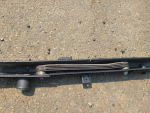
Makes sense. Thanks for the reassurance, I'll scratch it from my worry list which is already full enough. I only added it to my list to look into since have some lingering distrust of fluid to fluid coolers based on my 2.8L duramax "trans cooler" which was in the bottom 2" of the radiator and looked like this:

1729026685639.png

1729026697178.png

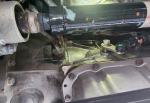
It sprung a serious leak from a unicorn part, a hard line press fit -> aluminum block that bolted to the trans the day before I was supposed to get married, and others have had issues with it leaking around the radiator fittings.

1729026886746.png

I much prefer to deal with AN or JIC fittings and hoses that can be repaired, remade, and are readily available at tons of places.
 

InvictusDecretum

Active member
108
210
43
Location
NC
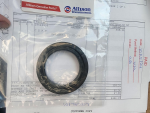
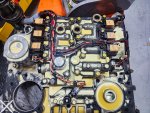
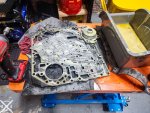
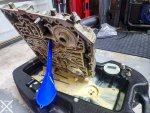
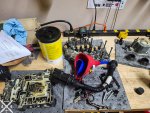
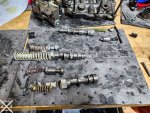
I am now the owner of the worlds most expensive thrust washer ! Once I'm done with the hydraulic system, I'll crack open my transmission to fix the valve body leak I probably caused, and see what the state of my C6 is... while making the swap to ATF, and hopefully not damaging any of the wiring in the brain of the transmission.

1729027232299.png
 

InvictusDecretum

Active member
108
210
43
Location
NC
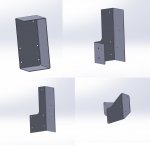
After 4 different re-designs

Tries.jpg

and 7 printed prototypes

1729038806799.png

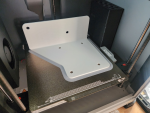
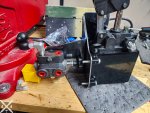
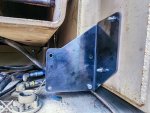
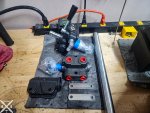
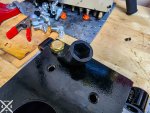
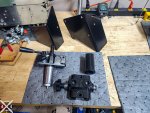
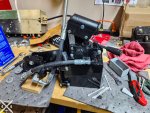
I finally got the brackets ordered from Oshcut. I ordered them in .135" (10ga/just over 1/8") CorTen steel like shipping containers are made out of. Quite a bit of the truck is also made from CorTen steel and it's pretty ideal for being left outside all the time. I'm going to give the handpump and brackets a couple coats of Rust-Oleum 280107 Farm & Implement Enamel Paint, Low Gloss Black. I don't think I'm going to paint the box it mounts to since it's relatively rust free and I'd only be able to paint a small part of it right now. Plan is to paint that with the frame/cab/rest of truck.

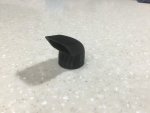
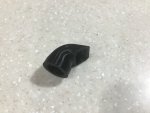
Snorkel.jpg

Also made a little snorkel for the vent port, but going to cover the hydraulic pump anyway so it was really just an exercise in getting a circle to loft to a square in solidworks and make something printable. As soon as I confirm the dimensions after printing it in ASA (which shrinks more than PLA), I'll put it up on thingiverse or makerworld or somewhere others can download it if they'd like.

I'm so ready to get the physical brackets and actually install something instead of being stuck in a design->3d print OODA loop !
 

InvictusDecretum

Active member
108
210
43
Location
NC
I've ordered quite a few things from oshcut, a number from corten as well. My generator is held on the truck with some of them.
Have a bambu x1c I've used to make various truck things. Working with solidworks as well.
They make printing so easy. Literally out of the box. It's crazy how much they closed the gap between a Stratasys (who is now sueing them) and a 3d printer from even 3yrs ago, even a markforge or similar.
1729041437144.png

1729041402923.png

1729041408946.png
 

InvictusDecretum

Active member
108
210
43
Location
NC
Just a hint, oshcut takes .sldprt files directly, no need to convert them to dxf :)
Thanks for the tip ! I was trying to compare quotes between oshcut and sendcutsend (which only accepts dxf, step, stp, to my knowled) but... sendcutsend wouldn't recognize my bend lines so figured screw em haha.
 

InvictusDecretum

Active member
108
210
43
Location
NC
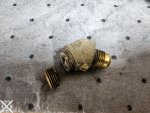
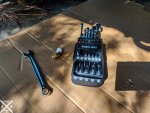
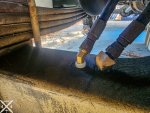
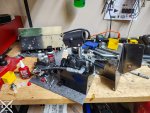
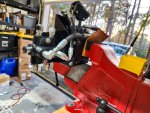
Basically just waiting on those OshCut brackets to be delivered (FedEx says Monday !) and doing little things around the truck. This fitting was broken when I bought the truck but came right out with a medium size extractor from the ProjectFarm recommended IRWIN Screw Extractor, Spiral Flute, 6-Piece (53545).

20241018_153612 export.jpg

Took a bit of experimenting to discover it was a 3/8NPT x 3/8NPT *flared* end. This is my first experience with that and I only had AN/JIC and regular NPT in my organizer.


20241025_123737 export.jpg

20241025_124620 export.jpg
 
Last edited:

InvictusDecretum

Active member
108
210
43
Location
NC
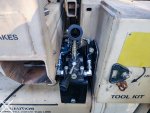
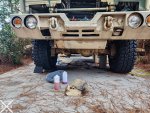
For the first time in 38 days, the cab is up !

20241110_130914 export.jpg

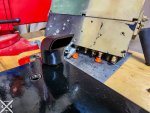
Hydraulic hoses took a bit to figure out since it was such a compact form factor but they're on there and don't have much strain on the fittings, if any.
20241108_120132 export.jpg

20241108_170357 export.jpg

20241109_162936 export.jpg

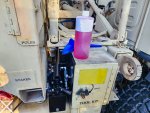
I replaced the hoses going to the frame passthru but made sure to bleed all the old fluid from what remained of the original lines, including disconnecting the "retract" side of the cylinder and letting that empty itself into the bottle.

20241110_135511 export.jpg

For anyone doing this in the future with the 60cuin reservoir, cut the piece of clear hosing going to the pump pickup real short and put the filter on vertically. Fits exactly and your hose wont curl up and put the filter ~1" from the top of the reservoir, sucking in air.

20241109_173125 export.jpg

I pulled the cylinder for the spare tire carrier since I couldn't access the hose fittings with it in place, but not sure I'm going to work on that until I've got the bed pulled for paint, since I'd have to remove the spare tire carrier at that point anyway. The cylinder hoses are 72" long with JIC4F ends for my/others future reference.

20241110_133901 export.jpg

20241110_134119 export.jpg
 
Last edited:
Top
AdBlock Detected

We get it, advertisements are annoying!

Sure, ad-blocking software does a great job at blocking ads, but it also blocks useful features of our website like our supporting vendors. Their ads help keep Steel Soldiers going. Please consider disabling your ad blockers for the site. Thanks!

I've Disabled AdBlock
No Thanks