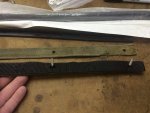
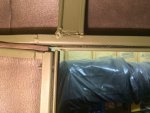
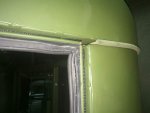
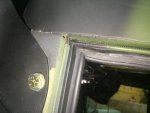
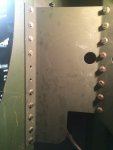
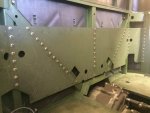
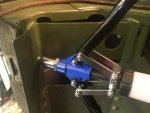
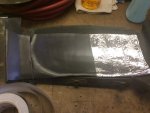
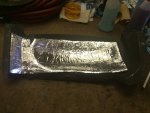
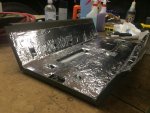
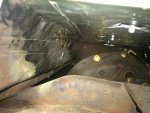
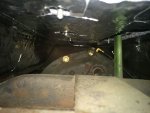
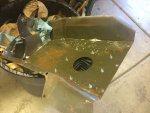
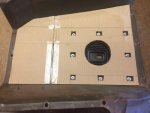
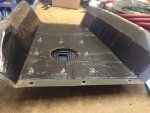
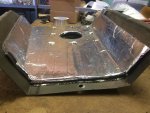
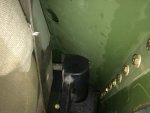
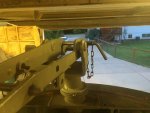
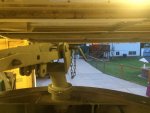
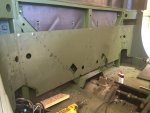
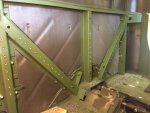
The cab reinforcement plate has been attached! The instructions call for a total of 74 holes to be drilled in it, I only had 73, and 2 of them aligned with existing, larger, holes in the pillars to I "only" have 71 bolts holding the plate in place. Yes, I did the nutserts and I'm honestly not sure if I'd recommend the process. It sure looks cool, and the plate is fully removable, but I think it
tripled the amount of work. I had to put in the plate three times and remove it twice, which didn't do my paint any favors. The plate seems too long at first, but what I found worked to put it in was to start up higher and then press IN on the center, flexing the plate and the ends will pop into the side door gussets and you can work it in and slide it down into plajce. A rubber mallet comes in handy too.
The instructions called for the plate to be mounted exactly 7" down from the top of the back of the cab. The other plates I've seen installed just sat it flush with the drive train hump. That'd work but the hole cutouts for the u-bolt nuts align properly at 7" from the top - which meant I raised mine 3/4" from the top of the hump. A piece of wood and clamps on the side at the doors made this 1-man doable.
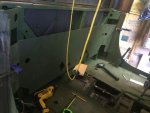
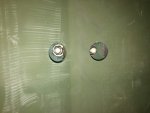
Once clamped in place, I marked the center line for each of the five rear cab pillars and where each of the holes would be drilled. The uppermost hole starts 1/2" from the top of the plate, and the rest follow, spaced evenly 1-1/2" apart with no hole within 1/2" of the seat belt cutouts or the bottom of the plate.
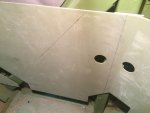
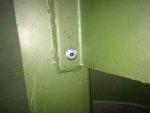
One hole was drilled in each, 1/2" from the top of the plate. I then removed the plate, drilled the 5 "control" holes larger and put a nutsert in each.
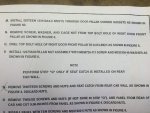
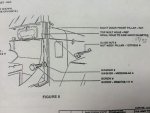
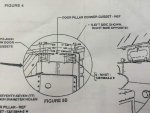
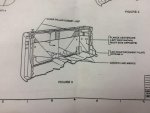
Note: For the initial holes to be drilled, the instructions said to refer to "A" in this figure, but I honestly could not figure out what in the world all the lines were pointing at or what it wanted me to do. So that's where I came up with my 5 "control" holes at the top idea.
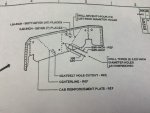
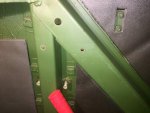
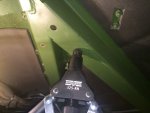
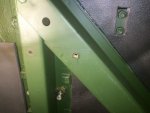
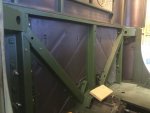
I then reinstalled the plate a second time, put in the 5 "control" bolts to hold the plate firm and steady, and drilled all the holes in the rear cab pillars only.
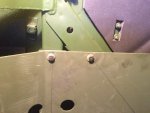
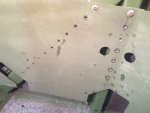
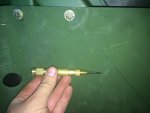
Tip #1: something I found out for myself a number of years ago when trying to drill holes in metal, when I struggled with drill bits "walking" on me. First mark where you want your hole then use a center punch (they're spring loaded) to create an indent in the metal. This will do a very good job of holding the drill bit where you want it. You'll almost always want to wear hearing protection when using the center punch on metal, it's quite loud. I worked the center punch 10 time on each mark to create the necessary divot.
I removed the plate a second time and drilled all the rear cab pillar holes larger, put in nutserts, and reinstalled the cab plate for the third, and hopefully final, time.
Tip #2: A quick an easy way to debur holes is to use an even larger drill bit briefly on the hole. Such as using a 3/8" drill bit on 1/4" holes.
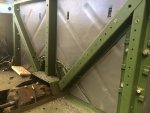
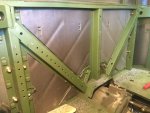
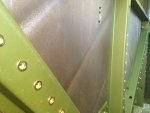
I have to admit here, I nearly broke my only 1/4" mandrel (I was sweating bullets and praying hard, this would have messed up everything!). I had the stroke set for 1/4" (maybe just a
hair more) but on about the 7th nusert the threads tried to strip off the mandrel, getting stuck in a nutsert. After much prying and hammering with a chisel, I'm not sure how, but I managed to break/destroy the nusert and free the tool and madrel from the truck. I set the stroke for 3/16" sized nutserts and didn't have any problems on the remaining 60+ nutserts, or when the bolts were ran into place.
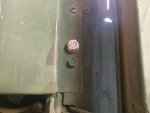
Bolt all the things! I decided to use a washer on the bolts and could have easily added a lock washer too (which I did, but only to the top 5 "control" holes).
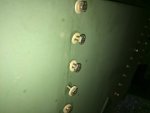
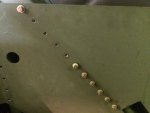
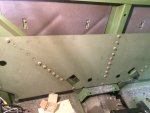
Tip #3: Have a good shop vac, because there's a deadly amount of metal shavings produced from all this! I may still wash down the floor because even after vacuuming I can run my hand on the floor and still come up with sparkly metal shavings. Also, gloves or good sliver removal system. I only had to remove 3 metal slivers (didn't wear gloves).
Tip #4: Every joint will ache the next day. Enjoy climbing stairs or getting out of bed. Knees, ankles, wrists, elbows, and shoulders. Your pectorals and triceps may ache too unless you're a more manly man than I.
Tip #5: To do everything you've seen in this thread, hard top sections, gun ring cutout cover, and cab reinforcement plate, buy the following (all in
Grade 8):
- 150, 1/4"-20 x 1" bolts (1" is a little long for bolting the hard top sections together, but eh, so what)
- 200 washers (SAE sized, USS is looser)
- 100 1/4"-20 nuts (or nyloc nuts if that's your preferred)
- 100 lock washers (or 150 if you want lock washers on the bolts in the plate)


